WIKA TC82 Zusatzbetriebsanleitung
Vorschau ausblenden
Andere Handbücher für TC82:
- Betriebsanleitung (44 Seiten) ,
- Zusatzbetriebsanleitung (60 Seiten) ,
- Betriebsanleitung (112 Seiten)

Verwandte Anleitungen für WIKA TC82


Inhaltszusammenfassung für WIKA TC82
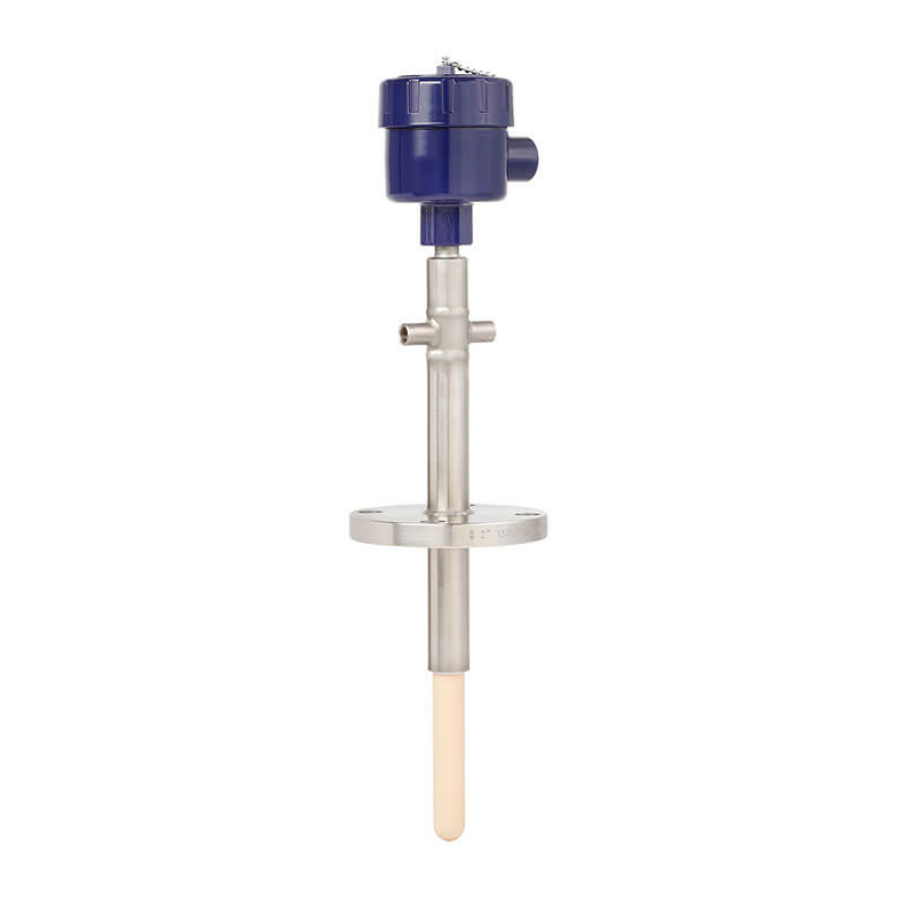
- Seite 15 Inhalt Inhalt 1. Montage des Thermoelementes in den Reaktorstutzen 2. Montage des primären Schutzrohres 3. Integritätsprüfung 4. Horizontale Installation 5. Spülgasanschluss WIKA Zusatz-Betriebsanleitung für die Montage der Typen TC82, TC83 Calitum ®...
-
Seite 16: Montage Des Thermoelementes In Den Reaktorstutzen
Innenseite des Reaktors muss mit der Einbaulänge des Thermometers übereinstimmen. Abweichungen können zu Fehlmessungen oder Beschädigungen des Thermoelementes oder des primären Schutzrohres Typ TW83 (erstes prozessseitiges Schutzrohr) führen. Einbau- länge WIKA Zusatz-Betriebsanleitung für die Montage der Typen TC82, TC83 Calitum ®... -
Seite 17: Montage Des Primären Schutzrohres
Abweichungen können zu Beschädigungen des Thermoelementes oder primären Schutz- rohres im laufenden Betrieb führen. Falls die Maßabweichungen 12 mm [0,5 in] überschrei- ten, darf das Thermometer nicht montiert werden. In diesem Fall bitte den WIKA-Ansprech- partner kontaktieren, um eine Lösung zu finden. - Seite 18 3. Spalt zwischen dem Anschlagbund und der Innenseite des Flanschstutzens mit der Dichtscheibe oder alternativ mit mineralischer Dichtschnur auffüllen. Dichtscheiben 4. Stutzen ca. 2/3 mit den weichen Dichtscheiben auffüllen. weiche Dicht- scheiben WIKA Zusatz-Betriebsanleitung für die Montage der Typen TC82, TC83 Calitum ®...
- Seite 19 Hierzu empfehlen wir die Verwen- dung einer Drehmaschine, dabei auf eine Absaugung der entstehenden Stäube achten. harte Dicht- scheiben 6. Passende Flanschdichtung auf dem Stutzen zentrieren. Flanschdichtung WIKA Zusatz-Betriebsanleitung für die Montage der Typen TC82, TC83 Calitum ®...
- Seite 20 Dichtscheiben einführen. Darauf achten, das keine seitlichen Kräfte auf das keramische Schutzrohr einwirken, da sonst das Thermoelement brechen könnte. Flanschdichtung 8. Die weichen Dichtscheiben werden bei der Montage des Thermoelementes zusammen- gedrückt. weiche Dicht- scheiben WIKA Zusatz-Betriebsanleitung für die Montage der Typen TC82, TC83 Calitum ®...
-
Seite 21: Integritätsprüfung
Falle eines beschädigten Messgerätes noch vor der Inbetriebnahme des Reaktors ein Ersatzgerät austauschen zu können, da im Allgemeinen ein Austausch während des laufenden Betriebes nicht möglich ist. WIKA Zusatz-Betriebsanleitung für die Montage der Typen TC82, TC83 Calitum ®... -
Seite 22: Horizontale Installation
Stutzen einführt, ohne dass das Gewicht des Thermometers eine seitliche Belastung auf das bruchgefährdete Schutzrohr ausübt. Die WIKA-Montagestangen Typ IR80 bieten eine einfache und sichere Möglichkeit das schwere Thermoelement beim Einbau zu stützen und so das Risiko einer Beschädigung oder Bruchs des Schutzrohres zu minimieren. - Seite 23 3. Mindestens in drei der leeren Flanschbohrungen einen Flanschbolzen stecken. Diese dienen dazu, die Dichtung zu halten und zu zentrieren. Richtige Ausrichtung der elektrischen Anschlüsse und ggf. Spülgasanschlüsse sicherstellen und Thermometer nun vorsichtig in den Stutzen einführen. WIKA Zusatz-Betriebsanleitung für die Montage der Typen TC82, TC83 Calitum ®...
- Seite 24 4. Nun das Thermometer mit allen Flanschbolzen sichern. Anschließend kann der Feder- stecker sowie die Montagestangen entfernt werden. 5. Die letzten Flanschbolzen jetzt einführen und das Anziehen der Flanschbolzen durch Fachpersonal durchführen. WIKA Zusatz-Betriebsanleitung für die Montage der Typen TC82, TC83 Calitum ®...
-
Seite 25: Spülgasanschluss
5. Spülgasanschluss 5. Spülgasanschluss Die Verwendung von Stickstoff als Spülgas für die Thermoelemente Typen TC80 und TC82 wird empfohlen. Spülgaszuleitung wie abgebildet an das Thermoelement anschließen. Einstellung des Spülgasdruckes Der Spülgasdruck muss mindestens 0,25 … 0,35 bar [3,6 ... 5,1 psi] über dem maximalen Betriebsdruck des Reaktors liegt. -
Seite 26: Integritätsprüfung Spülgasanschluss
5. Spülgasanschluss Integritätsprüfung Spülgasanschluss Typ TC82 mit Spülanschluss Spülgas-Kontrollpanel (Rückansicht) Durchflussanzeiger (Vorderseite) zum Entlüften verbrauchtes Spülgas Spülgas- frisches Spülgas zum TC anschluss Druckminderer (Vorderseite) WIKA Zusatz-Betriebsanleitung für die Montage der Typen TC82, TC83 Calitum ®... - Seite 28 WIKA-Niederlassungen weltweit finden Sie online unter www.wika.de. WIKA Alexander Wiegand SE & Co. KG Alexander-Wiegand-Strasse 30 63911 Klingenberg • Germany Tel. +49 9372 132-0 +49 9372 132-406 info@wika.de www.wika.de WIKA additional operating instructions for installation of models TC82, TC83 Calitum ®...