Johnson Controls M9108-A 1N Serie Installationsanleitung
On/off and floating actuators
Inhaltsverzeichnis
Verfügbare Sprachen
Verfügbare Sprachen
Quicklinks
M9108-Axx-1N / M9116-Axx-1N /M9124-1N
ON/OFF and Floating Actuators
Installation Instructions
Figure 1: Dimensions (in mm)
Johnson Controls
All marks herein are the marks of their respective owners. © 2009 Johnson Controls, Inc.
P/N 14-88360-1955 Rev. B
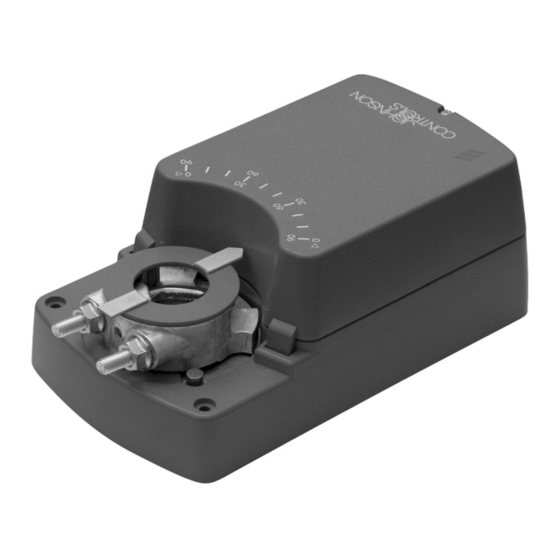
Figure 2: Actuator open
Headquarters: Milwaukee, Wisconsin, USA
Branch Offices: Principal Cities World-wide
®
is registered trademark of Johnson Controls, Inc.
www.johnsoncontrols.com
Issue Date 12 2009
Building Efficiency
Inhaltsverzeichnis

Verwandte Anleitungen für Johnson Controls M9108-A 1N Serie


Inhaltszusammenfassung für Johnson Controls M9108-A 1N Serie
-
Seite 7: Installation Und Einstellung
Deutsch IS_M9108-Axx-1N / M9116-Axx-1N / M9124-Axx-1N_14-88360-1955_Rev. B_12 2009 Verdrahtung LESEN SIE DIESE ANLEITUNG UND DIE SICHERHEITSHINWEISE VOR DER INSTALLATION ACHTUNG: SORGFÄLTIG DURCH UND BEWAHREN SIE SIE FÜR • Die elektrischen Anschlüsse für die Stellantriebe SPÄTERE REFERENZZWECKE AUF müssen entsprechend den einschlägigen Allgemeine Merkmale gesetzlichen Bestimmungen hergestellt werden. -
Seite 8: Technische Daten
Deutsch IS_M9108-Axx-1N / M9116-Axx-1N / M9124-Axx-1N_14-88360-1955_Rev. B_12 2009 70°: Drehen Sie den Adapter (Abbildung 2 f.) wie zuvor in die Werkseinstellung der Hilfsschalter 70°-Stellung. Lösen Sie die Phillips-Schraube des Schaltrades Die zwei Hilfsschalter a. und b. sind werkseitig auf etwa etwas, b.