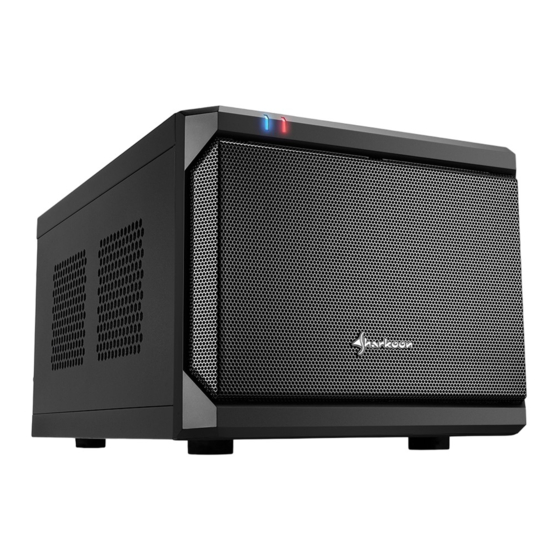
Sharkoon QB ONE Anleitung
Quicklinks

Verwandte Anleitungen für Sharkoon QB ONE


Inhaltszusammenfassung für Sharkoon QB ONE
- Seite 1 Manual Anleitung Manuale dell'utente Manuál マニュアル 使用說明 Руководство пользователя ...
-
Seite 2: Getting Started
Getting started Remove both side panels and the case top. Entfernen Sie beide Seitenteile und die Gehäuseoberseite. Rimuovere entrambi i pannelli laterali ed il pannello superiore Odstraňte oba boční a horní panel. Снимите обе боковые панели и верхнюю часть корпуса. 移除機殼兩邊側板及機殼上板... - Seite 3 Remove the hard drive mounting frame. You can now install the mainboard and, if applicable, a graphics card. Entfernen Sie den Festplatten-Einbaurahmen. Anschließend können Sie das Mainboard und gegebenenfalls eine Grafikkarte einbauen. Rimuovere il telaio di montaggio del disco rigido. Si può...
- Seite 4 Power supply installation (SFX) Screw the power supply attachment Insert the power supply and then secure it by onto the power supply. screwing the power supply attachment to the case. Verschrauben Sie die Netzteil-Halterung Setzen Sie danach das Netzteil in das Gehäuse ein mit Ihrem Netzteil.
- Seite 5 Power supply installation (ATX) Insert the power supply and then secure it by screwing the power supply attachment to the case. Setzen Sie danach das Netzteil in dasGehäuse ein und schrauben Sie die Netzteil-Halterung am Gehäuse fest. To install an ATX power supply, the internal metal panel (SFX) must first be removed.
- Seite 6 1. Before installing any hardware, check that the components supplied with this product are undamaged and in proper condition. Should there be any reason for complaint, please do not hesitate to contact us at support@sharkoon.com. 2. To avoid the danger of electrical shock, first complete the cabling of the PC case before you connect the power cord to the power supply (PSU) and the wall outlet.
- Seite 7 Main HDD/SSD installation 2.5" HDD/SSD 3.5" HDD If wanting to use more than one hard drive, start with the lower installation option. Use the included L-shaped mounting bracket for installing 1x 3.5" HDD. Falls Sie mehr als eine Festplatte verwenden möchten, beginnen Sie mit der unteren Einbaumöglichkeit. Verwenden Sie die mitgelieferten Einbauwinkel für die Montage von 1x 3,5"...
- Seite 8 Additional HDD/SSD installation Additional hard drives can be mounted with the hard drive mounting frame. Weitere Festplatten können mit dem Festplatten-Einbaurahmen montiert werden. Si possono montare dischi rigidi aggiuntivi utilizzando le apposite sta e di montaggio Další disky mohou být instalovány do rámecku. Дополнительные...
- Seite 9 Optional 2.5" HDD/SSD or 80mm fan installation 2.5" HDD/SSD Installation option for 1x 2.5" HDD/SSD or 1x 80mm fan. Montagemöglichkeit für 1x 2,5" HDD/SSD oder 1x 80-mm-Lüfter. Opzione di installazione di 1x 2.5" HDD/SSD o di ventola 1x 80mm Možnost instalace 2,5" HDD/SSD nebo 80mm ventilátoru.
- Seite 10 Attaching case feet The case can be used either vertically or horizontally. For this, connect the feet either to the bottom or the side of the case. Das Gehäuse kann vertikal oder horizontal verwendet werden. Bringen Sie hierzu die Füße an der Unterseite oder seitlich an. Il case può...
- Seite 11 Sharkoon Technologies GmbH Grüninger Weg 48 35415 Pohlheim Germany © Sharkoon Technologies 2020...