Werbung
Quicklinks
Werbung

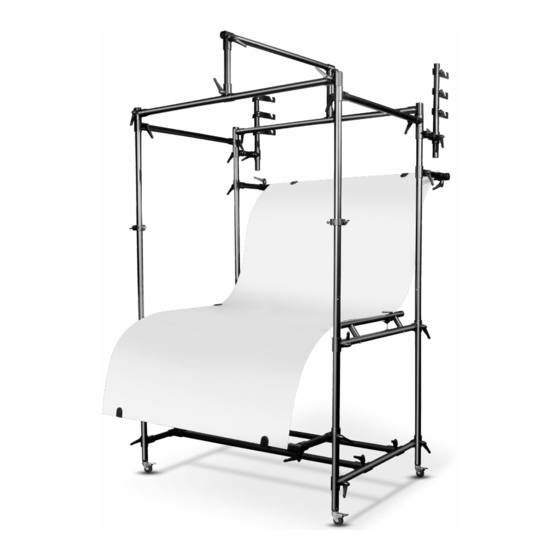
Inhaltszusammenfassung für Walimex Pro XXL
- Seite 1 Mobiler Aufnahmetisch XXL Mobile shooting Table XXL Bedienungsanleitung Manual...
-
Seite 2: Scope Of Delivery
Wir freuen uns, dass Sie sich für ein Walimex pro Produkt aus dem Hause We are pleased that you have chosen a Walimex pro product from WALSER entschieden haben und wünschen Ihnen viel Freude mit unse- WALSER and wish you lots of pleasure with our product. - Seite 3 36 x A 6 x K 250 mm 6 x B 4 x I 2 x J 860 mm 860 mm 7 x C 1 x H 1000 mm 4 x F 1050 mm 4 x G 1185 mm 4 x E 1315 mm 2 x D 1445 mm...
- Seite 4 1x N 130 x 240 cm...
- Seite 5 Beginnen Sie mit dem Aufbau, indem Sie die vier Stangen G, also die Start the assembly by assembling the four rods G, i.e. the table legs, Tischbeine, mit dem Rad nach unten paarweise mit Hilfe von 2x A und with the wheels pointing downwards in pairs using 2x A and 1x I each. je 1x I zusammenmontieren.
- Seite 6 So sollte der Tisch jetzt aussehen. Die Tischbeine G sollten grob par- This is what the table should look like now. The table legs G should allel zueinander nach oben ragen, müssen dies aber noch nicht exakt protrude roughly parallel to each other, but do not have to do so tun.
- Seite 7 Setzen Sie nun die vier Stangen F auf die Tischbeine G, um diese zu Now place the four rods F on the table legs G to extend them. Fix them verlängern. Fixieren Sie diese mit Hilfe des in G eingebauten Spreiz- in place using the spreading mechanism built into G, which is operated mechanismus, der mit einem Innensechskantschlüssel bedient wird.
- Seite 8 Verbinden Sie nun die beiden Seiten mit 2x E oben bündig an der Now connect the two sides with 2x E flush to the construction. Make Konstruktion. Achten Sie darauf, dass Sie die vier Tischbeine, be- sure that the four table legs, consisting of G and F each, are now stehend aus G und F, nun parallel zueinander stehen und senkrecht parallel to each other and aligned vertically upwards.
- Seite 9 Verbinden Sie die Stangen K nun jeweils mit 1x D, wie gezeigt. Now connect the rods K each with 1x D as shown. Bringen Sie die 2 übrigen K an den Stangen E in der Mitte und nach Attach the 2 remaining K to the rods E in the middle, pointing upwards. oben weisend an.
- Seite 10 Montieren Sie nun die Stange H oben in der Mitte. Now mount the rod H in the top middle. Entrollen Sie nun die Diffusorplatte N. Nutzen Sie die Klemmen B, um Now unroll the diffusor plate N. Use the clamps B to fix the diffusor die Diffusorplatte am Gestänge zu befestigen.
- Seite 11 To highlight our exceptional service level, Serviceniveau zusätzlichen Ausdruck zu verleihen, geben wir für dieses we offer a 2 year warranty for this Walimex pro product. This warranty is Walimex pro Produkt eine Garantie von 2 Jahren. Diese Garantie ist nur in only valid in combination with your purchase receipt.


