HP sb 21 Kurzanleitung
Inhaltsverzeichnis
Verfügbare Sprachen
Verfügbare Sprachen
Quicklinks
connecting the projector
1. Make sure the projector and your
computer are turned off.
2. Unplug the mouse from the computer.
3. Connect the projector signal cable to the
projector and to either the
RGB
port on the computer. Tighten the screws.
4. To enable the remote control’s mouse
features, connect the projector signal cable
connector to the computer.
USB
5. Connect the projector to other video
sources.
6. Connect the power cord to the projector
and the power source.
7. Turn on the projector first and then the
computer.
powering the projector
1. Remove the lens cap.
2. Ensure that the power cord and signal
cable are securely connected.
3. Press the “P
ON/OFF” button on the
OWER
control panel. The startup screen will be
displayed for
seconds and the blue
30
P
will light up.
indicator light
OWER
4. Turn on your video source (computer,
notebook, video player, etc.). The projector
will detect your source automatically.
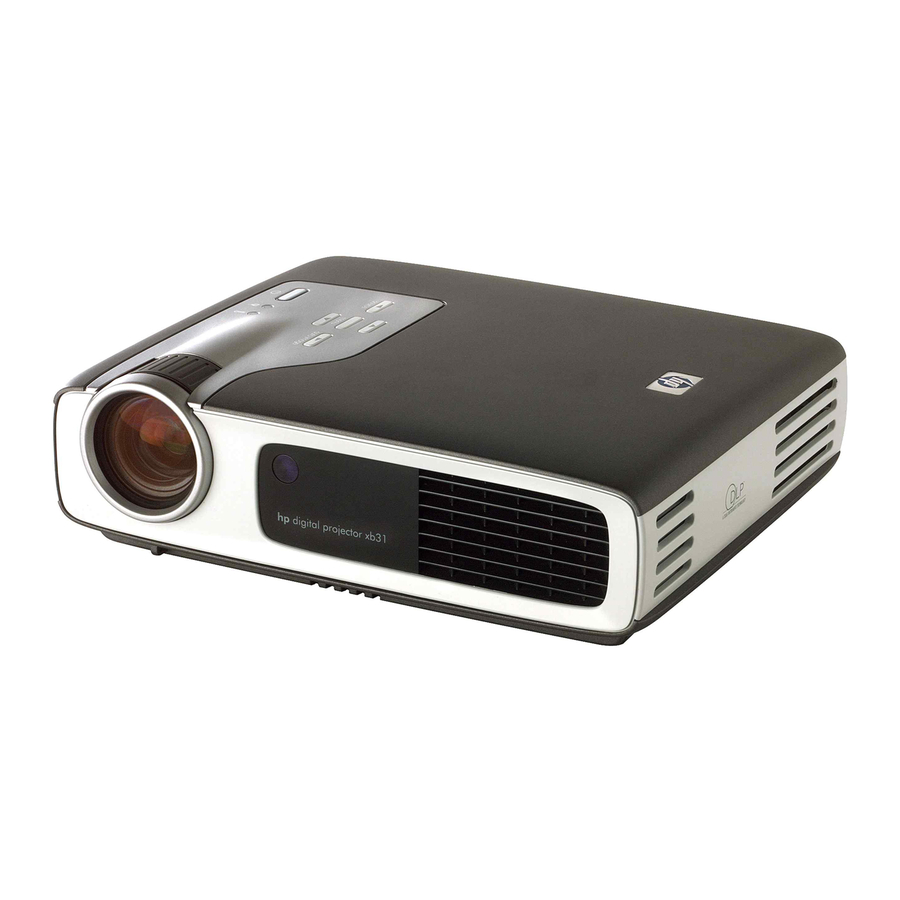
hp digital projector sb
. power cord
1
.
to
2
M1-A
VGA
cable
. 2.5mm mini phone jack
3
for composite video
or digital
cable
. USB Mini-B 5-pin for
4
S-video input cable
.
to
M1-D
DVI-D
5
cable (optional)
.
to
M1-A
HDTV
6
component and
cable (optional)
! ! ! ! !
CAUTION!
Unplugging the projector
while the fan is running
may reduce lamp life.
. lens cap
1
. power
2
ON
. lamp warning indicator light
3
. temperature warning indicator light
4
. source button
5
. menu
6
ON
. auto image button
7
. four directional select buttons
8
21
and
USB
S-video output
and
USB
/
USB
antenna
digital tuner output
/
button
OFF
/
button
OFF
video output
3 3 3 3 3
4 4 4 4 4
6 6 6 6 6
8 8 8 8 8
2 2 2 2 2
3 3 3 3 3
4 4 4 4 4
1 1 1 1 1
USB
DVI
RGB
2 2 2 2 2
5 5 5 5 5
1 1 1 1 1
5 5 5 5 5
6 6 6 6 6
7 7 7 7 7
Inhaltsverzeichnis

Verwandte Anleitungen für HP sb 21


Inhaltszusammenfassung für HP sb 21
-
Seite 3: Anschließen Des Projektors
6 6 6 6 6 vier Richtungswahlschalter 4 4 4 4 4 leuchtet auf. 4. Schalten Sie die Videoquelle ein 7 7 7 7 7 (Computer, Notebook, Video-Player usw.). Der Projektor erkennt die Quelle automatisch. 1 1 1 1 1 hp digital projector sb... - Seite 7 sb...
- Seite 8 sb...
- Seite 9 sb...
- Seite 10 P/N:36.85902.001 Rev:A...