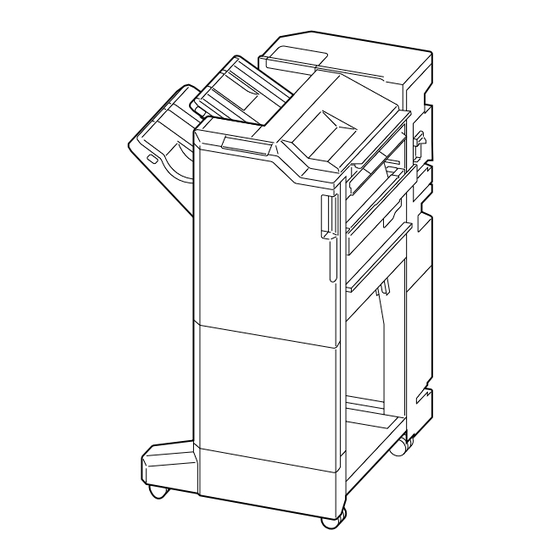
Inhaltszusammenfassung für Kyocera DF-7110
- Seite 1 DF-7110 INSTALLATION GUIDE GUIDE D’INSTALLATION GUÍA DE INSTALACION INSTALLATIONSANLEITUNG GUIDA ALL’INSTALLAZIONE...
- Seite 2 Color MFP Color Printer Color MFP 25/25ppm, 32/32ppm, 60/55ppm 70/65ppm, 73/65ppm, 35/35ppm, 40/40ppm, 80/70ppm, 83/70ppm 50/50ppm, 60/55ppm Black & White MFP Black & White Printer Black & White MFP 40ppm, 50ppm, 60ppm 60ppm 70ppm, 80ppm, 90ppm (EN) A different procedure is required depending on the product which is installed with this unit.Each procedure is described in the following pages. For installation with a MFP(A), see Page 1 to Page 7, Page 16 to Page 17 For installation with a MFP(B), see Page 8 to Page 17.
- Seite 3 F(M4x20) C(M4x8) AK-7100 Be sure to remove any tape and/or cushioning materials from the parts supplied. (EN) (FR) Veillez à retirer les morceaux de bande adhésive et/ou les matériaux de rembourrage des pièces fournies. Asegúrese de quitar todas las cintas y/o material amortiguador de las partes (ES) suministradas.
- Seite 4 C(M4x8) C(M4x8)
- Seite 7 c = d c > d , c < d c > d c < d...
- Seite 10 C(M4x8) F(M4x20) Be sure to remove any tape and/or cushioning materials from the parts supplied. (EN) Veillez à retirer les morceaux de bande adhésive et/ou les matériaux de (FR) rembourrage des pièces fournies. Asegúrese de quitar todas las cintas y/o material amortiguador de las partes (ES) suministradas.
- Seite 11 F(M4x20) F(M4x20) F(M4x20)
- Seite 16 c = d c > d , c < d c > d c < d...
- Seite 18 78.5mm±2.5mm (157mm) (EN) Adjusting the stapling position 1.Connect the machine power plug to the wall outlet and turn the machine main power switch on. 2.Make a test copy using staple mode (double stapled). 3.Check whether the stapling position is off-center.If the staple position is off-center, follow the procedure below to adjust the position. <Reference value>...
- Seite 19 4.Set the maintenance mode U246 and select [Finisher] > [Staple HP]. 6.Press the [Start] key to confirm the setting value. 5.Adjust the values. 7.Perform a test copy. If the paper is stapled too close to the front of the machine (a): Increase 8.Repeat steps 4 to 7 until the staple position is within the reference the setting value.
- Seite 20 2019. 9 303RW5671006...


