Sharp PN-85TH1 Installationsanleitung
Vorschau ausblenden
Andere Handbücher für PN-85TH1:
- Softwareanleitung (19 Seiten) ,
- Bedienungsanleitung (62 Seiten)
Inhaltsverzeichnis
Verfügbare Sprachen
Verfügbare Sprachen
Quicklinks
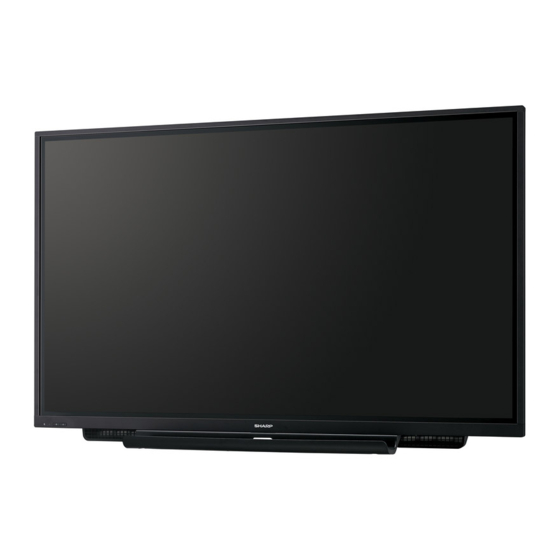
PN-85TH1
PN-75TH1
PN-65TH1
LCD MONITOR
MONITEUR LCD
MONITOR LCD
LCD FARBMONITOR
ЖК МОНИТОР
SETUP MANUAL
MANUEL D'INSTALLATION
MANUAL DE INSTALACIÓN
INSTALLATIONSANLEITUNG
РУКОВОДСТВО ПО УСТАНОВКЕ
ENGLISH ...... E1
FRANÇAIS ..... F1
ESPAÑOL .... S1
DEUTSCH ..... D1
РУССКИЙ...... Р1
.املرفقة
الدليل باللغة العربية يوجد يف أسطوانة
(
CD-ROM
)
Kapitel
Inhaltsverzeichnis

Verwandte Anleitungen für Sharp PN-85TH1


Inhaltszusammenfassung für Sharp PN-85TH1
- Seite 33 D-Sub-Eingangsanschluss, RS-232C-Eingangsanschluss und DisplayPort-Eingangs-/Ausgangsanschlüsse. VEREHRTE KUNDIN, VEREHRTER KUNDE Wir danken Ihnen für den Kauf eines SHARP LCD-Gerätes. Um Ihre Sicherheit sowie einen jahrelangen, störungsfreien Betrieb dieses Produkts zu gewährleisten, lesen Sie bitte den Abschnitt “Sicherheitsvorkehrungen” vor der Verwendung des Produkts...
-
Seite 34: Sicherheitsvorkehrungen
SICHERHEITSVORKEHRUNGEN Elektrizität erfüllt viele nützliche Aufgaben, kann aber auch Personen- und Sachschäden verursachen, wenn sie unsachgemäß gehandhabt wird. Dieses Produkt wurde mit Sicherheit als oberster Priorität konstruiert und hergestellt. Dennoch besteht bei unsachgemäßer Handhabung u.U. Stromschlag- und Brandgefahr. Um mögliche Gefahren zu vermeiden, befolgen Sie beim Aufstellen, Betreiben und Reinigen des Produkts bitte die nachstehenden Anleitungen. -
Seite 35: Wichtige Hinweise Für Die Sicherheit Von Kindern
Bitte lassen Sie das Innere des Monitors von einem autorisierten SHARP-Händler oder einem SHARP Servicecenter reinigen. - Die für WLAN verwendeten Kanäle und Frequenzen sind je nach Land und Region unterschiedlich. -
Seite 36: Wichtige Hinweise Zur Befestigung
• Verwenden Sie das Gerät nicht an Orten, an denen Monitor um bis zu 20 Grad nach oben neigen. es direkter Sonneneinstrahlung oder anderem starken • Wenn der PN-85TH1 von der Senkrechten nach oben Lichteinfall ausgesetzt ist. Weil für die Bedienung geneigt wird, in Bezug zur waagrechten Fläche, wenden Infrarotstrahlen verwendet werden, können Störungen... -
Seite 37: Mitgelieferte Komponenten
Um das Logo zu verdecken, überkleben Sie das SHARP- Logo mit diesem Aufkleber. * Die SHARP Corporation besitzt die Autorenrechte am Utility Disk Programm. Eine Vervielfältigung dieses Programms ohne schriftliche Genehmigung ist daher nicht gestattet. * Der Umwelt zuliebe ! Batterien dürfen nicht mit den Hausmüll entsorgt werden, sondern verlangen Sonderbehandlung. -
Seite 38: Anschlüsse
Für die Installation der Software wird auf die jeweilige Bedienungsanleitung verwiesen. Die Setup-Programme Touch Viewing Software und SHARP Display Connect können über den Information Display Downloader heruntergeladen werden. • Die Begriffe HDMI und HDMI High-Definition Multimedia Interface sowie das HDMI-Logo sind Marken oder eingetragene Marken von HDMI Licensing Administrator, Inc. -
Seite 39: Ein- Und Ausschalten
Ein- und ausschalten Ein- und ausschalten Vorsicht • Schalten Sie zuerst den Monitor und erst danach den Drücken Sie auf die Taste POWER, um die Stromversorgung Computer oder ein anderes Wiedergabegerät ein. ein- oder auszuschalten. • Warten Sie zwischen dem Ein- und Ausschalten des Sie können die Stromversorgung auch ein- oder ausschalten, Hauptnetzschalters oder der Taste POWER immer indem Sie auf der Fernbedienung die Taste MONITOR ON/... - Seite 40 Sie Datum und Uhrzeit ein. • Wenden Sie sich wegen des Austausches der internen The date/time setting must be set by APPLICATION. Batterie an einen autorisierten SHARP-Händler oder ein [SET] : Display "Date & time" on APPLICATION autorisiertes SHARP Servicecenter.
-
Seite 41: Wichtige Hinweise Zur Befestigung (Für Sharp-Händler Und Servicetechniker)
• Verwenden Sie für die Installation nur die Schraubenlöcher für Montagewinkel auf der Rückseite des Monitors. • Wenn dieser Monitor mehr als 20 Grad von der Senkrechten nach oben geneigt wird, in Bezug zur waagrechten Fläche, wenden Sie sich an einen autorisierten SHARP-Händler, da spezielle Montagebedingungen beachtet werden müssen. - Seite 42 nAnbringen der Ablage Verwenden Sie zum Sichern der Ablage 5 Ablagenschrauben (M3x10) (im Lieferumfang enthalten). nMontage der Lautsprecherabdeckungen Befestigungsschrauben für Lautsprecherabdeckung (M3x10) (im Lieferumfang enthalten) Wenn der Monitor in vertikaler Ausrichtung verwendet wird, wird die Lautsprecherabdeckung nicht verwendet.
- Seite 53 MEMO...
- Seite 54 Puissance de transmission sans fil: Moins de 20 dBm / 23 dBm / 30 dBm (PIRE) Με την παρούσα ο/η Sharp, δηλώνει ότι ο ραδιοεξοπλισμός ΟΘΟΝΗ LCD Por la presente, Sharp declara que el tipo de equipo radioeléctrico MONITOR PN-65TH1/PN-75TH1/PN-85TH1 πληροί την οδηγία 2014/53/ΕΕ.
- Seite 55 [Hrvatska (HR)] Uporaba samo u zatvorenom prostoru. [Česká republika (CZ)] Pouze k použití v interiérech. A abaixo assinada Sharp declara que o presente tipo de equipamento de rádio [Danmark (DK)] Kun indendørs brug. MONITOR LCD PN-65TH1/PN-75TH1/PN-85TH1 está em conformidade com a [Nederland (NL)] Alleen voor gebruik binnen.
- Seite 56 Printed in China Imprimé en Chine Impreso en China Gedruckt in China Отпечатано в Китае...