LaserLiner AL 22 Classic Bedienungsanleitung

Verwandte Anleitungen für LaserLiner AL 22 Classic


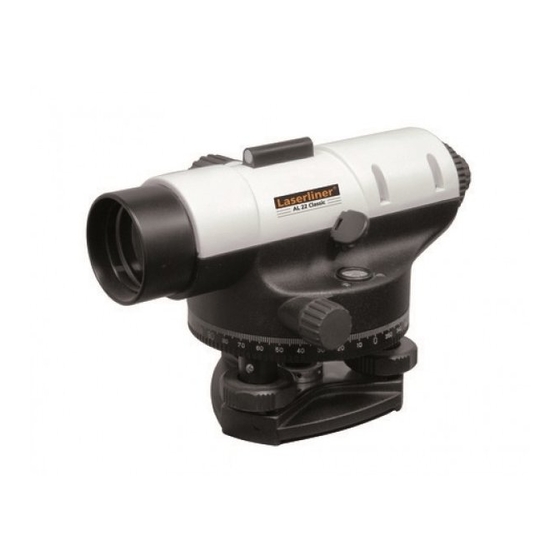
Inhaltszusammenfassung für LaserLiner AL 22 Classic
- Seite 1 AL 22 / 26 Classic...
- Seite 3 AL 22 / 26 Classic Lesen Sie die Bedienungsanleitung, das beiliegende Heft „Garantie- und Zusatzhinweise“ sowie die aktuellen Informationen und Hinweise im Internet-Link am Ende dieser Anleitung vollständig durch. Befolgen Sie die darin enthaltenen Anweisungen. Diese Unterlage ist aufzube- wahren und bei Weitergabe des Gerätes mitzugeben. Robuste und zuverlässige Nivellier instrumente mit heller Hochleistungsoptik für das Bau wesen –...
-
Seite 4: Bestimmen Einer Höhendifferenz
Vor Beginn der Messung sollte das Gerät Zeit haben, die Außen- temperatur anzunehmen. Ausrichten 1. Fernrohr mit der Hand grob auf die Nivellierlatte ausrichten (mit Schnellvisierung). 2. Lattenbild mit dem Fokussierknopf scharf einstellen, Zielkreuz mit Hilfe des Seiten feintriebes genau in die Lattenmitte drehen. 3. -
Seite 5: Abstecken Einer Höhe
AL 22 / 26 Classic Abstecken einer Höhe 1. Die Latte auf den Punkt stellen, dessen Höhe bekannt ist. Wert (A) am Mittelstrich ablesen (A = 90 cm). Abgelesenen Wert zur Höhe des bekannten Punktes addieren. Von diesem Wert (Zielkreuzhöhe) die Höhe des abzusteckenden Punktes H=120 cm abziehen. - Seite 6 Kalibrierung Dosenlibelle 1. Überprüfung: Horizontalkreis auf 0° stellen. Blase mit den Nivellierschrauben genau zentrisch in den Kreis der Dosen- libelle einspielen. Fernrohr um 180°/200 gon drehen. 2. Justierung: Falls die Blase jetzt nicht mehr zentrisch im Kreis liegt, die Abweichung a zur Hälfte (½ a) mit den 2 Kalibrierschrauben der Dosenlibelle ein stellen.
-
Seite 7: Justierung Horizontal
AL 22 / 26 Classic Falls die Höhenunterschiede ungleich sind, so justieren Sie bitte das Instrument folgendermaßen: 2. Justierung horizontal: Berechnen Sie den Wert b und stellen Sie 2soll mit Hilfe der Kalibrier schrauben, die nach Aufdrehen der Schutzkappe hinter dem Okular sichtbar sind, das Ziel kreuz auf den berechneten Wert b 2soll 2soll... -
Seite 8: Technische Daten
Lagerbedingungen nicht kondensierend Stativanschluss 5/8" Gewinde Gewicht / Maße 1,4 kg / 200 x 130 x 130 mm EU-Bestimmungen und Entsorgung Das Gerät erfüllt alle erforderlichen Normen für den freien Warenverkehr innerhalb der EU. Weitere Sicherheits- und Zusatzhinweise unter: http://laserliner.com/info?an=al26... - Seite 69 AL 22 / 26 Classic...
- Seite 71 AL 22 / 26 Classic...