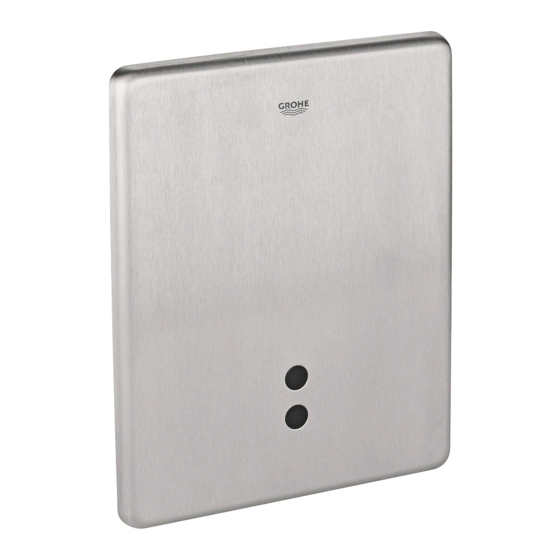
Grohe Tectron series Installation
Vorschau ausblenden
Andere Handbücher für Tectron series:
- Montageanleitung (84 Seiten) ,
- Installation (36 Seiten) ,
- Montageanleitung (24 Seiten)
Werbung
Verfügbare Sprachen
Verfügbare Sprachen
Quicklinks
38 778
.....1
....17
D
I
Tectron
.....5
....21
GB
NL
.....1
....25
D
S
.....5
DK ....29
GB
Design & Quality Engineering GROHE Germany
99.180.131/ÄM 220991/05.11
....33
....49
N
GR
....37
....53
CZ
FIN
....41
....57
PL
H
....45
P
....61
UAE
....65
BG
....81
TR
SK ....69
....85
EST
....73
....89
LV
SLO
....77
....93
HR
LT
....97
RO
...101
CN
...105
RUS
Werbung

Inhaltszusammenfassung für Grohe Tectron series
- Seite 1 38 778 ..1 ..17 ..33 ..49 ..65 ..81 ..97 Tectron ..5 ..21 ..37 ..53 SK ..69 ..85 ...101 ..1 ..25 ..41 ..57 ..73 ..89 ...105 ..5 DK ..29 ..45 ..61 ..77 ..93 Design & Quality Engineering GROHE Germany 99.180.131/ÄM 220991/05.11...
- Seite 2 Bitte diese Anleitung an den Benutzer der Armatur weitergeben! Please pass these instructions on to the end user of the fitting! S.v.p remettre cette instruction à l'utilisateur de la robinetterie!
- Seite 3 180°...
- Seite 4 Für die Betätigung über Funk ist der Funksender Best.- Nr.: 38 758 (siehe Ersatzteile Klappseite I) zu verwenden. Installation Alternativ zu dem GROHE Funksender kann das Produkt auch Für die Leitung zwischen Transformator (A) und Spülkasten ist mit den Funksendern der Firmen Hewi, Keuco, Lehnen,...
- Seite 5 Fertiginstallation Servomotor kalibrieren Hinweis: Der Servomotor muss außerhalb des Spülkastens Vorbereitungen kalibriert werden! Spülkasten A, siehe Klappseite II, Abb. [5 - 13] 1. Spannungsversorgung herstellen: Elektronikmodul (C) mit 1. Rohbauschutz (K1) vom Spülkasten nehmen, siehe Verlängerungskabel (L) verbinden, siehe Klappseite III, Abb.
- Seite 6 Einstellungen vornehmen 7. Die Spülmenge kann innerhalb von 20 s nach der Spülung (bei Bedarf) durch eine erneute Tasterbetätigung verändert Kunststoff-Betätigungsplatte demontieren, siehe Abb. [30a]. werden. Die ausgewählte Spülung wird übernommen, wenn Metall-Betätigungsplatte demontieren, siehe Abb. [30b]. innerhalb von 20 s nach einer Spülung keine Tasterbetätigung mehr erfolgt.
- Seite 7 Elektronik austauschen, siehe Klappseite IV 6. Servomotor kalibrieren, siehe Servomotor kalibrieren. 7. Servomotor einbauen, siehe Servomotor einbauen. 1. Kunststoff-Betätigungsplatte demontieren, siehe Abb. [30a]. 8. Funksender anmelden, siehe Funksender anmelden. Metall-Betätigungsplatte demontieren, siehe Abb. [30b]. 9. Betätigungsplatte montieren, siehe Platte montieren. 2.
- Seite 8 Replacement parts, fold-out page I) must be used. As an Installation alternative to the GROHE radio transmitter, the product can also be used with radio transmitters from Hewi, Keuco, A vacant tube (B) with diameter of 16mm is required for the Lehnen, Normbau, Pressalit, AMS, Deubad, Erlau, FRELU line between transformer (A) and cistern, see Fig.
- Seite 9 Final installation Calibrating the servo motor Preparations Note: The servo motor must be calibrated outside the cistern. 1. Connect the voltage supply: Connect the electronic Cistern A, see fold-out page II, Figs. [5 - 13]: module (C) with the extension cable (L), see fold-out 1.
- Seite 10 Making settings 7. The flow volume can be changed within 20 seconds of flushing (if necessary) by pressing the button again. The Disassemble plastic plate, see Fig. [30a]. selected flush setting is stored if the button is not pressed Disassemble metal plate, see Fig. [30b]. again within 20 seconds of flushing.
- Seite 11 Replacing the electronics, see fold-out page IV 7. Install servo motor, see Installing the servo motor. 8. Register radio transmitter, see Registering a radio 1. Disassemble plastic plate, see Fig. [30a]. transmitter. Disassemble metal plate, see Fig. [30b]. 9. Install actuation plate, see Installing the plate. 2.
- Seite 15 230 V AC...


