JTS RU-G3TH Bedienungsanleitung
Funk-kondensatormikrofon
Inhaltsverzeichnis
Verfügbare Sprachen
Verfügbare Sprachen
Quicklinks
Vertrieb von JTS-Produkten – Distribution of JTS products
Bedienungsanleitung
Instruction Manual
Mode d'emploi
Manual de Instrucciones
RU-G3TH / 5
Bestell-Nr. • Order No. 25.9843
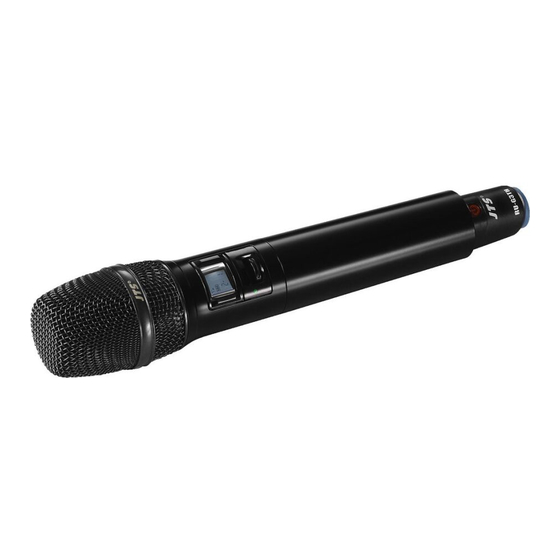
Funk-Kondensatormikrofon
Wireless Condenser Microphone
506 – 542 MHz
Microphone main sans fil à condensateur
Micrófono Condensador Inalámbrico
Kapitel
Inhaltsverzeichnis

Verwandte Anleitungen für JTS RU-G3TH


Inhaltszusammenfassung für JTS RU-G3TH
- Seite 1 Vertrieb von JTS-Produkten – Distribution of JTS products Bedienungsanleitung Instruction Manual Mode d’emploi Manual de Instrucciones RU-G3TH / 5 Bestell-Nr. • Order No. 25.9843 Funk-Kondensatormikrofon Wireless Condenser Microphone 506 – 542 MHz Microphone main sans fil à condensateur Micrófono Condensador Inalámbrico...
-
Seite 4: Inhaltsverzeichnis
Abb. 1 Menü Abb. 2 RU-G3TH / 5 SET (2 s) Group Channel MUTE MUTE Sensitivity −15 dB…15 dB RF Power Low – High Auto OFF 30/10/1 min., OFF Exit REMOSET RU-G3TH RU-G3TH Inhalt Funkmikrofon Diese Anleitung richtet sich an Bediener ohne Übersicht... -
Seite 5: Exit
Die Taste 2 Sek gedrückt halten, bis im Dis- Hiermit erklärt MONACOR INTERNATIONAL, play erscheint dass das Funkmikrofon RU-G3TH / 5 der Richtlinie Zum Ausschalten der Sperre die Taste 2 Sek 2014 / 53 / EU entspricht Die EU-Konformitäts- gedrückt halten, bis erlischt erklärung ist im Internet verfügbar:... -
Seite 6: Inbetriebnahme
4.2 Mikrofon ein- / ausschalten, Anzeigen im Display, 4.3 Einstellungen Mikrofon stummschalten Das RU-G3TH / 5 lässt sich über ein Menü 1) Zum Einschalten die Taste (5) drücken oder (Abb 1) einstellen oder ganz komfortabel vom den MUTE-Schalter (3) einmal kurz runter- Empfänger RU-901G3 / 5 aus durch die REMO-... -
Seite 7: 3 1 Einstellungen Über Das Menü
4.3.1 Einstellungen über das Menü Menüpunkt Einstellung 1) Die SET (7) 2 Sek gedrückt halten, bis das Dis- Sendeleistung (RF Power) play kurz SEtUP anzeigt (Abb 1, Seite 4) Hi (high) einstellen = Mit der Taste hohe Leistung (50 mW) für eine große 2) Die Taste SET so oft drücken, bis der ge- Reichweite, jedoch kürzere Betriebsdauer wünschte Menüpunkt erscheint... -
Seite 8: Technische Daten
5 Technische Daten 3 Im Display darf das Symbol nicht blinken (= Batterien verbraucht) Mikrofontyp: Handmikrofon mit Kondensatorkapsel 4 Soll das Mikrofon nicht nur auf die Gruppe Richtcharakteristik: Niere und den Kanal bzw auf die Übertragungs- frequenz eingestellt werden, sondern soll Trägerfrequenzbereich: 506 –... -
Seite 9: Übersicht Der Gruppen Und Kanäle
Übersicht der Gruppen und Kanäle Gruppe 1 Gruppe 2 Gruppe 3 Gruppe 4 Gruppe 5 Gruppe 6 Kanal Kanal Kanal Kanal Kanal Kanal CH 1 507,275 CH 1 506,250 CH 1 506,500 CH 1 506,750 CH 1 507,100 CH 1 507,850 CH 2 508,100... - Seite 28 MONACOR INTERNATIONAL GmbH & Co. KG, Zum Falsch 36, 28307 Bremen, Germany Copyright by MONACOR INTERNATIONAL. All rights reserved. A-1979.99.01.05.2019 ©...