Lightmaxx Vector Spot 150 Bedienungsanleitung
Inhaltsverzeichnis
Verfügbare Sprachen
Verfügbare Sprachen
Quicklinks
Inhaltsverzeichnis
Fehlerbehebung

Verwandte Anleitungen für Lightmaxx Vector Spot 150


Inhaltszusammenfassung für Lightmaxx Vector Spot 150
- Seite 1 150 LIG0014369-000 01/2019 Bedienungsanleitung User‘s Manual...
- Seite 2 Wichtige Sicherheitshinweise! Bitte vor Anschluss lesen! • Im Falle von Beschädigungen des Netzkabels muss dieses umgehend gegen ein Original Ersatzteil des Herstellers ersetzt werden. RISK OF ELECTRIC SHOCK DO NOT OPEN • Stellen Sie sicher, dass die Netzspannung nicht höher als die auf dem Gehäuse angegebene Spannung ist.
-
Seite 3: Garantie
Herzlichen Glückwunsch zu Ihrem neuen LightmaXX Vector Spot 150! Vielen Dank, dass Sie sich für ein Produkt von LightmaXX entschieden haben. Durch effizien- te Entwicklung und ökonomische Produktion ermöglicht LightmaXX hochwertige Produkte zu einem fantastischen Preis. Bitte lesen Sie die Bedienungsanleitung sorgfältig, um über sämtliche Funktionen dieses Produktes informiert zu sein und... -
Seite 4: Sicherheitshinweise
Sicherheitshinweise: GEFAHR! (Für Babys und Kinder) Verpackungen, Kunststofffolien und sonstiges Verpackungsmaterial ist ordnungsgemäß aufzubewahren oder zu entsorgen. Es ist aufgrund von Erstickungsgefahr außerhalb der Reichweite von Babys und Kindern aufzubewahren. Stellen Sie sicher, dass Kinder niemals unbeaufsichtigt das Gerät benutzen! Vergewissern Sie sich außerdem, dass Kinder keine (Klein-)Teile vom Gerät ent- fernen, da sie durch verschlucken daran ersticken könnten! GEFAHR! (Elektrischer Schlag durch hohe Spannungen im Gerät) -
Seite 5: Installation
Hinweis! (Stromversorgung) Überprüfen Sie unbedingt die Übereinstimmung der Gerätespannung mit Ihrer örtlichen Netzspannung. Die Absicherung Ihrer Netzsteckdose mit einem Fehler- stromschutzschalter (FI) wird unbedingt empfohlen. Sollten Sie ihr Gerät länger nicht benutzen trennen Sie das Gerät vom Netz um Gefahren zu minimieren. Dasselbe gilt für Unwetterbedingungen wie z.B. Gewitter oder Hochwasser, etc. -
Seite 6: Betriebsart Dmx
Inbetriebnahme: Sämtliche Verbindungen des Gerätes sollten vor dem Einschalten erfolgen. Benutzen Sie für die Verbindungen ausschließlich hochwertige, möglichst kurze Kabel. Konfiguration des DMX Steckers: Widerstand 120 Ohm 1/4W zwischen Pin 2 (DMX) und Pin 3 (DMX+) der letzten Fixierung. Betriebsart DMX: Verbinden Sie den DMX Eingang Ihres Gerätes mit dem DMX Ausgang Ihres DMX-Controllers, ihrer DMX Software oder dem DMX Ausgang eines sich bereits in Ihrer DMX Kette befindlichen Gerätes. -
Seite 7: Dmx Tabelle
DMX Tabelle: 10CH 12CH 14CH 16CH Funktion Wert Beschreibung 000-255 0-540° Pan fine 000-255 Pan fine Tilt 000-255 0-270° Tilt fine 000-255 Tilt fine Geschwindig- 000-255 von schnell bis langsam kteit LED Dimmer 000-255 von dunkel bis hell 000-007 einschalten LED Strobe 008-250 Strobe von langsam bis schnell... - Seite 8 10CH 12CH 14CH 16CH Funktion Wert Beschreibung Gobo 3 Shake Geschwindigkeit von langsam 099-115 bis schnell Gobo 2 Shake Geschwindigkeit von langsam 106-112 bis schnell Gobo 1 Shake Geschwindigkeit von langsam 113-119 8 Statisch bis schnell Gobos+ 120-127 Offen Weiß 128-191 Gobo rotieren CW von langsam bis schnell 192-255...
-
Seite 9: Anschlüsse Und Bedienelement
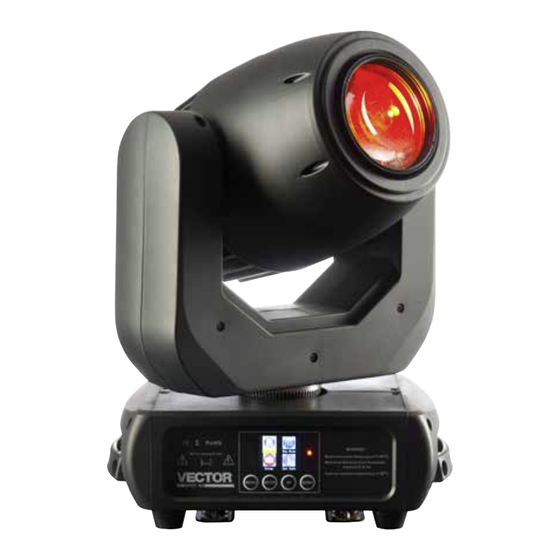
Betriebsart Auto oder Sound: Das Gerät beinhaltet automatische Programme, die nach festen Schemata ablaufen (Auto) oder über das eingebaute Mikrofon passend zur Musik abgerufen werden (Sound). Die Auswahl des jeweiligen Modus erfolgt über das Menü direkt am Gerät. Anschlüsse und Bedienelement: Bezeichnung Bezeichnung Linse... -
Seite 10: Bedienung
Bedienung: Start: Verbinden Sie das Gerät mit dem Stromnetz und warten Sie einige Sekunden bis es Betriebsbereit ist. Menü: Die Navigation im Menü erfolgt über die vier Menütasten unterhalb des Displays. Mit der „Menü-“Taste aktivieren Sie das Menü, die Navigation erfolgt über die „Up-“ und „Down-“ Tasten. -
Seite 11: Spezifikationen
Spezifikationen: Model Vector Spot 150 Leistungsaufnahme 250 Watt Netzspannung AC90-260V 50/60Hz LED Quelle 150W hoher Output weiße LED DMX Kanäle 10/12/14/16 DMX 512 Farbrad 7 Farben + Weiß Goborad 1 (statistische Gobos) 8 Gobos + offen Goborad 2(rotierende Gobos) 6 Gobos + offen... -
Seite 12: Fehlerbehebung
Fehlerbehebung: Die nachfolgende Übersicht dient als Hilfe für eine schnelle Fehlerbehebung. Sollten Sie sich unsi- cher sein, kontaktieren Sie den Hersteller, den Händler oder entsprechendes Fachpersonal. Öffnen Sie niemals eigenständig das Gerät! Symptom Fehlerbehebung Keine Funktion Überprüfen Sie die Netzverbindung, sowie ihre Sicherung. Überprüfen Sie die Kabelverbindungen Keine Reaktion im DMX Betrieb Überprüfen Sie ihre DMX Adresseinstellungen... -
Seite 13: Entsorgung Von Verpackungen
Entsorgung von Verpackungen: Sorgen Sie dafür, dass Papierverpackungen, Kunststoffmaterial, etc. getrennt den entsprechenden Verwertungen zugeführt werden. Beachten Sie die Kenn- zeichen und die entsprechenden Vorschriften. Entsorgung von Batterien: Batterien gehören nicht in den Müll! Bitte führen Sie Batterien den behördlichen Vorgaben entsprechend Sammelstellen oder Entsorgungsstationen zu.