Werbung
Quicklinks
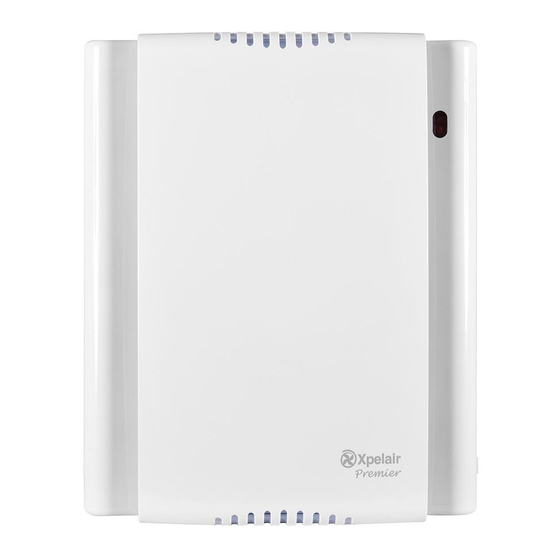
Xpelair
Condensation Control Fans
♦ CF40DC Pull Cord
♦ CF40TDDC Pull Cord/Timer
♦ CF40RSTDDC Remote Switched/Timer
Centrifugal Ducted Fans
♦ DX400DC Remote Switched
♦ DX400PCDC Pull Cord
♦ DX400TDC Remote Switched/Timer
Installation and maintenance instructions
Retain for future reference
GB
GB
F
D
NL
a
Werbung

Inhaltszusammenfassung für Xpelair Premier CF40DC
- Seite 1 Xpelair Condensation Control Fans ♦ CF40DC Pull Cord ♦ CF40TDDC Pull Cord/Timer ♦ CF40RSTDDC Remote Switched/Timer Centrifugal Ducted Fans ♦ DX400DC Remote Switched ♦ DX400PCDC Pull Cord ♦ DX400TDC Remote Switched/Timer Installation and maintenance instructions Retain for future reference...
- Seite 4 1. R 2. I 3. A 4. T 5. C 6. S 7. W 8. E 9. G “A If i If i If i If i • T...
- Seite 5 6. Pass the electrical cables into the fan box through CF40DC / CF40TDDC / CF40RSTDDC Only (Fig. D) If installing in a wall (surface mounting) the rear cable inlet hole and surround, and re-fit the The correct condensation control speed should be cable grommet.
- Seite 6 Top Ancillary Options For fixed wiring circuits, the protective fuse for the CF40DC / CF40TDDC / CF40RSTDDC “Light I” is lit when the separate on/off switch is switched appliance must not exceed 5A on.
- Seite 7 être nécessaire d'utiliser les options auxiliaires indiquées passage du câble. Vérifiez que la bague de passage Seulement (Fig. CF40DC / CF40TDDC / CF40RSTDDC 0 . Coloque el conducto en la au paragraphe "Options Auxiliaires". CF40 / CF40TD / CF40RSTD solamente (Fig. D) du câble est en place et est bien serrée.
- Seite 8 ε αεριστήρας λειτ υργεί σε τα ύτητα ελέγ υ CF40DC / CF40TDDC ε αεριστήρας λειτ υργεί σε τα ύτητα ελέγ υ 5. Couvercle du Bornier υγρ π ίησης, ταν η σ ετική υγρασία υπερ αίνει τ...
- Seite 9 Dabei sicherstellen, dass möglicherweise einige der Zusatzteile, die unter “Zusatzteile”aufgeführt sind, benötigt. Nur für CF40DC / CF40TDDC /CF40RSTDDC (Abb. ) Rohranschlussstutzen in den Kanal eingeführt wird. Die Einfassung 0 wird nicht benötigt. Den Kanal am “Zusatzteile”aufgeführt sind, benötigt. Nur für CF40 / CF40TD / CF40RSTD (Abb.D ) 4.
- Seite 10 1. Rimuovere il coperchio anteriore e rimetterlo a posto dopo la regolazione (Fig. C ) dopo la regolazione (Fig. C ) 1. Leitblech das Gerät 5A nicht übersteigen. CF40DC / CF40TDDC /CF40RSTDDC sta aspirando il gocciolamento. 2. Vorderabdeckung sta aspirando il gocciolamento. DX400RSDC 3.
- Seite 11 απαιτ ύµενη θέση. Σηµειώστε τι ε αεριστήρας είναι Συναρµ λ γήστε τ υς τρεις σ ι τήρες τ υ σώµατ ς Enkel CF40DC / CF40TDDC /CF40RSTDDC (afb. (afb. D ) U heeft de montageplaat 0 niet nodig. Monteer het kanaal Enkel ρυθµισµέν...
- Seite 12 De lamp is uit als 1. Ta bort frontpanelen och sätt tillbaka den när du har CF40DC / CF40TDDC fläkten är avstängd eller när den använder funktionen FÖRVARA DET HÄR HÄFTET VID FLÄKTEN SÅ ATT 1.
- Seite 13 " ء اI" ر ا رو ل د " ء اI" ر ا رو ل د ا د ا و ور راف ا ح إ را دم ا ر د ا رو ا رة ھذه رك ر دة ا...
- Seite 14 ﻲ ﺧ ﻮ ﺗ ﺐ ﺠ ، ﻳ ﺩ ﻮ ﻗ ﻮ ﻟ ﺎ ﺑ ﻞ ﻌ ﺘ ﺸ ﻳ ﺯ ﺎ ﻬ ﺟ ﺎ ﻬ ﺑ ﺔ ﻓ ﺮ ﻏ ﻲ ﻓ ﺔ ﺣ ﻭ ﺮ ﻤ ﻟ ﺍ ﺐ...
- Seite 15 WICHTIG IMPORTANTE IMPORTANT 1. BITTE LESEN SIE DIESE GESAMTE GEBRAUCHSANWEISUNG UND ALLE WARNHINWEISE VOR BEGINN DER INSTALLATION DURCH. 1. LEA TODAS LAS INSTRUCCIONES Y ADVERTENCIAS COMPLETAMENTE ANTES DE INICIAR LA INSTALACIÓN. 1. LISEZ ATTENTIVEMENT TOUTES LES INSTRUCTIONS ET AVERTISSEMENTS AVANT DE COMMENCER L’INSTALLATION. 2.
- Seite 16 Guarantee UK: This fan is guaranteed against defects for 3 years from the date of purchase • Xpelair reserve the right to repair or replace the fan • Keep your purchase receipt • Any problems, contact the address below Outside UK: See International section below In the unlikely event of a product breakdown during the guarantee period you should contact our Service and Repair Helpline who will be able to assist with the repair and advise the best course of action to be taken.