Mantis XP Montageanleitung
Rasenlüfter
Verfügbare Sprachen
Verfügbare Sprachen
HOW TO MOUNT
Mount the aerator tines so the angled face of the blade
impacts with the earth (Figure 1). This position gives you
aeration 1 to 2 inches deep.
If you mount the tines so the straight face impacts with
the earth, you'll work deeper (Figure 2). Roughly 2-1/2
to 3-1/2 inches deep. This is all right, but when learning
how to use the aerator blades, it is best to work shallow,
not deep, which is why we suggest to first use the angle
face setting.
You will notice that if you let the machine run forward it
will tear out dome sized patches of lawn and soil. While
this does give you some aeration, you get the best
results by walking backwards and pulling the machine
as you go.
Figure 1
Rotation
OPERATING SUGGESTIONS
Before doing your lawn, a brief review of Basic Lawn
Management is in order. You aerate to give your grass
roots a chance to breathe ... You also aerate to allow
irrigation to seep below the soil's hard crust so your roots
get proper hydration ... Many people aerate without
reseeding or fertilizing ... This is perfectly acceptable
with a good healthy lawn; however, reseeding and
fertilizing after aerating does give you healthy new
growth which is essential to the maintenance of a
good lawn.
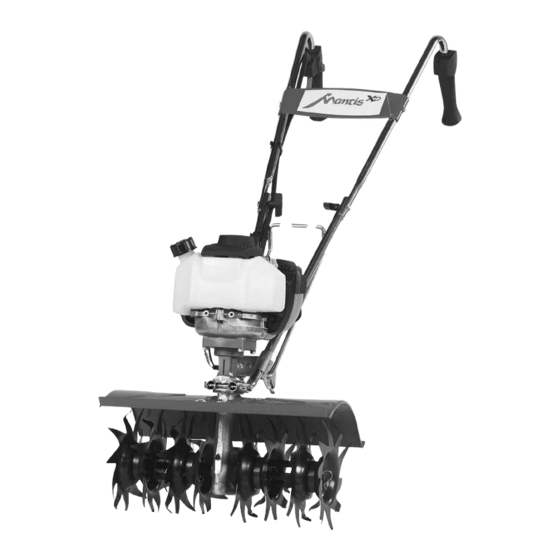
XP Lawn Aerator
Eight gangs of tempered steel
"knives." These knives cut into
the soil beneath your lawn to let
water and nutrients penetrate
easily, and to encourage deep
drought-resistant root growth.
Figure 2
Rotation
Mantis
XP Lawn Aerator • mantis.com
®
Regardless of the method you use ... Please be
aware that aerating with any machine will make your
lawn somewhat unsightly for about 10 days ... The
improvements that you'll realize in terms of lawn vigor
and color make regular aeration more than worth it.
Remember, however, that aeration is a radical procedure
and your lawn will look unattractive for a few days
... Most of the unsightly aspects of aeration can be
eliminated immediately by raking off your loose surface
earth and irrigating immediately after raking.
The aerator cuts 8 hairline slits roughly 2-1/2 inches
apart and 1-1/2 inches deep. You will get some loose
earth between the slits. If your lawn needs radical
restoration, aerate north to south and then aerate east to
west, giving you a checker board pattern of slits. Leave
the earth where it is until you've sown fresh grass seed
and fertilizer along the slits then rake off the loose earth
and you'll get fresh bands of healthy green grass which
in 3 to 5 weeks will spread over your entire lawn, giving
you a rich carpet of healthy green growth.
We recommend that you aerate three times a year,
early spring, mid-summer and early fall only ... Aeration
should always follow a thorough program of dethatching.
Used this way, you will have a lawn that will turn your
neighbors green with envy.
p/n 400334
p/n 400337
p/n 400338
p/n 400335
p/n 418-1
Inhaltsverzeichnis

Verwandte Anleitungen für Mantis XP


Inhaltszusammenfassung für Mantis XP
-
Seite 5: Empfehlungen Für Die Bedienung
Bei einem gesunden Rasen ist das kein Problem, Teile-Nr. 400334 Teile-Nr. 400337 Teile-Nr. 400338 Teile-Nr. 400335 aber mit Nachsäen und Düngen im Anschluss an das Lüften wird ein neues, gesundes Wachstum gefördert, was für eine erfolgreiche Rasenpflege entscheidend ist. Teile-Nr. 418-1 Mantis Rasenlüfter XP • mantis.de.com ®... -
Seite 6: Einbau Der Hackelemente
EINBAU DER HACKELEMENTE 1. Zunächst müssen Sie wissen, dass Ihr Mantis XP auf 5. Montieren Sie einen Satz der inneren Hackelemente auf ® jeder Seite der Fräse über einen Satz innerer und äußerer der linken Getriebeachse. Bringen Sie den Haltestift der Hackelemente verfügt (siehe Abb.