Numark NS7 II Schnellstartanleitung
Quicklinks
1
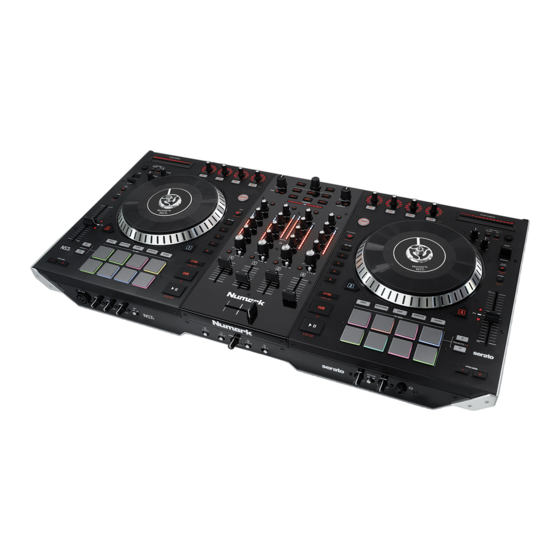
Remove the NS7II from the packaging. Remove the two platter
assemblies from package (underneath the NS7II controller). Place
the NS7II is on a flat, stable surface for operation. Ensure unit has
adequate air flow to all ventilation ports (especially if installed in a
case).
Retire el NS7II del embalaje. Retire los dos conjuntos de plato del
embalaje (están debajo del controlador NS7II). Coloque el NS7II
sobre una superficie plana y estable para hacerlo funcionar.
Asegúrese de que la unidad tenga un flujo de aire adecuado en
todas las aberturas de ventilación (especialmente si se instala dentro
de una caja).
4
Line up the notch in the spindle with the screw in the vinyl's 45 RPM
Adapter. Use the allen wrench (included) to tighten the screw,
locking the adapter to the spindle.
Alinee la muesca del eje con el tornillo del adaptador de 45 RPM
del vinilo. Use la llave Allen (incluida) para apretar el tornillo,
sujetando así el adaptador en el eje.
Quickstart Guide
Guía de inicio rápido
2
Place the platter onto the NS7II by aligning the pins in the bottom of
the platter with the holes in the NS7II's motor.
Coloque el plato en el NS7II alineando los pernos de la parte
inferior del plato con los orificios del motor.
5
Drivers:
Download
and
install
the
numark.com/ns7ii. (You will be asked to connect the NS7II to your
computer during installation.)
Software: Download and install the latest version of Serato DJ from
serato.com.
Drivers: Descargue y instale los drivers más recientes de
numark.com/ns7ii. (El sistema le solicitará que conecte el NS7II a la
computadora durante la instalación).
Software: Descargue y instale la versión más reciente de Serato DJ
de serato.com.
3
Place the slipmat onto the platter, then place the vinyl over the
slipmat.
Coloque la alfombrilla sobre el plato y luego el vinilo sobre la
alfombrilla.
6
Connect input sources (microphones, turntables, CD players, etc.) to
the NS7II. Connect output devices (power amplifiers, sub-mixer,
latest
drivers
from
recorders, etc.) to the NS7II. Turn on (1) input sources, (2) NS7II, (3)
output devices. Connect the NS7II to your computer with the USB
cable (included) and to your headphones. Open Serato DJ and go!
For more information on how to use Serato DJ with NS7II, visit
serato.com/dj/support and select Numark NS7II.
Conecte al NS7II las fuentes de entrada (micrófonos, giradiscos,
reproductores de CD, etc.) al NS7II. Conecte al NS7II los dispositivos
de salida (amplificadores de potencia, submezclador, grabadores,
etc.). Encienda (1) las fuentes de entrada, (2) el NS7II, (3) los
dispositivos de salida. Conecte el NS7II a la computadora con el
cable USB (incluido) y a sus auriculares. ¡Abra el software Serato DJ
y allá va! Para más información acerca de cómo usar Serato DJ con
NS7II, visite serato.com/dj/support y seleccione Numark NS7II.
numark.com
Manual Version 1.0

Verwandte Anleitungen für Numark NS7 II


Inhaltszusammenfassung für Numark NS7 II
- Seite 1 NS7II. Turn on (1) input sources, (2) NS7II, (3) numark.com/ns7ii. (You will be asked to connect the NS7II to your output devices. Connect the NS7II to your computer with the USB computer during installation.) cable (included) and to your headphones.
- Seite 2 Branchez les sources d'entrée audio (microphones, tourne-disques, lecteurs de disques compacts, etc.) au NS7II. Branchez les dispositifs de sortie audio du site numark.com/ns7ii. (Vous serez invité à brancher le NS7II à (l'amplificateur, sub-mixer, enregistreurs, etc.) au NS7II. Branchez tous les appareils à...