Isotta ATT/SC670 Montageanleitung
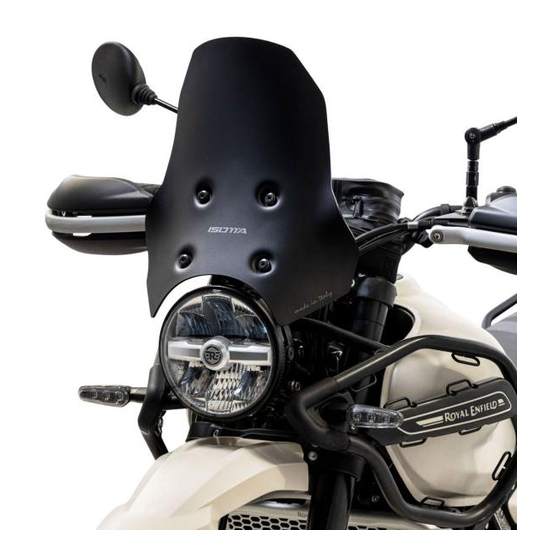
Windschutzscheibe, royal endfiled himalayan 450
Quicklinks
10-12m
HAI BISOGNO DI / YOU NEED / TU AS BESOIN DE / NECESITAS / DU BRAUCHST
Chiave esagonale M5 M6
M5 M6 hex key
Inbusschlüssel M5 M6
Llave hexagonal M5 M6
COMPONENTI / COMPONENTS / COMPOSANTS / COMPONENTES / KOMPONENTEN
COMPONENTS
A
Cupolino
B
Viti testa tonda M6 lunghezza 20 MM (VIT TCB EI M6x20 INOX)
C
Funghetto metallo altezza 6,6 MM ( FUN T16x2 C8 F6.2 H6.6 Al.)
D
Gommino ( GOM C F8.5 D14.0 H7.50 )
E
Distanziali plastica ( DIS T P F8.5 D15 H6 Plastica )
Parabrezza / Windishield / Pare-brise / Parabrisas / Windschutzscheibe
Art: n° SC670 / SC671 / ATT SC670 / Royal Endfiled Himalayan 450
LEGENDA:
Avvitare / screw in / visser dans / atornille en / schraube ein
Svitare / unscrew / dévisser dans / desatornille en / herausschraube
Q
1
4
4
4
4
1

Verwandte Anleitungen für Isotta ATT/SC670


Inhaltszusammenfassung für Isotta ATT/SC670
- Seite 1 Parabrezza / Windishield / Pare-brise / Parabrisas / Windschutzscheibe Art: n° SC670 / SC671 / ATT SC670 / Royal Endfiled Himalayan 450 10-12m LEGENDA: HAI BISOGNO DI / YOU NEED / TU AS BESOIN DE / NECESITAS / DU BRAUCHST Chiave esagonale M5 M6 Avvitare / screw in / visser dans / atornille en / schraube ein M5 M6 hex key...
- Seite 2 Avvertenze/Warnings/Avertissements/Advertencias/Warnungen IT/ Il rispetto delle normative locali è responsabilità dell'acquirente, quindi ti invitiamo a verificarle prima di utilizzare il prodotto. Per garantire la validità della garanzia, è importante seguire attentamente le istruzioni di montaggio fornite. RC Motor Projects non può essere ritenuta responsabile per eventuali problemi derivanti da un uso improprio o da un montaggio non corretto.
- Seite 3 IT / Rimuovere il cupolino presente sulla moto svitando le quattro viti evidenziate in rosso. IT / Montare il nuovo cupolino come da illustrazione. EN / Remove the windshield on the motorcycle by unscrewing the four screws highlighted in red. EN / Install the new windshield as shown in the illustration.