RODE Microphones NT1-A Benutzerhandbuch
Vorschau ausblenden
Andere Handbücher für NT1-A:
- Bedienungsanleitung (9 Seiten) ,
- Bedienungsanleitung (15 Seiten) ,
- Bedienungsanleitung
Inhaltsverzeichnis
Verfügbare Sprachen
Verfügbare Sprachen
Quicklinks
User Manual of Product 1:
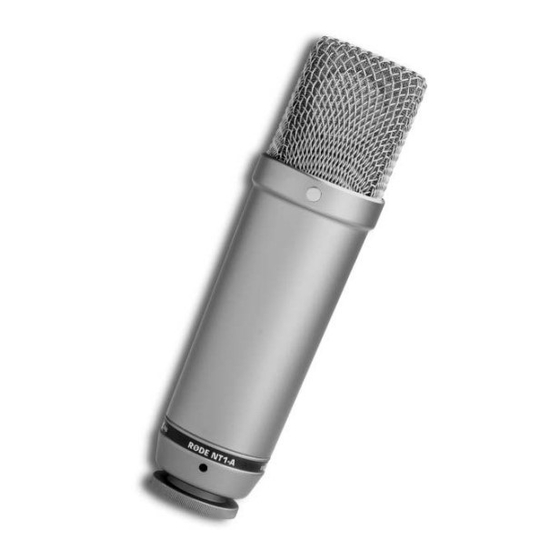
RØDE NT1A Large-diaphragm Cardioid Condenser
Microphone with Shock Mount, Pop Filter and XLR Cable for
Music Production, Vocal Recording, Streaming and Podcasting
User Manual of Product 2:
M-Audio AIR 192x6 USB C MIDI Audio Interface for Recording,
Podcasting, Streaming, Studio Quality Sound, 2 XLR in and
Music Production Software
Inhaltsverzeichnis

Verwandte Anleitungen für RODE Microphones NT1-A


Inhaltszusammenfassung für RODE Microphones NT1-A
-
Seite 14: Guida Per L'uso
User Guide English ( 2 – 5 ) Guía del usuario Español ( 6 – 9 ) Guide d'utilisation Français ( 10 – 13 ) Guida per l'uso Italiano ( 14 – 17 ) Benutzerhandbuch Deutsch ( 18 – 21 ) Appendix English ( 22 –... -
Seite 31: Einführung
Benutzerhandbuch (Deutsch) Einführung Lieferumfang AIR 192|6 Software Download-Karten USB-C-zu-USB-C Kabel Benutzerhandbuch USB-C-zu-USB-A Kabel Sicherheitshinweise und Garantieinformationen Kundendienst Für aktuelle Informationen zu diesem Produkt (Systemanforderungen, Informationen zur Kompatibilität etc.) und zur Produktregistrierung besuchen Sie m-audio.com. Um weitere Unterstützung zu Ihrem Produkt zu erhalten, besuchen Sie m-audio.com/support. Schnellstart Windows Anwender: Installieren Sie die Treiber bevor Sie AIR 192|6 mit Ihrem Computer verbinden: 1. - Seite 32 Anschlussdiagramm Teile, die nicht unter Einführung > Lieferumfang angegeben sind, sind separat erhältlich. Aktivemonitore Mikrofon Kopfhörer Externe MIDI-Geräte Rückseite Vorderseite Gitarre Computer Wichtig: • Verwenden Sie den +48V (Phantomspeisung)-Schalter nur dann, wenn ein Mikrofon eine Phantomspeisung benötigt. Die meisten dynamischen Mikrofone und Bändchenmikrofone benötigen keine Phantomspeisung.
-
Seite 33: Funktionen
Funktionen Oberseite 1. Eingangsverstärkung: Passt Verstärkungsfaktor des Eingangs an. Stellen Sie diesen Regler so ein, bis entsprechende LED-Anzeige (unterhalb des Reglers) während der Performance einen "gesunden" Pegel anzeigt. Der Pegel sollte jedoch nicht so hoch sein, dass die Anzeige "clippt" oder Pegelspitzen erreicht werden, Audiosignal verzerren. - Seite 34 Rückseite 1. USB-Port (Typ C): Über diesen Anschluss können Sie Audio- und MIDI-Daten an und vom Computer senden. Verwenden Lieferumfang enthaltenen USB-C- auf-USB-C oder USB-C-auf-USB-A- Kabel, um Ihr AIR 192|6 an einen Computer anzuschließen. AIR 192|6 benötigt einen USB 2.0-Anschluss (oder höher).
- Seite 37 m-audio.com Manual Version 1.1...