Nice Nemo SRT Installierungs-Und Gebrauchsanleitungen Und Hinweise
Vorschau ausblenden
Andere Handbücher für Nemo SRT:
- Installierungs-und gebrauchsanleitungen und hinweise (10 Seiten) ,
- Kurzanleitung (8 Seiten)
Inhaltsverzeichnis
Verfügbare Sprachen
Verfügbare Sprachen
Quicklinks
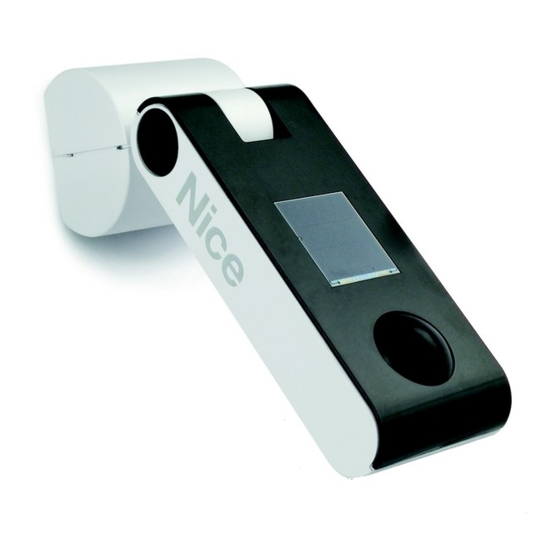
Nemo
SRT
SRT
WSRT
Climatic sensor
WSRT
0682
EN -
Instructions and warnings for installation and use
IT -
Istruzioni ed avvertenze per l'installazione e l'uso
FR -
Instructions et avertissements pour l'installation et l'utilisation
ES -
Instrucciones y advertencias para la instalación y el uso
DE -
Installierungs-und Gebrauchsanleitungen und Hinweise
PL -
Instrukcje i ostrzeżenia do instalacji i użytkowania
NL -
Aanwijzingen en aanbevelingen voor installatie en gebruik
Inhaltsverzeichnis

Verwandte Anleitungen für Nice Nemo SRT


Inhaltszusammenfassung für Nice Nemo SRT
- Seite 1 Nemo WSRT Climatic sensor WSRT 0682 EN - Instructions and warnings for installation and use IT - Istruzioni ed avvertenze per l’installazione e l’uso FR - Instructions et avertissements pour l’installation et l’utilisation ES - Instrucciones y advertencias para la instalación y el uso DE - Installierungs-und Gebrauchsanleitungen und Hinweise PL -...
-
Seite 34: Schritt 1 - Installation Und Elektrische Anschlüsse
Kurzanleitung Hinweis zum Gebrauch • In dieser Kurzanleitung entspricht die Nummerie- rung nicht der Nummerierung der voll- ständigen Gebrauchsanweisung. • Die- Nemo WSRT / SRT Climatic se Kurzanleitung ersetzt nicht die voll- sensor ständige Gebrauchsanleitung. Schritt 1 - Installation und elektrische Anschlüsse 60°... -
Seite 35: Schritt 2 - Speicherung Des Sensors Und Überprüfung Der Speicherung
nur für das Modell SRT 10 cm Abb. A Regensensor Sonnensensor Windsensor (nur für WSRT) Taste „P1“ Wind (nur für WSRT) Sonne Led „L1“ Schritt 2 - Speicherung des Sensors und Überprüfung der Speicherung “P1” “P1” “P1” sec. Gedrückt halten Warten Loslassen 3 Mal drücken... - Seite 36 (Überprüfung der Speicherung) “P1” sec. Bewegungen (3) / Töne (3 Signaltöne) 1 Mal drücken (Hochfahren) 1 Mal drücken (Anhalten) Schritt 3 - Eichung des Sensors „Sonne“ “L1” (grün) ≥ 1Klux sec. Schnelles Blinken Den Trimmer auf „Test“ drehen den Sensor anleuchten Warten Mehrmaliges Blinken Absenken...
- Seite 37 “L1” (orange) “L1” (grün-rot-) sec. Schnelles Blinken Schnelles Blinken Mehrmaliges Blinken Finger entfernen Warten Mehrmaliges Blinken Sensor aufdecken wind Den Trimmer auf den anderen Wert drehen Schritt 5 - Eichung des Sensors „Wind“ (nur für das Modell WSRT) wind “L1” (rot) sec.
-
Seite 38: Allgemeine Hinweise
Nice verwenden. Jede andere Verwendung munikation zwischen Sensor und Motor stören. Schaltkreise enthält, die keiner Instandhaltung unter- ist als falsch anzusehen und somit verboten! Nice • Überprüfen, dass der für die Installation des Sensors liegen. ist nicht für Schäden durch eine falsche Anwen- gewählte Ort folgende Voraussetzungen erfüllt:... -
Seite 39: Installation Des Produktes
Anmerkung zu den Vorgehensweisen – Wenn der • Da der Sensorkörper ein Gelenk besitzt und schwenk- Sensor die Befehle „per Funk“ senden kann. Zur Spei- bar ist, kann das Produkt auch auf einer schrägen Flä- cherung des Sensors muss das Verfahren „Modus I“ Trimmer auf der Funktion „Test“... -
Seite 40: Einstellung Der Einsatzgrenz- Werte Der Klimasensoren
03. Einen Finger auf den Regensensor legen und dort 7 - EINSTELLUNG DER EINSATZGRENZ- Vorgehensweise zum Einstellen des Einsatz- lassen. Dann prüfen, ob: a) der Motor nach zwei grenzwertes des Sensors “Sonne” und “Wind” WERTE DER KLIMASENSOREN Sekunden den Befehl zum Hochfahren sendet (Abb. -
Seite 41: Entsorgung Des Produkts
Temperatur von 20°C (± 5°C). TECHNISCHE EIGENSCHAFTEN DES PRO- Rote LED blinkt (*) (Intervalle von 0,5 – Nice S.p.a. behält sich das Recht vor, jederzeit als DUKTS Sekunden, für 3 Sekunden) = Selbstdiagnose: nötig betrachtete Änderungen am Produkt vorzuneh- Sensor „Wind“... - Seite 58 - Appendix - Appendice - Appendice - Apéndice - Anhang - Załącznik - Bijlage...
- Seite 64 Nice SpA Oderzo TV Italia www.niceforyou.com info@niceforyou.com...