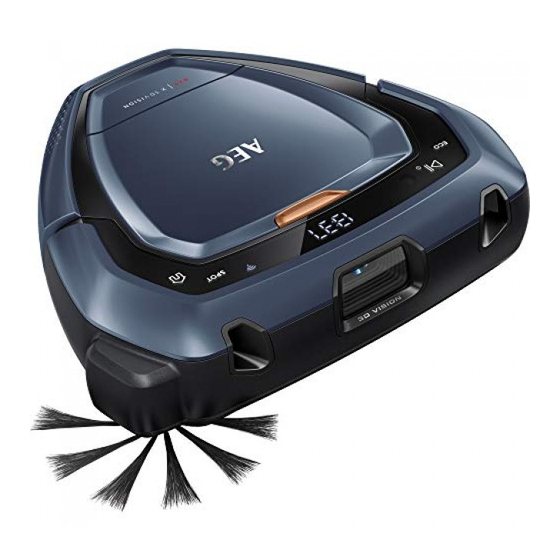
Inhaltszusammenfassung für AEG RX9
- Seite 1 INSTRUCTION BOOK GB INSTRUCTION BOOK ES LIBRO DE INSTRUCCIONES NL GEBRUIKSAANWIJZING DE ANLEITUNG FR MODE D’EMPLOI PT MANUAL DE INSTRUÇÕES...
-
Seite 2: Safety Precautions
All service or repairs must be carried out by an times the robot is used. authorized AEG service centre. Before cleaning, remove small and fragile objects Remove the robot from the charger before cleaning such as clothing, curtain strings, papers and power or maintaining your robot. - Seite 3 To protect the internal parts of product it should not To recycle your product, please take it to be stored, charged or operated in: an official collection point or to an AEG • An ambient temperature below 10 °C or exceeding service center that can remove and recycle 30 °C.
-
Seite 4: Sicherheitshinweise
Verletzungen oder Beschädigungen werden nicht von der Die Wartungs- und Reparaturarbeiten müssen von einem Garantie oder AEG gedeckt. autorisierten AEG Kundendienst durchgeführt werden. Die Garantie schließt nicht eine Verringerung der Nehmen Sie den Roboter aus der Ladestation, bevor Sie Akkulaufzeit auf Grund von Alterung oder häufiger ihn reinigen oder warten. - Seite 5 Kundendienst und Service die Lebensdauer reduzieren. • Bei einer relativen Luftfeuchtigkeit unter 20% oder über Wenn Sie sich an den AEG Kundendienst wenden, stellen 80% (nicht kondensierend) Sie sicher, dass Sie folgende Daten zur Hand haben: Laden Sie das Gerät mindestens 24 Stunden: •...
-
Seite 6: Overview Of The Robot / Überblick Über Den Roboter
Overview of the robot / Überblick über den Roboter... -
Seite 7: Inhaltsverzeichnis
Verbindungsherstellung mit der „RX9” APP ........ -
Seite 8: How To Use The Robot
How to use the robot vacuum cleaner / Verwendung des Roboter-Staubsaugers Installation of the robot vacuum cleaner Installation des Roboter-Staubsaugers 0.5 m 1.5 m 0.5 m 1. Place the Charging base on the floor against the wall. 2. Place the side brush. 3. -
Seite 9: How To Connect To The "Rx9" App
Wir empfehlen Ihnen die App herunterzuladen und die Software vor der ersten Inbetriebnahme zu aktualisieren. 2.4 GHz 5 GHz 1. Download the ”RX9” App in the App Store or Google 2. During the process the App will ask you to turn the 3. When the setup is completed, turn the robot back... -
Seite 10: Eco Mode
10 10 How to use the robot vacuum cleaner / Verwendung des Roboter-Staubsaugers Auto Docking/Charging Auto charging during cleaning cycle Crossing threshold Automatisches Andocken/Laden Automatisches Laden während des Reinigungsvorgangs Überquerung von Schwellen When cleaning is completed, the robot automatically Should recharging be needed during cleaning, Before crossing a threshold or climbing over any returns to the charging base. -
Seite 11: Tips On How To Get The Best Results
Tips on how to get the best results / Tipps zum Erzielen bester Ergebnisse 11 11 Preparing the cleaning area Vorbereitung des Reinigungsbereichs 22 mm 40 cm 95 mm (A) Leave a space of 40 cm around furniture without legs. Carpets: The robot cleans (B) The robot easily crosses thresholds with a height up to 22 mm. - Seite 12 12 12 Tips on how to get the best results / Tipps zum Erzielen bester Ergebnisse Always carry the robot with two hands keeping the Cleaning of a house with more than one floor can be front up. Manual moving of the robot: facilitated by using an extra charging base on each Moving the robot during the cleaning process is not advised, floor.
-
Seite 13: Emptying The Dust Container
Emptying the Dust container, Replacing/Cleaning the Filter / Leeren des Staubbehälters, Austausch/Reinigung des Filters 13 13 Emptying the Dust container Leeren des Staubbehälters 1. Empty the dust container regularly or when the dust 2. Press Release button (A), remove the Dust container 3. -
Seite 14: Maintenance / Wartung
14 14 Maintenance / Wartung Cleaning the 3D Vision System (Camera) Cleaning the Wheels Reinigung des 3D-Sichtsystems (Kamera) Reinigung der Räder The 3D Vision System works best if the windows 1. Remove entangled hairs or such from the main 2. Should the small wheels get stuck, remove them (A,B,C) are kept clean and free from scratches. -
Seite 15: Changing The Batteries
Cleaning the Air channel, Changing the batteries / Reinigung des Luftkanals, Austausch der Akkus 15 15 Cleaning the Air channel Changing the batteries Austausch der Akkus Reinigung des Luftkanals 1. The battery compartments are located on the 2. Use only original supplier batteries. Remove the dust container. -
Seite 16: Troubleshooting
Water has been sucked It will be necessary to replace the move/clean properly. move properly and remove any into the robot. motor at an authorized AEG service debris that might block it. centre. E:11 Right wheel is stuck. Check that all parts turn freely. -
Seite 17: Verbrauchsmaterialien Und Zubehör
Lesen Sie „Austausch der Akkus” auf Seite 15. Akkuprobleme E:20 Es wird eine falsche Verwenden Sie ausschließlich die Ladestation verwendet. Originalladestation von AEG, die mit dem Roboter geliefert wird. Muss die Ladestation ausgetauscht werden, besorgen Sie die AEG Ladestation Ladestation Akku-Pack (ANC: 406000071). - Seite 18 The software in the robot is partly based on free and open source software. To access the source code of these components and to see the full copyright information and applicable license terms, please visit: www.electrolux.com/rvc-supplementary For control according to international standards, please visit: www.electrolux.com/rvc-supplementary...
- Seite 19 FL3230202...


