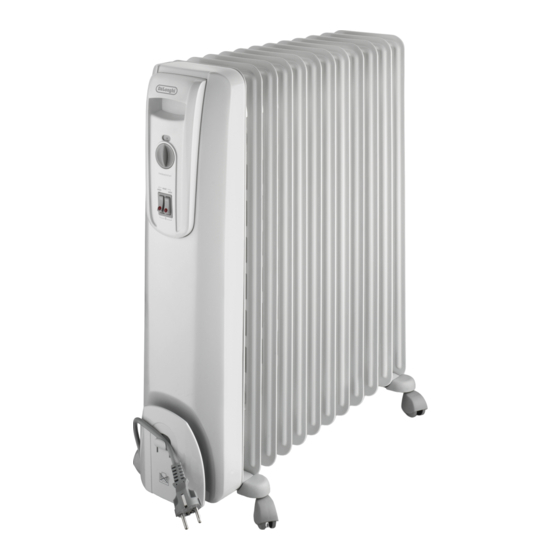
DeLonghi KH770715 Bedienungsanleitung
Vorschau ausblenden
Andere Handbücher für KH770715:
- Betriebsanleitung (4 Seiten) ,
- Handbuch (33 Seiten)
Inhaltsverzeichnis
Verfügbare Sprachen
Verfügbare Sprachen
Quicklinks
A) If your appliance comes fitted with a plug, it will incorporate a 13 Amp fuse. If it does not fit your socket, the plug
should be cut off from the mains lead, and on appropriate plug fitted, as below. WARNING: Very carefully dispo-
se of the cut off plug after removing the fuse: do not insert in a 13 Amp socket elsewhere in the house as this
could cause a shock hazard. With alternative plugs not incorporating a fuse, the circuit must be protected by a
15 Amp fuse. If the plug is a moulded-on type, the fuse cover must be re-fitted when changing the fuse using a
13 Amp Asta approved fuse to BS 1362. In the event of losing the fuse cover, the plug must NOT be used until
a replacement fuse cover can be obtained from your nearest electrical dealer. The colour of the correct replace-
ment fuse cover is that as marked on the base of the plug.
B) If your appliance is not fitted with a plug, please follow the instructins provided below:
WARNING - THIS APPLIANCE MUST BE
EARTHED
IMPORTANT
The wires in the mains lead are coloured in
accordance with the following code:
Green and yellow Earth
Blue
Neutral
Brown
Live
ELECTRICAL CONNECTION (U.K. ONLY)
E
L
N
As the colours of the wires in the mains lead
may not correspond with the coloured markings
identifying the terminals in your plug, proceed
as follows:
The green and yellow wire must be connected
to the terminal in the plug marked with the letter
E or the earth symbol
green and yellow.
The blue wire must be connected to the termi-
nal marked with the letter N or coloured black.
The brown wire must be connected to the termi-
nal marked with the letter L or coloured red.
or coloured green or
3
Inhaltsverzeichnis

Verwandte Anleitungen für DeLonghi KH770715


Inhaltszusammenfassung für DeLonghi KH770715
-
Seite 8: Montage Der Stellfüsse
1. ALLGEMEINES Gerät aus der Packung nehmen, umdrehen und auf das Polystyrol legen. Vergewissern Sie sich, dass das Netzkabel unversehrt ist und das Gerät während des Transports nicht beschädigt wurde. Bei eventuellen Beschädigungen, das Gerät auf keinen Fall in Betrieb setzen. 2. -
Seite 9: Reinigung Und Pflege
gersinn, bis die Ziffer 10 auf der Scheibe sich mit dem oberen Markierungsstrich deckt. - Stellen Sie die Zeitintervalle, in denen das Gerät sich einschalten soll, ein. Hierzu die kleinen Reiter zum Mittelpunkt hin schieben. Jeder kleine Reiter entspricht einem Zeitraum von 15 Minuten. Es wer- den nun rote Ausschnitte sichtbar, die mit den eingegebenen Betriebszeiten übereinstimmen. - Seite 16 1. °∂¡π∫∞ µÁ¿ÏÙ ÙË Û˘Û΢‹ ·fi ÙË Û˘Û΢·Û›·, ·Ó·Ô‰ÔÁ˘Ú›ÛÙ ÙËÓ Î·È ÙÔÔıÂÙ‹ÛÙ ÙËÓ ÛÙÔ ÊÂÏÈ˙fiÏ. µÂ‚·Èˆı›Ù fiÙÈ ÙÔ ËÏÂÎÙÚÈÎfi ηÏÒ‰ÈÔ Î·È Ë Û˘Û΢‹ Â›Ó·È ·Ó¤·Ê· Î·È fiÙÈ ‰ÂÓ ¤¯Ô˘Ó ˘ÔÛÙ› ‚Ï¿‚˜ ηٿ ÙË ÌÂÙ·ÊÔÚ¿. ªË ¯ÚËÛÈÌÔÔț٠ÙË Û˘Û΢‹ ·Ó ·ÚÔ˘ÛÈ¿˙ÂÈ ‚Ï¿‚˜. 2.
- Seite 17 ‰ÔÓÙ¿ÎÈ· ÚÔ˜ ÙÔ Î¤ÓÙÚÔ. ∫¿ı ‰ÔÓÙ¿ÎÈ ·ÓÙÈÛÙÔȯ› Û ¯ÚÔÓÈÎfi ‰È¿ÛÙËÌ· 15 ÏÂÙÒÓ. ªÂÙ¿ ÙËÓ ÂÓ¤ÚÁÂÈ· ·˘Ù‹ ÂÌÊ·Ó›˙ÔÓÙ·È ÎfiÎÎÈÓ· ÙÌ‹Ì·Ù· Ô˘ ·ÓÙÈÛÙÔÈ¯Ô‡Ó ÛÙȘ ÂÚÈfi‰Ô˘˜ ÏÂÈÙÔ˘ÚÁ›·˜. ªÂ ÙË Ú‡ıÌÈÛË ·˘Ù‹ Ë Û˘Û΢‹ ı· ·Ó¿‚ÂÈ ·˘ÙfiÌ·Ù· οı Ë̤ڷ ÛÙÔ ÚÔÁÚ·ÌÌ·ÙÈṲ̂ÓÔ ˆÚ¿ÚÈÔ. (™ËÌ›ˆÛË: ÙÔ ÊȘ Ú¤ÂÈ Ó· ̤ÓÂÈ ¿ÓÙÔÙ ÛÙË Ú›˙·). °È·...
- Seite 26 1 1 . . é é Å Å ô ô à à Ö Ö ë ë Ç Ç Ö Ö Ñ Ñ Ö Ö ç ç à à ü ü Ç˚̸Ú ÔË·Ó ËÁ ÍÓÓ·ÍË, Ô‚ÂÌËÚ „Ó, ÔÓÒΠ˜Â„Ó ÛÒÚ‡ÌÓ‚ËÚÂ Â„Ó Ì‡ ÔÂÌÓÔ·ÒÚ. èӂ¸ÚÂ...
- Seite 27 ‚ ‚ ) ) å å Ó Ó ‰ ‰ Â Â Î Î Ë Ë Ò Ò Ô Ô Ó Ó „ „ ‡ ‡ Ï Ï Ï Ï ‡ ‡ Ú Ú Ó Ó Ó Ó Ï Ï ( ( Ú Ú ‡ ‡ È È Ï Ï Â Â Ó Ó Ï Ï ) ) Ì Ì ‡ ‡ 2 2 4 4 ˜ ˜ ‡ ‡ Ò Ò ‡ ‡ , , Ë Ë Ò Ò . . 8 8 ÑÎfl...