Werbung
Verfügbare Sprachen
Verfügbare Sprachen
Quicklinks
Werbung

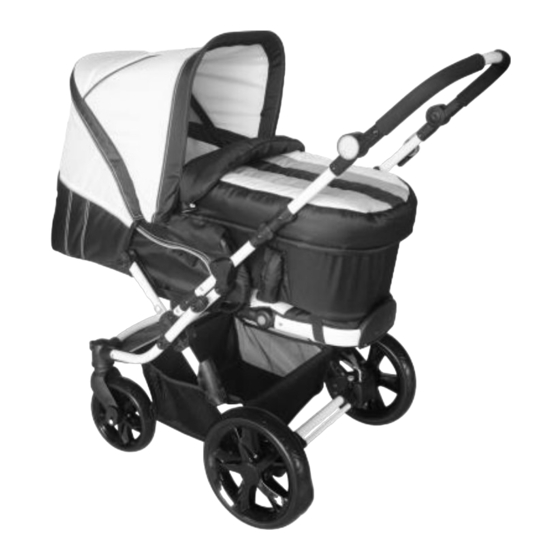
Inhaltszusammenfassung für knorr-baby Dynamik
- Seite 1 All manuals and user guides at all-guides.com...
-
Seite 2: Care And Maintenance
All manuals and user guides at all-guides.com Warning: ● Please read these instructions carefully and keep for future reference. Your child's safety may be affected if you do not follow these instructions. ● Do not carry additional children, bags, goods or accessories in stroller except as recommended in the manufacturer's instructions. - Seite 3 All manuals and user guides at all-guides.com 1.To Open the Stroller ●To open the folding latch, and haul ●Lift up locking latch to release. the connecter tube. Lift the handle up until both primary and secondary locks are applied. 2.Wheel Assembly ●Assemble the rear wheel, make sure ●Release lock and pull wheel back axle is firmly inserted to the drum.
- Seite 4 5.Seat Assembly All manuals and user guides at all-guides.com ●Insert the seat adapter assembly into ●Changing seat direction,Press the grey the main connector on the framePicture buttons both sides to reverse the seat. (Picture:A). (Picture:B). 7.Canopy Assembly 6.Usage of Bumper Bar ●Place bumper bar lock to position ( A ) and ●Lift the positioning lock and adjust the push down until the lock is effective (B ).
- Seite 5 All manuals and user guides at all-guides.com 9.Backrest Adjustment ●To lower the backrest position lift backrest adjusting lever up firmly and lower backrest to the desired position (3 positions available). To lift the backrest position simply push the backrest up until the desired position is reached.
- Seite 6 12. Parking Brake 13.Adjustment of All manuals and user guides at all-guides.com ●Push the brake lever upwards to activate the ●Push onto the buttons to get parking brake (A). the desired height. ●Press the button and push down the lever to release the brake (B).
- Seite 7 Teile Liste All manuals and user guides at all-guides.com 1.Handle grip 2.Rear wheel Brake 3..Folding latch 4.Front leg tube 16.Handle tube 17.Handle adjuster 5.Rear wheel 18.Canopy frame - rear 6.Wheel fixer 19.Release seat button 7.Remove button 20.Footrest adjuster 8.Front wheel 21.Footrest 9.Swivel front wheel 10.Front wheel housing...
- Seite 8 All manuals and user guides at all-guides.com...
- Seite 9 All manuals and user guides at all-guides.com...
- Seite 10 All manuals and user guides at all-guides.com...
- Seite 11 All manuals and user guides at all-guides.com grey ion.
- Seite 12 All manuals and user guides at all-guides.com...
- Seite 13 All manuals and user guides at all-guides.com...
- Seite 14 All manuals and user guides at all-guides.com...
-
Seite 15: Pflege Und Wartung
All manuals and user guides at all-guides.com ACHTUNG ● Bitte lesen Sie diese Anleitung aufmerksam und heben Sie sie zum Nachschlagen auf. Die Sicherheit Ihres Kindes kann beeinträchtigt werden, falls Sie den Anweisungen nicht Folge leisten. ● Transportieren Sie keine zusätzlichen Kinder oder Taschen, Waren und Zubehör, sofern dies nicht ausdrücklich in dieser Anleitung erwähnt wird. - Seite 16 All manuals and user guides at all-guides.com 1.Öffnen des Wagens ●Ziehen Sie an der Verriegelung und ● Transportsicherung entriegeln. heben Sie den Rahmen an. Heben Sie den Handgriff, bis beide Sicherungen fest eingerastet sind. 2.Montage der Hinterräder ●Stecken Sie die Räder auf und vergewissern ●Hochziehen Sie den grauen Knopf Sie sich, dass die Achse gut in der Trommel um das Rad wieder abzunehmen .
- Seite 17 All manuals and user guides at all-guides.com 5.Montage des Sitzes ● Achtung, der Sitz kann in beide ● Setzen Sie den Adapter des Sitzes in Richtungen montiert werden(Bild :B). die Aufnahme am Rahmen(Bild :A). 6. Benutzung des Spielbügels 7.Montage des Verdecks ●Schieben Sie den Bügel in die Aufnahmen bis ●Ziehen Sie die Arretierung und dieser einrastet.
- Seite 18 All manuals and user guides at all-guides.com 9.Einstellung der Rückenlehne ●Um die Rückenlehne nach hinten zu verstellen, heben Sie den Verstellhebel an der Rückseite leicht an und senken Sie die Rückenlehne in die gewünschte Position. (es sind 3 Positionen verfügbar). Um die Rückenlehne nach oben zu verstellen, einfach nach oben in die gewünschte Position ziehen, sie verrastet selbsttätig.
- Seite 19 All manuals and user guides at all-guides.com 12. Feststellbremse 13. Einstellung der Höhe des Handgriffes ●Ziehen Sie den Hebel nach oben, um die ●Drücken Sie die Knöpfe an beiden Feststellbremse zu aktivieren (A). Seiten des Handgriffes, bringen Sie ●Drücken Sie den Knopf und drücken Sie diesen in die gewünschte Position und verriegeln Sie wieder,indem Sie dann den Hebel wieder nach unten um die...
- Seite 20 All manuals and user guides at all-guides.com Ersatzteilliste 1.Griffgummi 2.Knopf für Faltmechanismus 3.Transport Feststeller 4.Rohr zum vorderen Rahmen 5.Hinterrad 6. Radbefestigung 7.Knopf zur Vorderradverriegelung 17.Höhenversteller 8.Vorderrad 18.HintererVerdeckrahmen 9.Knopf zum Feststellen der 19.Sitz-Entriegelung 10.Vorderradaufnahme 20. Fußstützen-Versteller 11.Rohr zum hinteren Rahmen 21.Fußstütze 12.Halter zum Schwenkschieber 22.Spielbügel 13.Hebel zum Schwenkschieber...
- Seite 21 All manuals and user guides at all-guides.com...
- Seite 22 All manuals and user guides at all-guides.com...
- Seite 23 All manuals and user guides at all-guides.com...
- Seite 24 All manuals and user guides at all-guides.com...
- Seite 25 All manuals and user guides at all-guides.com...
- Seite 26 All manuals and user guides at all-guides.com...


