Werbung
Quicklinks
Werbung

Inhaltszusammenfassung für Cinq Plug5 Plus
- Seite 1 Plug5 Plus...
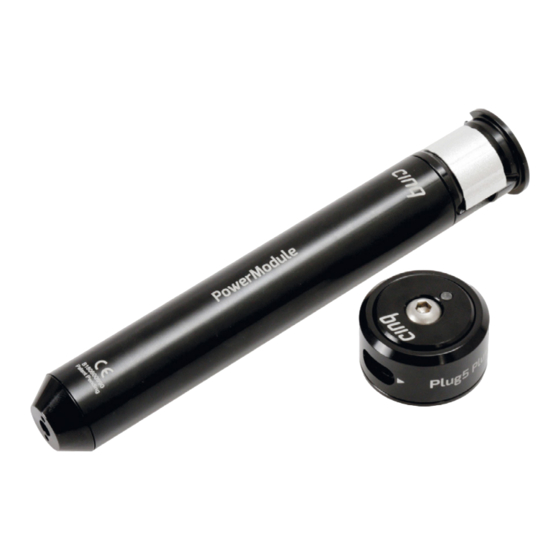
- Seite 2 – Remove the front fender on your bike. Plug5 Plus PowerModule Benötigtes Werkzeug - Plug5 Plus Topcap Einbau des Plug5 Plus Installation of the Plug5 Plus Required Tools Kabelbaum Schraube M6x40 1. Führe den mitgelieferten Kabelbaum durch den Gabelschaft, so dass ...
- Seite 3 3. Verbinde die Kabelstränge gemäß nachfolgender Beschreibung. Grund sätzlich lässt sich in zwei verschiedene Anschlussvarianten unterscheiden: Connect the wires as follows. Use the diagrams below to determine your wiring requirements: Ohne Beleuchtung Without Lighting Schneide den Schrumpfschlauch in zwei Stücke und schiebe je eines davon über das schwarze und das rote Kabel am PowerModule.
- Seite 4 5 mm; if necessary use spacers to raise the stem. The torque should be 8 Nm. Note: Align the Plug5 Plus cap so that the USB port points in direction of travel. Avoid twisting the cap after installation to not damage wiring.
-
Seite 5: Bedienung
Akkustand wieder mit dem Laden. consumption. Short red flashing: The battery level of the Plug5 Plus is too low to charge the connected device. The PowerModule will charge from the dynamo and continue to charge the device once a safe charge level is reached. - Seite 6 Plug5 Plus beträgt 1200 mA. Funktionalität nur mit den von uns empfohlen bzw. mitgelieferten Kabeln IDM (Intelligent Device Management): The Plug5 Plus is designed for use with und Adaptern garantieren. USB powered devices. The performance largely depends on the charging or USB Type-C can be implemented differently in contrast to the previous USB operating characteristics of your device.
-
Seite 7: Der Plug5 Plus Verfügt Über Ein Robustes Und Schlagfestes Aluminium
– Vermeide jeglichen Einsatz von Hochdruck oder Dampfstrahl reinigern. Dies kann die Elektronik des Plug5 Plus beschädigen. – The Plug5 Plus is designed for use in a temperature range of -15°C to +60°C. The functionality of the system in this temperature range is realized through the advanced battery technology.
