Bresser National Geographic Bedienungsanleitung
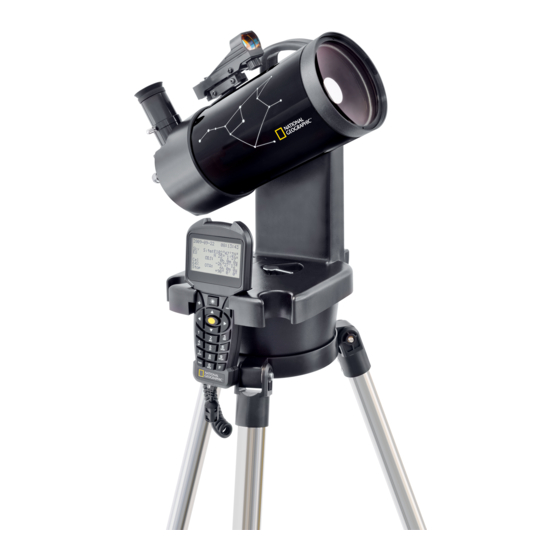
Automatik teleskop
Vorschau ausblenden
Andere Handbücher für National Geographic:
- Bedienungsanleitung (52 Seiten) ,
- Schnellstartanleitung (44 Seiten) ,
- Bedienungsanleitung (28 Seiten)

Verwandte Anleitungen für Bresser National Geographic


Inhaltszusammenfassung für Bresser National Geographic
- Seite 1 AUTOMATIK TELESKOP AUTOMATIC TELESCOPE Bedienungsanleitung Operating instructions Mode d’emploi Istruzioni per l’uso Instrucciones de uso Руководство по эксплуатации Art.No. 90-62000 / 90-62100...
- Seite 2 (DE) WARNUNG! Schauen Sie mit diesem optischen Gerät niemals direkt oder in die Nähe der Sonne! Achten Sie besonders darauf, wenn es von Kindern benutzt wird! Es besteht ERBLINDUNGSGEFAHR! Verpackungsmaterial (Plastiktüten, Gummibänder, etc.) von Kindern fernhalten! (EN) CAUTION: Never attempt to observe the sun with this telescope. Make sure children do not attempt to observe the sun with the telescope.
- Seite 4 No. 1 Art.No. 90-62100 No. 2 Art.No. 90-62000 Art.No. 90-62100 No. 3 No. 4 No. 5 Fig. 3 No. 6...
- Seite 5 No. 7 No. 8 1% C No. 9 Fig. 9 1& J 1) Zubehör kann je nach Modell variieren. Gli accessori possono variare a seconda del modello. Accessories may vary depending on the model. Los accesorios pueden variar según el modelo. Les accessoires peuvent varier en fonction du modèle.
- Seite 6 Defekts an Ihren Fachhändler. Er nimmt mit dem Service- am Teleskop in die Halterung ein und ziehen Sie die Klemmschraube an. Center Kontakt auf und kann das Gerät ggf. zwecks Reparatur Vergewissern Sie sich, dass das National Geographic Logo aufrecht ist. einschicken. 4. Höhenverstellung Lösen Sie den Feststellgriff der Höhenverstellung, indem Sie ihn gegen...
- Seite 7 6. Okular Ausgangsposition / OTA (Optical Tube Assembly) Zero Entnehmen Sie ein Okular aus der Halterung (6) und setzen Sie es in den Als Startpunkt für die Ausrichtung muss die Teleskopsteuerung die Richtung Okularstutzen ein (3). Die Klemmschraube am Okularstutzen vorsichtig kennen, in die der Tubus (OTA) zeigt.
-
Seite 8: Mögliche Beobachtungsobjekte
Country & City Land & Stadt Beispiel: Beobachten Sie den Jupiter Country: up and down Land: Pfeiltasten oben und unten City: left and right Stadt: Pfeiltasten links und rechts OTA Zero Ausgangsposition Hauptmenü Übersicht: • Ausrichtung • Ein-Stern Teleskop auf einen Stern ausrichten •... -
Seite 9: Hinweise Zur Reinigung
Batterien aus dem Gerät, wenn es längere Zeit nicht benutzt wird! ....................... EG-Konformitätserklärung Name: ..................... Straße: ..................... Eine „Konformitätserklärung“ in Übereinstimmung mit den anwendbaren Richtlinien und entsprechenden Normen ist von der Bresser GmbH erstellt PLZ/Ort: ..................worden. Diese kann auf Anfrage jederzeit eingesehen werden. Telefon: .................... Kaufdatum: ..................Unterschrift: .................. -
Seite 32: Visit Our Website
TELESCOPE Visit our website: www.nationalgeographic.com © 2013 National Geographic Society NATIONAL GEOGRAPHIC and Yellow Border Design are trademarks of the National Geographic Society, used under license. All rights reserved. Bresser GmbH Gutenbergstr. 2 · DE-46414 Rhede www.bresser.de · info@bresser.de Irrtümer und technische Änderungen vorbehalten.