Klarstein 10028451 Handbuch
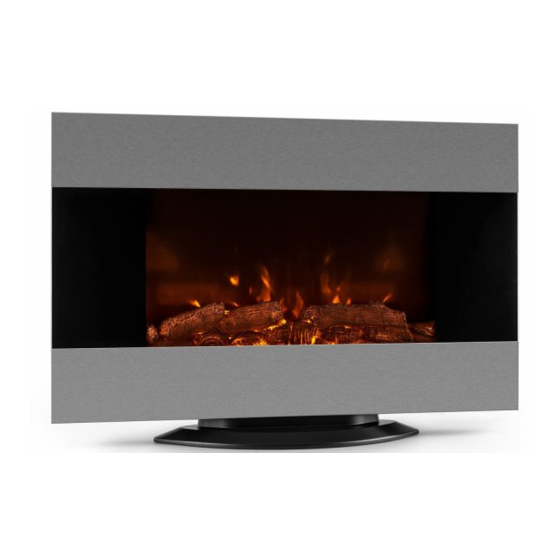
Elektrischer kamin
Inhaltsverzeichnis
Verfügbare Sprachen
Verfügbare Sprachen
Quicklinks
Kapitel
Inhaltsverzeichnis
Fehlerbehebung

Verwandte Anleitungen für Klarstein 10028451


Inhaltszusammenfassung für Klarstein 10028451
- Seite 1 Zitruspresse orange Elektrischer Kamin 10008166 10008167 10008168 10028451...
-
Seite 2: Inhaltsverzeichnis
Sehr geehrter Kunde, wir gratulieren Ihnen zum Erwerb Ihres Klarstein Gerätes. Lesen Sie die folgenden Anschluss- und Anwendungshinweise sorgfältig durch und befolgen Sie diese, um möglichen technischen Schäden vorzubeugen. Für Schäden, die durch Missachtung der Sicherheitshinweise und unsachgemäßen Ge- brauch entstehen, übernehmen wir keine Haftung. -
Seite 3: Vor Dem Ersten Gebrauch
• Reparaturen dürfen nur von ausgebildeten Fachkräften durchgeführt werden. • Falsch oder eigenständig ausgeführte Reparaturen stellen ein Verletzungsrisiko dar. • Verlegen Sie das Netzkabel nicht unter Teppichen oder Läufern. • Achten Sie darauf, dass das Netzkabel nicht über scharfe Ecken oder heiße Oberfl ächen verläuft. •... - Seite 4 Abbildung 1: Wir empfehlen Ihnen zum Abbildung 2: Markieren Sie die oberen 4 Boden hin 600 mm Platz zu lassen, damit Sie Schraubenpositionen gemäß angege- den Kamin gut im Blick haben. benen Abständen. Benutzen Sie während der Markierung der Bohrlöcher eine Wasserwaage. Bohren Sie die Löcher in die Wand und befestigen Sie die Wandhalterung mit den mitgelieferten Dü- beln und Schrauben.
-
Seite 5: Inbetriebnahme Und Bedienung
Montage auf dem Ständer Anstelle der Wandbefestigung, können Sie das Gerät auch auf dem Boden aufstellen. • Entfernen Sie dazu Die Frontblende vom Gerät und legen Sie es horizontal auf einen Tisch. • Im Unteren Teil des Gehäuses befinden sich Löcher. Richten Sie die Löcher an den Löchern des Ständers aus. -
Seite 6: Reinigung Und Pflege
Reinigung und Pfl ege Ziehen Sie immer zuerst den Stecker aus der Steckdose, bevor Sie das Gerät reinigen. Benutzen Sie zur Reinigung einen weichen Lappen. Benutzen Sie keine scharfen Scheuer- oder Reinigungsmittel. Reinigen Sie die Frontblende mit einem weichen Lappen, benutzen Sie keine Glasreiniger. Das Gerät benutzt keine Standard-Glühbirne für den Feuereff ekt. -
Seite 16: Pulizia E Manutenzione
Pulizia e manutenzione Staccare sempre la spina dalla presa prima di pulire il dispositivo. Utilizzare un panno morbido. Non utilizzare abrasivi o detergenti aggressivi. Pulire il pannello frontale con un panno morbido, non uti- lizzare detersivi per vetri. Il dispositivo non dispone di lampadine standard per l’eff etto fi amma accesa bensì l’eff etto viene prodotto dal LED, pertanto non è...