Klarstein 10030310 Hinweise
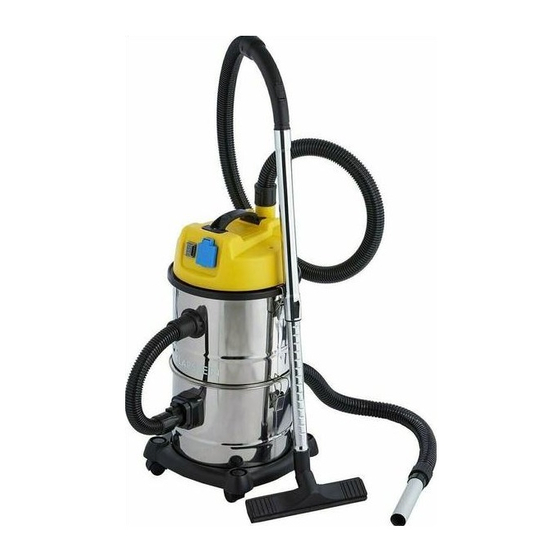
Nass-trockensauger
Inhaltsverzeichnis
Verfügbare Sprachen
Verfügbare Sprachen
Kapitel
Inhaltsverzeichnis

Verwandte Anleitungen für Klarstein 10030310


Inhaltszusammenfassung für Klarstein 10030310
- Seite 1 Nass-Trockensauger 10030310...
-
Seite 2: Inhaltsverzeichnis
Inbetriebnahme und Bedienung 5 Zubehörübersicht 5 Reinigung und Pflege 6 Entsorgung und Konformitätserklärung 6 Technische Daten Artikelnummer 10030310 Stromversorgung 220-240 V ~ 50-60 Hz Leistung 1800 W Sicherheitshinweise • Prüfen Sie vor der Benutzung die Spannung auf der Geräteplakette. Schließen Sie das Gerät nur an Steckdo- sen an, die der Spannung des Geräts entsprechen. -
Seite 3: Geräteübersicht
• Falls das Netzkabel oder der Stecker beschädigt sind, müssen sie vom Hersteller oder einem autorisierten Fachbetrieb oder einer ähnlich qualifizierten Person ersetzt werden. • Ziehen Sie vor der Reinigung immer zuerst den Stecker aus der Steckdose. Hinweis zu den Schutzfunktionen Dieser Staubsauger ist mit mehreren Schutzeinrichtungen ausgestattet. -
Seite 4: Vor Dem Ersten Betrieb
Vor dem ersten Betrieb Zusammenbau Saugen: Stecken Sie das Verbindungsstück am Schlauchende, wie auf dem Bild darge- stellt, in den Lufteinlass. Versichern Sie sich, dass der Schlauch fest sitzt. Saugen: Drücken Sie auf das Verbindungsstück, um den Schlauch, wie auf dem Bild dargestellt, wieder abzunehmen. -
Seite 5: Inbetriebnahme Und Bedienung
Inbetriebnahme und Bedienung Stecken Sie den Stecker in die Steckdose. Drücken Sie den Schalter, um das Gerät einzuschalten. Die folgen- den Schalterpositionen sind möglich: 0 Das Gerät ist aus, es fließt kein Strom. Das Gerät ist an, es fließt Strom. II Der Sauger ist ausgeschaltet. -
Seite 6: Zubehörübersicht
Zubehörübersicht 1 Schlauch 2 Rohre 3 Filter 4 Bürste (optional) 5 Fugendüse (optional) 6 Bodenbürste (optional) So benutzen Sie das Zubehör Benutzen Sie die Bürste zum Benutzen Sie die Bodenbürste Absaugen von Bücherregalen oder zur Reinigung flacher Böden oder ähnlichem. Teppiche. -
Seite 7: Reinigung Und Pflege
Reinigung und Pflege Auffangebhälter reinigen Wenn Sie fertig mit Saugen sind oder der Auffangbehälter voll ist (sie merken es daran, dass die Saugleistung nachlässt), leeren Sie den Auffangbehälter aus. 1. Öffnen Sie die Verschlüsse und nehmen Sie die obere Abdeckung ab. 2.