Velleman CAMSET24 Bedienungsanleitung
Mit usb-anschluss
Inhaltsverzeichnis
Verfügbare Sprachen
Verfügbare Sprachen
Quicklinks
Inhaltsverzeichnis

Verwandte Anleitungen für Velleman CAMSET24


Inhaltszusammenfassung für Velleman CAMSET24
-
Seite 1: Inhaltsverzeichnis
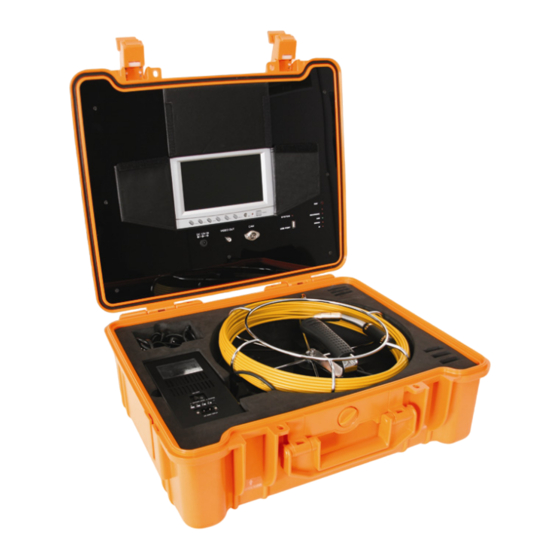
CAMSET24 PIPELINE INSPECTION SYSTEM WITH USB FUNCTION BUIZENINSPECTIECAMERA MET USB-AANSLUITING CAMÉRA D’INSPECTION DE CANALISATION AVEC CONNEXION USB CÁMARA DE INSPECCIÓN DE TUBERÍA CON CONEXIÓN USB ROHRINSPEKTIONSKAMERA MIT USB-ANSCHLUSS SET VIDEO PER ISPEZIONE CONDOTTE USER MANUAL GEBRUIKERSHANDLEIDING NOTICE D’EMPLOI ... - Seite 2 CAMSET24 Figure 1 05/05/2010 © 2008 Velleman Components nv...
-
Seite 23: Einführung
Falls Zweifel bestehen, wenden Sie sich für Entsorgungsrichtlinien an Ihre örtliche Behörde. Wir bedanken uns für den Kauf der CAMSET24! Lesen Sie diese Bedienungsanleitung vor Inbetriebnahme sorgfältig durch. Überprüfen Sie, ob Transportschäden vorliegen. Sollte dies der Fall sein, verwenden Sie das Gerät nicht und wenden Sie sich an Ihren Händler. -
Seite 24: Umschreibung
Anschlusskabels [I] mit dem Kabelanschluss im Koffer [D3]. Stecken Sie die Stecker ohne zu forcieren in den Anschluss. • Das System funktioniert auf zwei Weisen: über 12 VDC-Netzteil [G] Stecken Sie das Netzteil in den 12V-Eingang [D1] im Koffer. 05/05/2010 © 2008 Velleman Components nv... -
Seite 25: Fernbedienung
Sie das USB-Gerät über den USB-Port [D4] mit dem Koffer. Wichtig: Velleman Components nv, der Hersteller und der Händler übernehmen weder Haftung für Schäden oder Verletzungen verursacht durch Anwendung des angeschlossenen USB-Gerätes, noch für Datenverlust oder anderen Defekten. Machen Sie eine Sicherungskopie des USB-Gerätes ehe Sie es mit dem System verbinden. -
Seite 26: Lagerung Und Reinigung
Verwenden Sie auf keinen Fall Alkohol oder irgendwelche Lösungsmittel. Die Sicherung • Überprüfen Sie die Sicherung wenn die Status-LEDs vom Batteriepack [E] nach Einschaltung nicht leuchten. • Drehen Sie den Sicherungshalter [E5] nach links und entfernen Sie ihn aus dem Batteriepack. 05/05/2010 © 2008 Velleman Components nv... -
Seite 27: Die Batterie
Ø 32 cm Gewicht 11 kg Verwenden Sie dieses Gerät nur mit originellen Zubehörteilen. Velleman NV übernimmt keine Haftung für Schaden oder Verletzungen bei (falscher) Anwendung dieses Gerätes. Für mehr Informationen zu diesem Produkt, siehe www.velleman.eu. Alle Änderungen ohne vorherige Ankündigung vorbehalten. - Seite 35 SA Velleman Velleman -Verteiler. Legen Sie das Produkt ordnungsgemäß ® - se calcula gastos de transporte de y a Velleman si el verpackt (vorzugsweise die Originalverpackung) und mit dem aparato ya no está cubierto por la garantía. Original-Kaufbeleg vor. Fügen Sie eine deutliche •...