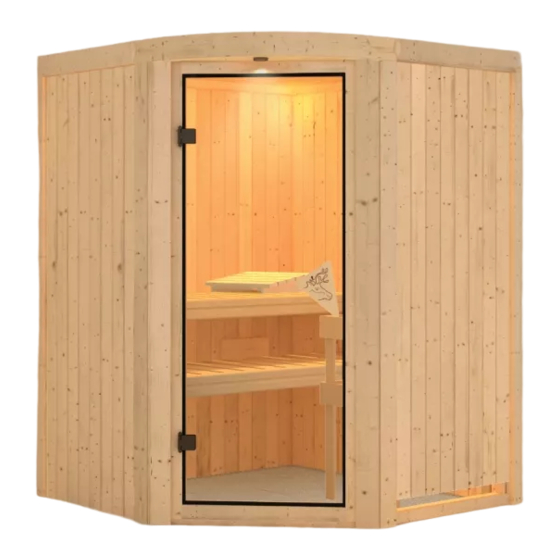
Inhaltszusammenfassung für Karibu 52582
- Seite 1 12.05.2016 52582 Aufbauanleitung notice de montage Building Instructions montagehandleiding Instrucciones de construcción Istruzioni per il montaggio Montážní návod Service-Hotline:+49 421 38693 33...
- Seite 2 à l’état non monté! sono essere accolti solo prima del montaggio! 52582 1 x W1 1920 x 433 x 68mm ID 25547 2 x W2...
- Seite 3 20 x 4 x 30mm ID 3686 60 x 4 x 50mm ID 3688 50 x 4 x 70mm ID 3689 50 x 4,5 x 80mm ID 9204 15 x 6 x 60mm ID 14014 7 x B1 1920 x 19 x 3mm ID 20799 2 x E1 1920 x 97 x 12mm ID 22863...
- Seite 4 >10cm >10cm B 17 B 17 B 17...
- Seite 5 02 2x 02.1 02.2 B 14 B 16 02.4 02.3 02.5 02.1 02.2 4x70 4x70 Ø3mm Ø3mm B 14 B 14 B 16 02.3 02.4 B 16 4x70 Ø3mm Ø3mm 4x70 02.5 4x70 Ø3mm...
- Seite 6 03.1 Ø4mm Ø4mm 4,5x80 4,5x80 B 17 03.1 04.1 B 17 04.1 04.2 04.1 4,5x80 04.2 4,5x80 Ø4mm Ø4mm B 17 B 17...
- Seite 7 05.1 4,5x80 Ø4mm B 17 Ø4mm 4,5x80 05.1 06.1 4,5x80 Ø4mm 06.2 Ø4mm 06.2 4,5x80 4,5x80 Ø4mm 06.3 B 17 06.1 B 17 06.2 06.3 Ø4mm 4,5x80 B 17...
- Seite 8 08.1 4,5x80 Ø4mm 4,5x80 Ø4mm 08.1 B 17 B 1 = 1875mm 09.1 B 1 = 1875mm 09.1...
- Seite 9 Ø4mm Ø4mm 4,5x80 10.3 10.1 10.2 10.5 10.4 10.1 10.2 10.3 Ø4mm Ø4mm Ø4mm 4,5x40 4,5x40 4,5x40 10.4 10.5 Ø4mm 4,5x80...
- Seite 10 11.1 Einbau Glastür Montage porte en verre Installation of glass door Montage van de glazen deur Montaje de la puerta de cristal Installazione portello di vetro – B 14 + C 4 + D 2 + C 2 + B 16 11.1...
- Seite 11 12.1 Ø3mm 4x50 Ø3mm 4x50 12.2 12.1 12.2 Ø3mm 4x50 14.1 B 3 = A 14.1 B 3 = A B 3 = A Ø3mm 4x50...
- Seite 12 B 13 Ø3mm 4x50 B 15 15.1 16.1 Ø3mm 4x50 15.1 16.1 4x50 Ø3mm Ø3mm B 13 B 15 4x50...
- Seite 13 17.1 17.1...
- Seite 14 19.1 Ø3mm Ø3mm 4x70 4x70 19.1 Ø3mm Ø3mm 4x70 4x70...
- Seite 15 Ø4mm 4,5x40 20.3 20.2 20.1 20.4 20.3 20.1 20.2 Ø4mm Ø4mm 4,5x40 4,5x40 20.3 20.4 Ø4mm Ø4mm 4,5x40 4,5x40...
- Seite 16 21.1 Ø3mm 4,5x40 21.1 Ø3mm 4,5x40...
- Seite 18 23.3 Ø3mm B 10 4x50 Hier ist die Funk- Ceci représente le This figure shows Hier is de Aquí está Viene illustrato tionsweise des Brettes mode de fonctionnement the functional principle werking van het plankje representada la forma il principio di funziona- abgebildet.
- Seite 19 4x30 Ø3mm Ø3mm 4x50 Einbau Glastür Installation of glass door Montaje de la puerta de cristal Montage porte en verre Montage van de glazen deur Installazione portello di vetro –...
- Seite 20 Einbau Glastür Installation of glass door Montaje de la puerta de cristal Montage porte en verre Montage van de glazen deur Installazione portello di vetro Das Saunatürglas im Türrahmen ausrichten! Bien aligner le verre à vitre! 03.1 To start building up the door you need to center the glass in the wooden frame! 03.1 Plaats het glas van de sauna deur in het midden van het kozijn!
- Seite 21 Einbau Glastür Einbau Glastür Installation of glass door Installation of glass door Montaje de la puerta de cristal Montaje de la puerta de cristal Montage porte en verre Montage porte en verre Montage van de glazen deur Montage van de glazen deur Installazione portello di vetro Installazione portello di vetro 04.1...
- Seite 22 Einbau Glastür Installation of glass door Montaje de la puerta de cristal Montage porte en verre Montage van de glazen deur Installazione portello di vetro 07.1 07.2 07.1 07.1 07.2-1 07.2-2...
- Seite 23 Einbau Glastür Installation of glass door Montaje de la puerta de cristal Montage porte en verre Montage van de glazen deur Installazione portello di vetro Seitenverstellung + Höhenverstellung Achtung: Alle Verstell-Excenter müssen in der Glasscheibe die gleiche Grundstellung haben! Positionnement latéral + positionnement hauteur Attention: Tous les excentreurs de positionnement doivent avoir la même position de base dans la vitre! Lateral adjustment + height adjustment Attention: All adjustable eccentrics must have the same basic adjustment in the glass panel!
- Seite 24 Installation TÜV-Schild Entfernen Sie die Schutzfolie vom beiliegenden TÜV-Schild. Lassen Sie den Saunaofen von einem zugelassenen Elektrofachmann anschließen. Dieser markiert den installierten Ofen auf dem TÜV-Schild. Bringen Sie das TÜV-Schild an einer gut sichtbaren Stelle über dem Ofen an.


