oneConcept 10030672 Anschluss- Und Anwendungshinweise
Staubsauger mit wasserfilter
Inhaltsverzeichnis
Verfügbare Sprachen
Verfügbare Sprachen
Kapitel
Inhaltsverzeichnis
Fehlerbehebung

Verwandte Anleitungen für oneConcept 10030672


Inhaltszusammenfassung für oneConcept 10030672
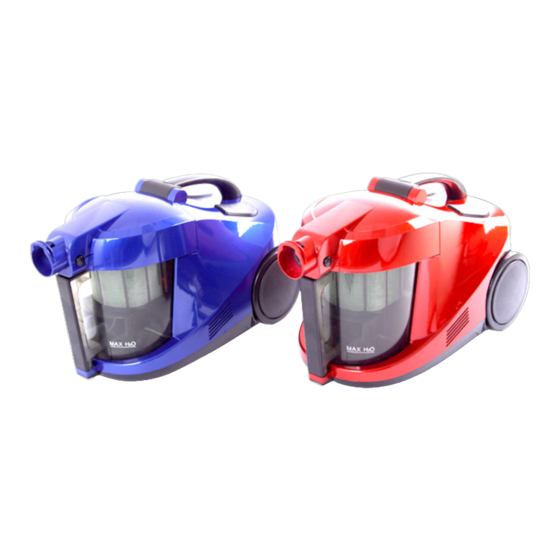
- Seite 1 Staubsauger mit Wasserfilter 10030672 10030673...
-
Seite 2: Inhaltsverzeichnis
Hinweise zur Entsorgung ......12 Konformitätserklärung ......12 Technische Daten Artikelnummer 10030672 10030673 Stromversorgung 220-240 V~ 50/60 Hz Leistung... -
Seite 3: Sicherheitshinweise
Sicherheitshinweise • Bedienen Sie das Gerät erst, wenn Sie die Bedienungsanleitung vollständig durchgele- sen haben. • Verwenden Sie bei dem Gerät keine Teile oder Zubehör, das in dieser Anleitung nicht empfohlen wird. • Lassen Sie Kinder und ungeeignete Personen dieses Gerät nicht bedienen. •... -
Seite 4: Geräteübersicht
Geräteübersicht Griff flexibler Schlauch Teleskoprohr Taste für Kabelaufwickelung Tragegriff Ein/Aus-Taste Saugfuß Filtereinheit Behälterdeckel Fugendüse Schwimmer Schwammfilter Filterkäfig Wasserbürste gebogenes Rohr Wasserbehälter Polsterbürste... -
Seite 5: Inbetriebnahme
Inbetriebnahme 1. Das Gerät einrichten • Den Entsperrknopf drücken und den vorderen Deckel anheben. • Den Wasserbehälter am Griff herausnehmen. Bild 2 Bild 1 Entriegelungstaste Filtereinheit mit Wassertank Wassertank- Griff Die Filtereinheit aus dem Wasserbehälter nehmen. (Bild 3) Den Behälter bis zur MAX-Markierung mit Leitungswasser füllen. Das sind ca. 0,8 Liter. Aufpassen, dass der Behälter nicht überfüllt wird. -
Seite 6: Einschalten
Bild 5 Das Teleskoprohr an den flexiblen Schlauch anschließen. 2. Einschalten • Ziehen Sie das Netzkabel heraus, indem Sie am Netzkabel anfassen und es zu sich ziehen. • Schließen Sie den Netzstecker an eine geeignete Steckdose mit der korrekten Spannung Hinweis: Bevor Sie den Netzstecker an die Steckdose anschließen, ziehen Sie das Kabel in ausreichender Länge aus dem Gerät. -
Seite 7: Benutzung
• Wenn Sie die „+“-Taste an der Gehäusebasis 2 Sekunden drücken startet das Gerät in der niedrigen Saugstufe. Hinweis: Achten Sie darauf, dass das Kabel vollständig herausgezogen wurde. Wäh- rend des Betriebs gibt das Netzkabel eine beträchtliche Wärme ab. Benutzung 1 Wahl der Saugstärke •... -
Seite 8: Wasserbürstenaufsatz Und Aufsaugen Von Flüssigkeiten
Bild 9 5 Wasserbürstenaufsatz und Aufsaugen von Flüssigkeiten Der Wasserbürstenausatz ist so vielseitig, dass er sowohl zum Staubsaugen als auch zum Saugen von Flüssigschmutz verwendet werden kann und hauptsächlich auf harten Flächen Anwendung findet. Hinweise • Wenn Sie das Gerät zum Aufsaugen von Flüssigkeiten verwenden, muss die Wassermenge im Behälter um die Hälfte reduziert werden. -
Seite 9: Pflege Und Aufbewahrung
Hinweise • Wenn das Kabel fast vollständig eingezogen wurde, halten Sie das Ende des Kabels in der Hand und führen es in die Kabelaufwicklung. Die Zugkraft und Geschwindigkeit der Kabelaufwicklung kann dazu führen, dass der Netzstecker zurückschnappt und einen Gegenstand trifft. Pflege und Aufbewahrung Schalten Sie den Hauptschalter aus und ziehen Sie das Netzkabel aus der Steckdose, be- vor Sie Gerät reinigen oder ein Teil austauschen. -
Seite 10: Hepa-Filter Am Luftauslass
3 HEPA-Filter am Luftauslass • Den Knopf am Luftauslassgitter drücken und das Gitter herausnehmen. (Bild 13) • Den HEPA-Filter herausnehmen. (Bild 14) • Einen neuen HEPA-Filter einsetzen. Bild 11 Bild 12 HEPA-Filter hier drücken Luftauslass 4 Aufbewahrung Das Gerät sorgfältig an einem kühlen, trockenen Ort lagern. -
Seite 11: Fehlerbehebung
Fehlerbehebung Problem Mögliche Ursache Lösung Der automatische Ther- Warten Sie 30 Sekunden, moschutzschalter wurde bevor Sie das Gerät wieder ausgelöst. einschalten. Der Sauger setzt sich zurück, während Sie eines der unten aufge- führten möglichen Probleme identifizieren. Das Gerät hält während Das Wasser ist sehr schmut- Leeren Sie den Wasserbe- des Betriebs an und alle 4... -
Seite 12: Hinweise Zur Entsorgung
Hinweise zur Entsorgung Befindet sich die linke Abbildung (durchgestrichene Mülltonne auf Rädern) auf dem Produkt, gilt die Europäische Richtlinie 2012/19/EU. Diese Produkte dürfen nicht mit dem normalen Hausmüll entsorgt werden. Informieren Sie sich über die örtlichen Regelungen zur getrennten Sammlung elektrischer und elektronischer Gerätschaften.