Dell OptiPlex 3050 All-in-One Schnellstart Handbuch
Vorschau ausblenden
Andere Handbücher für OptiPlex 3050 All-in-One:
- Schnellstart handbuch (2 Seiten) ,
- Benutzerhandbuch (74 Seiten) ,
- Benutzerhandbuch (64 Seiten)
Quicklinks
1 Connect the keyboard and mouse
Sluit het toetsenbord en de muis aan
Connecter le clavier et la souris
OptiPlex 3050 All-in-One
Tastatur und Maus anschließen
Collegare la tastiera e il mouse
NOTE: If you are connecting a wireless keyboard or mouse, see the documentation that
shipped with it.
N.B.: Als u een draadloos toetsenbord of draadloze muis aansluit, raadpleeg dan de meegeleverde
documentatie.
REMARQUE : Si vous connectez un clavier ou une souris sans fil, consultez la documentation
Quick Start Guide
fournie.
ANMERKUNG: Wenn Sie eine Wireless-Tastatur oder eine Maus anschließen, finden Sie weiter
Informationen in der Dokumentation, dieser beilagen.
Snelstartgids
N.B.: se si utilizza una tastiera o un mouse senza fili, visualizzare la documentazione fornita.
Guide d'information rapide
Schnellstart-Handbuch
Guida introduttiva rapida
2 Connect the power adapter
Sluit de netadapter aan
Brancher l'adaptateur d'alimentation
Netzadapter anschließen
Collegare l'adattatore di alimentazione
3 Install the cable cover (optional)
4
Set up the stand (HAS or Easel)
Plaats het kabelafdekplaatje (optioneel) | Installez le cache-câbles (en option)
Zet de standaard (HAS of ezel) in elkaar
Kabelabdeckung installieren (optional) | Installare il coperchio del cavo (opzionale)
Régler le socle (inclinable ou à hauteur réglable)
Standrahmen einrichten (HAS oder Staffelei)
Impostare il piedistallo (HAS o a cavalletto)
Easel stand
Ezelstandaard | Socle inclinable
Staffeleistandrahmen | Piedistallo a cavalletto
NOTE: Securing the cable cover by using the Torx screw is optional.
N.B.: Het vastzetten van het afdekplaatje met de Torx-schroef is optioneel.
REMARQUE : la fixation du cache des câbles au moyen de la vis Torx est facultative.
Height adjustable stand (HAS)
ANMERKUNG: Das Befestigen der Kabelabdeckung mithilfe der Torx-Schraube ist optional.
In hoogte verstelbare standaard (HAS) | Socle à hauteur réglable (HAS)
N.B.: il fissaggio del coperchio del cavo mediante l'uso della vite Torx è opzionale.
Höhenverstellbarer Standrahmen (HAS) | Piedistallo ad altezza regolabile (HAS)
5
Press the power button
Product support and manuals
Productondersteuning en handleidingen | Support produits et manuels
Druk op de aan-uitknop
Produktsupport und Handbücher | Supporto prodotto e manuali
Appuyer sur le bouton d'alimentation
Betriebsschalter drücken
Contact Dell
Contact opnemen met Dell | Contacter Dell
Premere il pulsante Accensione
Kontaktaufnahme mit Dell | Contattare Dell
Regulatory and safety
Regelgeving en veiligheid | Réglementations et sécurité
Sicherheitshinweise und Zulassungsinformationen | Normative e sicurezza
Regulatory model
Beschreven model | Modèle réglementaire
Muster-Modellnummer | Modello normativo
Regulatory type
Beschreven type | Type réglementaire
Muster-Typnummer | Tipo di conformità
Computer model
Computermodel | Modèle de l'ordinateur
Computermodell | Modello computer
© 2016 Dell Inc.
© 2016 Microsoft Corporation
Dell.com/support
Dell.com/support/manuals
Dell.com/support/windows
Dell.com/contactdell
Dell.com/regulatory_compliance
W18B
W18B001
OptiPlex 3050 All-in-One
Printed in China.
2016-11

Verwandte Anleitungen für Dell OptiPlex 3050 All-in-One


Inhaltszusammenfassung für Dell OptiPlex 3050 All-in-One
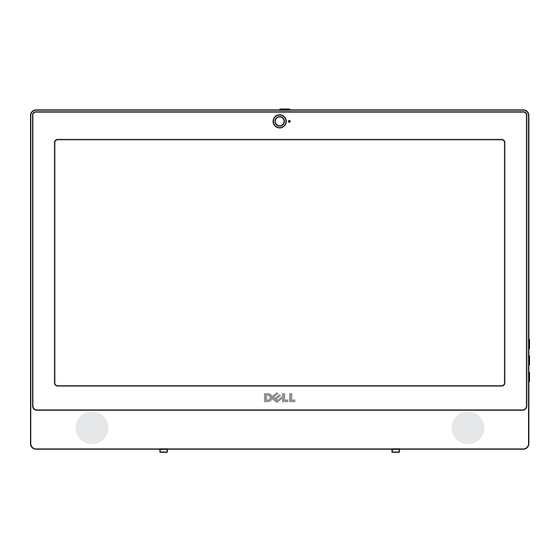
- Seite 1 OptiPlex 3050 All-in-One Tastatur und Maus anschließen Standrahmen einrichten (HAS oder Staffelei) Betriebsschalter drücken Contact Dell Contact opnemen met Dell | Contacter Dell Dell.com/contactdell Collegare la tastiera e il mouse Impostare il piedistallo (HAS o a cavalletto) Premere il pulsante Accensione...
- Seite 2 6 Finish Windows 7 setup Features Tilt Microphone Microfono DisplayPort Microphone VGA port (optional) Port VGA (en option) Voltooi de installatie van Windows 7 | Terminer l'installation de Windows 7 Kenmerken | Caractéristiques | Funktionen | Funzioni Kantelen | Inclinaison | Neigung | Inclinazione Camera (optional) Serial port (optional) Webcam (en option)