PIKO 35013 Anleitung
Weichendekoder
Inhaltsverzeichnis
Verfügbare Sprachen
Verfügbare Sprachen
Quicklinks
Warranty
Upon purchase of a PIKO product the firm of PIKO Spielwaren GmbH gives you
a Manufacturer's warranty of 24 months from the date of purchase in addition
to and beyond the warranty performance rights available to you legally in your
country vis-à-vis your authorized PIKO dealer as the contractual selling party. This
warranty is given with the following conditions listed below. Regardless of where you
purchased the product, you thereby have the possibility of submitting for warranty
claim defects or flaws occurring with the product to the firm of PIKO as the manufac-
turer of the product.
Warranty Conditions
This warranty applies to PIKO products and spare parts that have been purchased
from any of our worldwide authorized PIKO dealers. The sales receipt will serve as
proof of purchase.
Warranty Coverage / Exclusions
This warranty includes, at the discretion of the manufacturer, correction free of char-
ge of any defects or the replacement free of charge of damaged parts that are due
to defects in design, production, material or transportation inclusive of the service
performance connected with these defects. Any further claims are excluded.
Warranty claims become null and void
• when the defects are caused by wear and tear or by normal wear of parts subject to
wear and tear.
• when PIKO products have been converted with parts not authorized by the manuf-
acturer.
• when the installation of specific electronic elements has been carried out by parties
not authorized by the manufacturer for such an installation.
• when the product has been used in a manner not intended by the manufacturer.
• when the information in the operating instructions provided by the manufacturer has
not been followed.
Repair or replacement of a product does not extend its warranty period. Warranty
claims can be submitted directly to the seller, or the part to be submitted for warranty
can be sent directly to the firm of PIKO along with sales receipt and a summery of
the problem(s) with the product. Shipments have to be prepaid.
PIKO Spielwaren GmbH · Lutherstr. 30 · 96515 Sonneberg
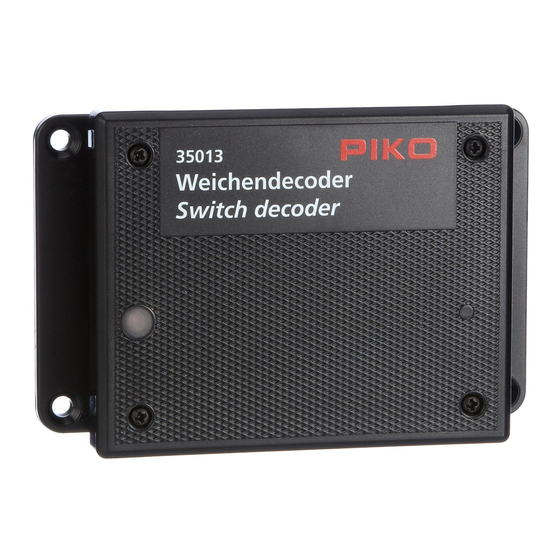
Weichendecoder
Anschluss- und Konfigurations-
Switch Decoder
Installation and Configuration
Anleitung
instructions
Inhaltsverzeichnis

Verwandte Anleitungen für PIKO 35013


Inhaltszusammenfassung für PIKO 35013
- Seite 2 Bild 1: Übersicht PIKO Digital-Anlage Overview PIKO Digital Layout 35270 35270 35271 Gleisanschluss-Klemmen Gleisanschluss- Weichenantrieb Power Clamps Klemmen Switch Machine Power Clamps 35013 Weichendecoder Switch Decoder 35000** 35012 35010 Schaltnetzteil 35022* Digitalzentrale Power Supply Funkempfänger Digital Central Station Wireless Receiver...
-
Seite 3: Anschluss
Weichendecoder reagiert auf die Befehle, alle anderen Decoder bleiben reaktionslos. So fährt nur die angewählte Lok oder es wird die angewählte Weiche geschaltet. Für den Start mit dem PIKO G-Digitalsystem benötigen Sie neben einer Lok mit Decoder die in der Übersicht dargestellten Komponenten:... -
Seite 4: Betrieb
Display „Schaltbefehl“ angezeigt wird. Sie befinden sich nun im Schaltbefehl-Modus. Geben Sie jetzt die Adresse der Weiche über die Tastatur des PIKO Navigators ein und schalten Sie diese mit den Pfeiltasten nach rechts oder links. Zusätzlich können Sie mit... -
Seite 5: Led-Anzeige
3 Kabelanschlüsse 4. Programmieren, Auslesen und Einstellen Ihr Weichendecoder ist bereits für 4 PIKO Weichenantriebe (#35271) mit den 1. Der Weichenantrieb muss mit einer „Programmierbrücke“ (Dies ist ein gebogenes Draht,- oder Kabelstück, das nicht im Lieferumfang enthalten ist) während der Programmierung Adressen 1…4 eingestellt. -
Seite 6: Programmierung
Die Programmierung des Weichendecoders erfolgt über eine Digitalsteuerung Anlage stehen. (z.B. mit der PIKO Digitalzentrale #35010 und dem PIKO Navigator #35011). Es werden so genannte CVs (Configuration Variable) eingestellt. Jede CV hat ihre 4.4 Hohe Adressen programmieren (für den fortgeschrittenen Anwender) eigene Aufgabe bzw. -
Seite 7: Einstellung Schaltzeiten, Licht Und Intervallfunktionen
Sie können nun die „CV-Nr.“ durch Zahleneingabe anwählen (z.B. 31) und einen Mit dem PIKO Digitalsystem gehen Sie bitte wie folgt vor: gewünschten „Wert“ eingeben und bestätigen danach die Eingabe mit der Taste Drücken Sie am Navigator die Taste , um in das Hauptmenü zu gelangen. -
Seite 8: Lichtfunktionen Mit Glühlampen
207 eingeben. Die Bedeutung der Werte entnehmen Sie Punkt 4.5.3. „Werte für Sonderfunktionen“. Die verwendeten Glühlampen sollten mindestens 19 V Mit dem PIKO Digitalsystem gehen Sie bitte wie folgt vor: (max. 24 V) haben, da diese sonst durchbrennen können. Drücken Sie am Navigator die Taste , um in das Hauptmenü... -
Seite 9: Einstellen Der Antriebsart
0 = Dauerbetrieb des Ausgangs z. B. für Lichtsignale entsprechenden Informationen. Blinken, im vorgegebenen Zeit- Ausgang blinkt symmetrisch bis Mit dem PIKO Digitalsystem gehen Sie bitte wie folgt vor: 1..15 rhythmus (Stufen von 0,25 s) zum Abschalten Drücken Sie am Navigator die Taste , um in das Hauptmenü... - Seite 10 Mängel oder Störungen zu reklamieren. Max. 2 Weichenantriebe pro Ausgang Garantiebedingungen (Anschluss von Motorspulen- oder Doppelspulenweichen) Diese Garantie gilt für PIKO Produkte und Einzelteile, die bei einem PIKO Fach- • Adressbereich: 1 … 2047 (NMRA*) händler weltweit gekauft wurden. Als Kaufnachweis dient die Kaufquittung.