Inhaltsverzeichnis
Werbung
Verfügbare Sprachen
Verfügbare Sprachen
Quicklinks
Werbung
Inhaltsverzeichnis

Verwandte Anleitungen für Stramatel 452 MB 7120-2


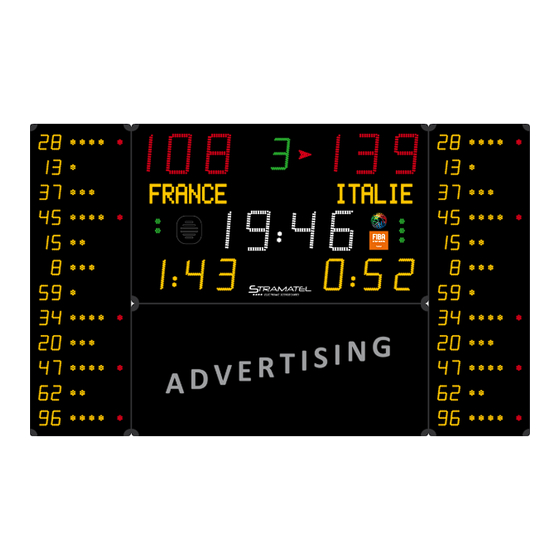
Inhaltszusammenfassung für Stramatel 452 MB 7120-2
-
Seite 2: Technische Daten
Serie Pro Empfehlungen Wir danken dafür dass Sie ein STRAMATEL Produkt gewählt haben und hoffen dass Sie damit vollkommen zufrieden sein werden. Um eine einwandfreie Installation der Anlage durchzuführen, empfehlen wir Ihnen die nachfolgende Anleitung zu befolgen und das von STRAMATEL gelieferte Material zu verwenden. -
Seite 3: Vorbereitung Der Installation
Setzen Sie eine Dübel oder Einschraubmutter ein, für Schrauben von Ø8mm. 1110 1960 1860 Abmessungen in mm (Z): Befestigungsloch, vorgesehen für die Wartung (Aufbau/Abbau der Frontseite). ZI de Bel Air 44850 LE CELLIER FRANKREICH stramatel@stramatel.com Tel. +33 (0)2 40 25 46 90 ID452MB7120-2_A - Montageanleitung 452MB7120-2.docx Seite 4... -
Seite 4: Aufstellung Der Anzeigetafel
Positionieren Sie die Module M3 und M4 auf den Seiten den Module M1 & M2 und befestigen Sie die mit Ø8mm Schrauben. Schliessen Sie die Steckverbinder (Y) zwischen den Modulen an. ZI de Bel Air 44850 LE CELLIER FRANKREICH stramatel@stramatel.com Tel. +33 (0)2 40 25 46 90 ID452MB7120-2_A - Montageanleitung 452MB7120-2.docx Seite 5... -
Seite 5: Elektrische Aufstellung - Funkgesteuertes Modell
Steuerkabel (Q) : (1) = GND = blaue Ader / (2) = Rx+ = weiße Ader / (3) = Rx- = graue Ader / (4) = +24V = durchsichtige Ader Ende der Installation Die Kunststoffecken wieder anschrauben. Die Anzeigetafel mit Hilfe der Bedienungsanleitung testen. ZI de Bel Air 44850 LE CELLIER FRANKREICH stramatel@stramatel.com Tel. +33 (0)2 40 25 46 90 ID452MB7120-2_A - Montageanleitung 452MB7120-2.docx Seite 6... -
Seite 6: Elektrische Aufstellung - Kabelgesteuertes Modell
Steuerkabel (Q) : (1) = GND = blaue Ader / (2) = Rx+ = weiße Ader / (3) = Rx- = graue Ader / (4) = +24V = durchsichtige Ader Ende der Installation Die Kunststoffecken wieder anschrauben. Die Anzeigetafel mit Hilfe der Bedienungsanleitung testen. ZI de Bel Air 44850 LE CELLIER FRANKREICH stramatel@stramatel.com Tel. +33 (0)2 40 25 46 90 ID452MB7120-2_A - Montageanleitung 452MB7120-2.docx Seite 7... -
Seite 8: Technical Data
340 x 175 x 60 mm Weight 650 g Power supply: the console is powered by the main control console. It should only be connected to the STRAMATEL system supplied. Separate timer control console Dimensions 145 x 150 x 40 mm... -
Seite 9: Before Installation
1960 1860 Dimensions in mm (Z): Holes for mounting or disassembling the front face in some maintenance cases. ZI de Bel Air 44850 LE CELLIER FRANCE stramatel@stramatel.com Tél. +33 (0)2 40 25 46 90 IA452MB7120-2_A - Installation 452MB7120-2.docx Page 4... - Seite 10 Put the modules M3 and M4 on one or the other side of the modules M1 and M2 and screw in Ø 8 mm screws. Plug in the connectors (Y) between the modules. ZI de Bel Air 44850 LE CELLIER FRANCE stramatel@stramatel.com Tél. +33 (0)2 40 25 46 90 IA452MB7120-2_A - Installation 452MB7120-2.docx Page 5...
- Seite 11 Slide back and screw in each of the corner plastic shields. Try out the scoreboard operating functions (see operating functions). ZI de Bel Air 44850 LE CELLIER FRANCE stramatel@stramatel.com Tél. +33 (0)2 40 25 46 90 IA452MB7120-2_A - Installation 452MB7120-2.docx Page 6...
- Seite 12 Slide back and screw in each of the corner plastic shields. Try out the scoreboard operating functions (see operating functions). ZI de Bel Air 44850 LE CELLIER FRANCE stramatel@stramatel.com Tél. +33 (0)2 40 25 46 90 IA452MB7120-2_A - Installation 452MB7120-2.docx Page 7...