Levoit OasisMist Kurzanleitung
Verfügbare Sprachen
Verfügbare Sprachen
Figure 1.1
Figure 1.2
Working with VeSync
To download the VeSync app, scan the QR code or search "VeSync" in
1.
the Apple App Store® or Google Play Store.
Open the VeSync app. Log In or Sign Up.
2.
Follow the in-app instructions to finish setting up your smart humidifier.
3.
Smart
Control
QU ICK STA RT GUI DE
Place the humidifier on a hard, flat surface. Remove the water tank cover. Use
1.
the handle to lift the water tank from the base. [Figure 1.1]
Fill tank with water, place it back on the base, and replace the water tank
2.
cover. [Figure 1.2]
Note:
•
We recommend using purified or distilled water.
•
Do not pour water into the base chamber.
•
Change water daily to avoid bacteria growth.
Plug in your humidifier. Tap
3.
the controls to adjust the mist.
Note: If your humidifier isn't misting:
•
Make sure there is water in the tank.
•
In Auto Mode, the humidifier will not mist if the humidity level is above 60%.
To continue misting, turn off Auto Mode and manually adjust the mist level.
Voice
Auto
Control
Mode
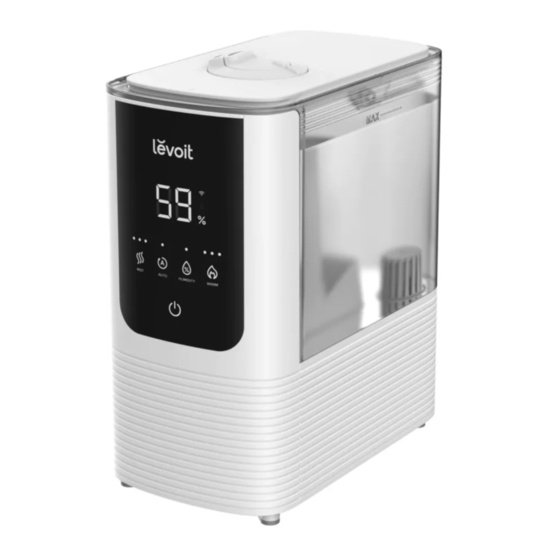
OasisMist™
Smart Humidifier
to turn on the humidifier, then use
Add Water
Reminder
EN
Inhaltsverzeichnis

Verwandte Anleitungen für Levoit OasisMist


Inhaltszusammenfassung für Levoit OasisMist
- Seite 3 OasisMist™ Intelligenter Luftbefeuchter KURZA NLE ITU NG Stellen Sie den Luftbefeuchter auf eine harte, ebene Fläche. Entfernen Sie die Wasserbehälterabdeckung. Ziehen Sie den Wasserbehälter mithilfe des Griffs aus dem Unterteil. [Abbildung 1.1] Füllen Sie den Behälter mit Wasser, setzen Sie ihn wieder auf das Unterteil und bringen Sie die Wasserbehälterabdeckung wieder an.
-
Seite 4: Qualitätssicherung
• HEISSWASSER-Dampf Lassen Sie die Düsen und die Nebelröhre auskühlen, bevor Sie sie berühren oder reinigen. Qualitätssicherung Fragen oder Probleme? Ihr Produkt verfügt über eine Garantie von 2 Jahren, begin- support.eu@levoit.com nend ab dem Kaufdatum. support.uk@levoit.com support.de@levoit.com Diese Garantie schränkt Ihre Rechte nach den geltenden support.es@levoit.com... - Seite 11 Notes...
- Seite 12 Connect With Us /L EVOI TUK Verbinden Sie sich mit uns /L EVOI TUK Restez connecté /L EVOI TGE RM A NY Conecte con /L EVOI TFRA N C E nosotros en /L EVOI TS PA IN /L EVOI TITA LY Seguici su A0-01.00_S_22G08_eu...