Technoline WT 7110 Bedienungsanleitung
Quarzwanduhr
Verfügbare Sprachen
Verfügbare Sprachen
Quicklinks
Bedienungsanleitung
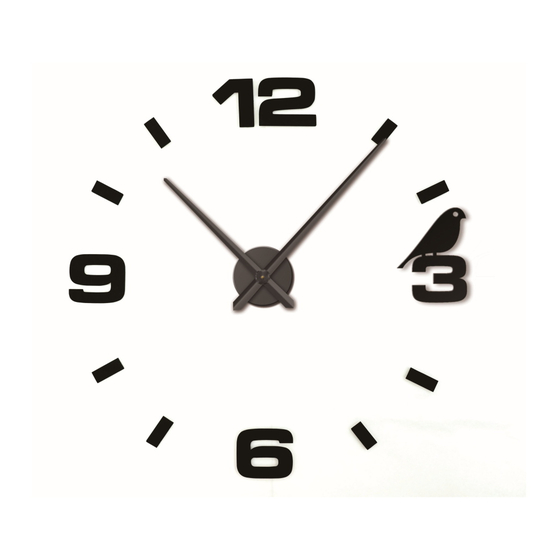
WT 7110 – QUARZWANDUHR
Installation der Uhr
1.
Wählen Sie einen Platz für Ihre Uhr. Platzieren Sie den Wandhänger (mit dem Hänger nach oben
zeigend) leicht oberhalb der ausgesuchten Stelle und hämmern Sie die 3 angebrachten Nägel in
diese Stelle.
2.
Hängen Sie den Wanduhrrahmen auf den Wandhänger.
3.
Legen Sie das Papierzifferblatt und das Papierlineal auf die Bewegungsachse der Zeiger.
4.
Verwenden Sie das Papierziffernblatt, um den richtigen Winkel für alle Ziffernblattbestandteile
einzuhalten und nutzen Sie das Papierlineal um die Entfernung zu messen. Nehmen Sie einen
Bleistift um die 12 Zifferblattenden zu markieren.
5.
Entfernen Sie die Haftschutzpapier von den Nummern und Skalen.

Verwandte Anleitungen für Technoline WT 7110


Inhaltszusammenfassung für Technoline WT 7110
- Seite 1 Bedienungsanleitung WT 7110 – QUARZWANDUHR Installation der Uhr Wählen Sie einen Platz für Ihre Uhr. Platzieren Sie den Wandhänger (mit dem Hänger nach oben zeigend) leicht oberhalb der ausgesuchten Stelle und hämmern Sie die 3 angebrachten Nägel in diese Stelle.
- Seite 2 Kleben Sie die Nummern und Skalen auf die vorher markierten Stellen. Setzen Sie den Stundenzeiger so auf die Bewegungsachse, dass der Zeiger auf 12 Uhr zeigt (das Aufhängloch des Wanduhrrahmens ist bei 12 Uhr). Drücken Sie den Zeiger runter auf das Uhrwerk.. Stecken Sie den Minutenzeiger genau so auf die Bewegungsachse wie zuvor mit den Stundenzeiger und stellen Sie sicher, dass beide Zeiger parallel auf 12 Uhr zeigen.
- Seite 3 Vorsichtsmaßnahmen Dieses Gerät ist ausschließlich für den Gebrauch in Innenräumen gedacht. Setzen Sie das Gerät nicht extremer Gewalteinwirkung oder Stößen aus. Setzen Sie das Gerät nicht hohen Temperaturen, direktem Sonnenlicht, Staub und Feuchtigkeit aus. Tauchen Sie das Gerät nicht in Wasser. ...