Zolia ZD6 Bedienungsanleitung
Verfügbare Sprachen
Verfügbare Sprachen
Assemble and disassemble
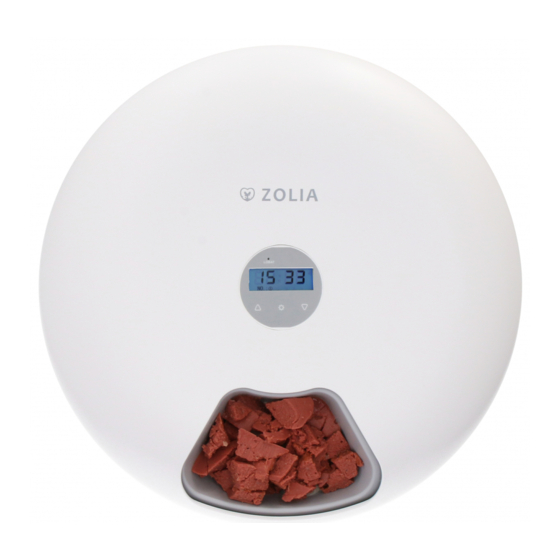
EN- Zolia Automatic pet feeder ZD6
Press down the both side of the top lid and
rotate in the direction of the arrow to
disassemble the top lid.
A - Top Lid
B- Storage Tray
C- Control panel
D- Base
E- Non slip mat
F - Battery compartment
G- On/ Off button
H- USB Port
I- Micro USB 1.5 m
1-Low Battery indicator
2- Time
3-Feeding schedules
4- Increase Value
5- Set
6- Decrease value

Verwandte Anleitungen für Zolia ZD6


Inhaltszusammenfassung für Zolia ZD6
- Seite 13 DE- Zolia Futterautomat ZD6 A - Deckel B- Futterbehälter C- Bedienfeld D- Basis E- Rutschfeste Matte F - Batteriefach G- An/ Aus Knopf H- USB Anschluss I- Micro USB 1.5 m 1- Schwache Batterieanzeige indicator 2- Uhrzeit 3-Fütterungszeiten 4- Wert erhöhen...
- Seite 14 Montieren Sie den Futterbehälter Richten Sie die Pfeile auf den Futterbehälter und dem Boden aus Den Deckel montiert Richten Sie die Pfeile aus, drücken Sie sie nach unten und drehen Sie sie nach rechts Test vor der Nutzung ● Stecken Sie das Micro-USB-Kabel ein oder legen Sie drei C-Batterien ein und schalten Sie das Gerät ein ●...
- Seite 15 Timer für die erste Mahlzeit ● Wenn Stundenziffern und „1“ blinken, wiederholen Sie Schritt 1, um die Fütterungszeit einzustellen ● Drücken Sie kurz um zu speichern und wechseln Sie zu den Einstellungen der zweiten Mahlzeit. (Wenn nur 2 oder 3 Mahlzeiten benötigt werden, drücken Sie bitte lange , um zur aktuellen Zeitseite zurückzukehren.
- Seite 16 ● Sofortfütterung Bitte halten Sie für 1 Sekunde, um eine sofortige Mahlzeit auszuschütten. Das Futtertablett dreht eine Mahlzeit. Wenn sich das Futterfach nicht dreht, drücken Sie bitte gleichzeitig um das Bedienfeld zu entsperren ● Fußschutz Alarm Der Motor läuft rückwärts, wenn die Füße Ihres Haustieres das Futterfach betreten. (E1: 30) wird auf dem Bildschirm angezeigt und kehrt nach einem Countdown von 30 Sekunden zum Normalzustand zurück ●...