auna MD-150-BT Anschluss- Und Anwendungshinweise
Mp3 / usb / sd / rds / aux / bt
Inhaltsverzeichnis
Verfügbare Sprachen
Verfügbare Sprachen
Kapitel
Inhaltsverzeichnis
Fehlerbehebung

Verwandte Anleitungen für auna MD-150-BT


Inhaltszusammenfassung für auna MD-150-BT
- Seite 1 Autoradio MD-150-BT MP3 / USB / SD / RDS / AUX / BT 10007165 http://www.auna-multimedia.com...
-
Seite 2: Inhaltsverzeichnis
Sehr geehrter Kunde, Wir gratulieren Ihnen zum Erwerb Ihres Gerätes. Lesen Sie die folgenden Anschluss- und Anwen- dungshinweise sorgfältig durch und befolgen Sie diese, um möglichen technischen Schäden vorzu- beugen. Für Schäden, die durch Missachtung der Sicherheitshinweise und unsachgemäßen Gebrauch entstehen, übernehmen wir keine Haftung. - Seite 3 • Bohren Sie bei der Installation nur an Stellen, an denen sich keine Kabel und Leitungen befi nden. • Schließen Sie Kabel nicht über oder in der Nähe von heißen Oberfl ächen an. Das gilt besonders für die Kabel, die mit den Maschinenteilen verbunden sind. •...
-
Seite 4: Frontblende Und Funktionstasten
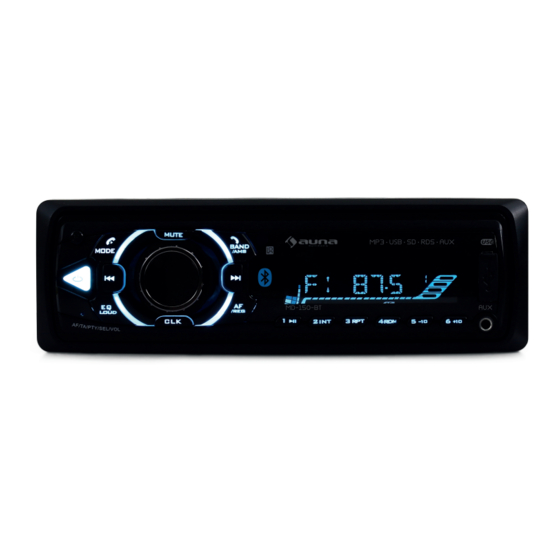
Frontblende und Funktionstasten Frontblende 1 Taste zum Lösen der Frontblende 2 Power-Taste 3 MODE/Auflegen 4 Titel/Senderauswahl 5 Stumm-Taste 6 BAND (Frequenzbereich)/ Autom. Sendersicherung/Anruf annehmen 7 Fernbedienungs-Sensor 8 Display 9 USB-Port 10 AUX-Eingang 11 Numerische Funktions-tasten (1-6) 12 AF/REG-Taste 13 Lautstärkeregler/Tonauswahl/ RDS/Hintergrundbeleuchtung 14 CLK-Taste (Uhr) 15 EQ/Lautstärkeregler... -
Seite 5: Grundfunktionen Der Tasten
Grundfunktionen der Tasten Frontblende entfernen (1): Drücken , um die Fronblende zur sicheren Verwahrung zu entfernen. Power-Taste (2): Drücken Sie auf die Power-Taste, um das Radio anzuschalten. Halten Sie die Taste gedrückt, um das Radio wieder auszuschalten. MODE/Auflegen (3): Drücken sie im angeschalteten Zustand auf die MODE Taste, um in die Funktionsauswahl zu gelangen. -
Seite 6: Installation Und Demontage
Bluetooth Mikrofon (16): Falls ihr Telefon via Bluetooth mit dem Radio verbunden ist, wird das Mikrofon für An- rufe genutzt. SD/MMC Kartenhalter (17): Sobald Sie eine SD/MMC Karte mit passenden Audioformaten einstecken, spielt das Radio die Musik automatisch ab. RESET-Taste (18): Um das Radio bei Fehlfunktion auf die Werkseinstellungen zurückzusetzen, drücken Sie zuerst auf diesen Knopf und starten Sie danach das Radio. -
Seite 7: Anschlüsse Und Kabelverbindungen
Hauptgerät demontieren Lösen Sie den Gewindebolzen am Montagewinkel. Schieben Sie die Schlüssel zur Demontage in die entspre- chenden Öff nungen links und rechts am Hauptgerät und ziehen Sie es heraus. Entfernen Sie dann die Strom- und Lautsprecherkabel, sowie die Antennenverbindung. Anschlüsse und Kabelverbindungen Anschlussdiagramm Hinweise zum Anschluss... -
Seite 8: Bluetooth Funktionen
Bluetooth Funktionen Verbindung mit dem Telefon aufbauen Befestigen Sie Ihr Telefon möglichst nah am Gerät. Aktivieren Sie Bluetooth auf Ihrem Telefon. Starten Sie eine Suche nach vorhandenen Geräten und wählen Sie das Autoradio aus. Falls Sie nach einem Passwort gefragt wer- den, geben Sie „0000“... -
Seite 9: Fehlersuche Und Fehlerbehebung
Fehlersuche und Fehlerbehebung Fehler Mögliche Ursache Lösung Gerät geht nicht an Die Sicherung ist kaputt. Ersetzen Sie die Sicherung durch eine neue Sicherung gleichen Typs. Funktionsstörung Der Prozessor erkennt aus irgendeinem Schalten Sie das Gerät aus und warten Grund Fehlfunktionen. Sie 1 Minute, bevor Sie es wieder anschal- ten.