Hama Lan-Storage Bedienungsanleitung
Vorschau ausblenden
Andere Handbücher für Lan-Storage:
- Bedienungsanleitung (12 Seiten) ,
- Bedienungsanleitung (13 Seiten) ,
- Bedienungsanleitung (13 Seiten)
Inhaltsverzeichnis
Verfügbare Sprachen
Verfügbare Sprachen
Quicklinks
All listed brands are trademarks of the corresponding companies. Errors and omissions excepted,
and subject to technical changes. Our general terms of delivery and payment are applied.
Downloaded from
www.Manualslib.com
PO Box 80 · 86651 Monheim/Germany
Phone: +49 9091 502-0
Fax: +49 9091 502-458
hama@hama.de
http://www.hama.com
manuals search engine
C O M P U T E R
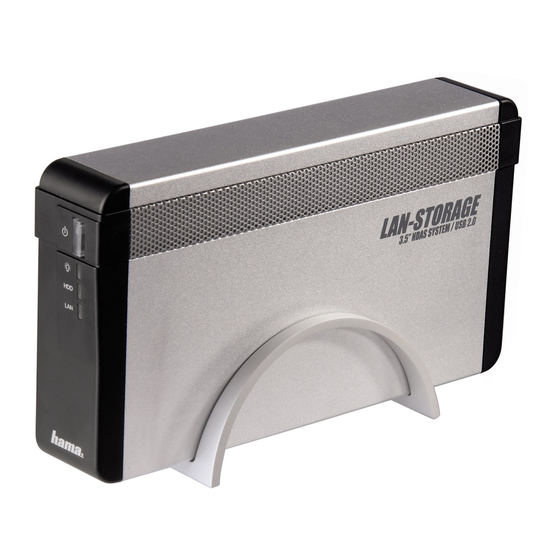
Festplattengehäuse
»Lan-Storage«
Hard Disk Enclosure
Boîter de disques durs
00062706
Inhaltsverzeichnis

Verwandte Anleitungen für Hama Lan-Storage


Inhaltszusammenfassung für Hama Lan-Storage
- Seite 1 C O M P U T E R Festplattengehäuse »Lan-Storage« Hard Disk Enclosure Boîter de disques durs PO Box 80 · 86651 Monheim/Germany Phone: +49 9091 502-0 Fax: +49 9091 502-458 hama@hama.de http://www.hama.com All listed brands are trademarks of the corresponding companies. Errors and omissions excepted, 00062706 and subject to technical changes.
-
Seite 2: Inhaltsverzeichnis
Träger mit Hilfe der im ersten Schritt gelösten Bitte beachten Sie hierzu die Hinweise in dieser Schrauben. Installationsanleitung. Die Firma Hama GmbH & Co. KG haftet unter keinen Umständen für den Verlust von Daten, die auf Datenträgern gespeichert wurden! 1. Produktbeschreibung 2. -
Seite 3: Ndas Gehäuse Hinzufügen
1. Öffnen Sie nun im Arbeitsplatz den Ordner 5. Klicken Sie auf „Installation fortsetzen“ um 1. Klicken Sie auf „Registrierung eines neuen „Windows Treiber“ auf der eingelegten CD und den Windows Logo Test zu überspringen. Gerätes“. Starten Sie die Installation mit einem Klick auf „Setup.exe“. -
Seite 4: Software-Eigenschaften
6. Wählen Sie nun ob der PC nur Lesezugriff auf 11. Schließen Sie die Installation mit einem Klick auf Gelb: NDAS Gerät ist verfügbar aber mit einem das NDAS haben soll oder ob der betreffende PC „Fertig stellen“ ab. oder mehreren NDAS Geräte auch Schreibrechte für das NDAS bekommt. -
Seite 5: Zusammenschluss Aufheben
Bei defekten Produkten: Geräte aus, die zusammengeschlossen werden Bitte wenden Sie sich bei Produktreklamationen an sollen. Klicken Sie anschließend auf „Fertigstellen“. Ihren Händler oder an die Hama Produktberatung. 4.2 Zusammenschluss aufheben Internet/World Wide Web Produktunterstützung, neue Treiber oder Produktin- formationen bekommen Sie unter www.hama.com...