ZAMST A1 Gebrauchsanweisung
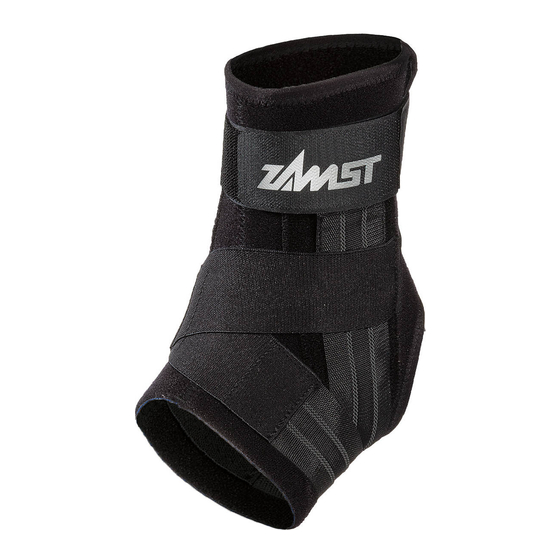
Fussgelenkstütze
Verfügbare Sprachen
Verfügbare Sprachen
2020.04 165100
ZAMST A1 (ANKLE SUPPORT) INSTRUCTIONS FOR USE
Thank you for purchasing this product. For safety reasons, be sure to read this user manual before use. Also, store it in a location where you can
refer to it at any time.
Read this first:
• This product is side (left and right) specific. The left and right sides of the product are not interchangeable.
• Support may not be provided by this product under certain usage conditions.
• This product is not designed to treat ankle disorders.
• Check that the product size is correct before use.
When using the product:
• Due to the characteristics of the materials used in this product, the color may change depending on storage conditions.
• When storing the product, avoid applying excessive weight to the hook-and-loop fastener or raised fabric. Otherwise, the hook-and-loop fastener
may not work effectively.
• Do not wear the product while driving. Doing so may have an adverse effect on your driving ability.
Precautions for use - Be sure to read this:
Safety precautions are divided into the following sections, according to the level of danger involved.
WARNING: Indicates a potentially hazardous situation, which may result in serious personal injuries if not avoided.
CAUTION: Indicates a potentially hazardous situation, which may result in minor personal injuries and/or property damage if not avoided.
WARNING
• To prevent abnormalities or worsening of symptoms, people who suffer from the following conditions should refrain from using the product:
- Those predisposed to allergies or with sensitive skin.
* This product contains natural rubber. Natural rubber contains latex allergens and may in certain rare cases cause allergic symptoms such as
itching, redness, hives, swelling, fever, difficulty breathing, asthma-like symptoms, a drop in blood pressure, or shock. If any of the above-
mentioned symptoms are observed, immediately stop using this product and seek medical attention.
- Those who have a fracture, cut, numbness, swelling, eczema, rash or other abnormalities in the area where the product will be worn.
• If the product is not used correctly, it may cause circulatory problems or injury. Be sure to follow the warnings below and use the product correctly:
- The product should only be used on ankles.
- Be sure to use the correct size product.
- Do not use the product while sleeping.
- If wearing the product for a long period of time, readjust it as necessary. The application of constant pressure for a long period of time may
cause skin and/or circulatory problems.
- When using the product, be sure to put it on in the correct orientation (top/bottom, inside/outside, front/back).
- Follow the attachment steps in order to use this product correctly.
- Do not wrap the main body of the product or the straps too tightly. Doing so may cause skin and/or circulatory problems.
- If the product loosens or comes off during use, be sure to refasten it correctly by following the noted steps from the beginning.
- If the product shows any signs of wear or damage, or the hook-and-loop fastener no longer works well, do not use the product.
- Do not attempt to modify or repair the product.
• The personal-fit-stays are made of plastic. To prevent personal injury, do not use the product in the following situation:
- Where contact with the product may injure others.
• If any of the following abnormalities occur when using this product, immediately stop using it, and consult a physician. Continued use may
worsen symptoms:
- If this product causes discomfort.
- If an injury, fracture, cut, pain, numbness, swelling, eczema, rashes, etc. occurs in the area where the product is worn.
CAUTION
• Hard materials are used for the hook-and-loop fastener. In certain rare instances, fingers or skin may be damaged, so use the product carefully.
• Be sure to wear the product over a sock. Do not wear it directly on your skin.
• Sweat and friction may cause the color of this product to fade or be transferred to other materials.
• Make sure the hook-and-loop fastener does not attach to clothing. If it does, clothing may become frayed or be damaged.
Care and cleaning
CAUTION
• Do not wash this product with light colored items. By doing so, color may fade or be transferred to other materials.
• If washing the product together with clothing, etc., be sure to use a laundry net. If the hook-and-loop fastener becomes attached to clothing,
it may cause the clothing to become frayed or be damaged.
• This product can be washed in a washing machine. After washing, hang it to dry in the shade.
• When washing this product, attach the hook-and-loop fastener to the main body. Attempting to wash this product without closing the hook-and-
loop fastener may weaken its fastening capability.
• Do not use an iron or chlorine bleach, however, oxygen bleach can be used.
• Do not tumble dry. Doing so may damage the product.
• This product cannot be dry cleaned. Wet cleaning is allowed, however, avoid tumble drying.
NIPPON SIGMAX CO., LTD
33
Floor Shinjuku Oak Tower
rd
A1
6-8-1 Nishi-Shinjuku, Shinjuku-ku,
Tokyo 163-6033 Japan
Phone: +81 3 5326 3229
EMERGO EUROPE
The video on how to apply the product,
Prinsessegracht 20 2514 AP
The Hague, The Netherlands
and the Instructions for Use in other
languages are available at
https://zamst.com/products/a1/
EN
Inhaltsverzeichnis

Verwandte Anleitungen für ZAMST A1


Inhaltszusammenfassung für ZAMST A1
-
Seite 19: Pflege Und Reinigung
ZAMST A1 (FUSSGELENKSTÜTZE) GEBRAUCHSANWEISUNG Vielen Dank für den Kauf dieses Produkts. Lesen Sie aus Sicherheitsgründen unbedingt diese Bedienungsanleitung vor dem Gebrauch. Bewahren Sie sie darüber hinaus an einem Ort auf, an dem sie zugänglich ist, um jederzeit nachschlagen zu können. - Seite 20 <Innenseite des Produkts> Passschalen Falten Sie den oberen Riemen mit dem ZAMST-Logo zurück und befestigen Sie ihn vorübergehend am Hauptteil des Produkts, damit sich das Produkt leicht anlegen lässt. Stellen Sie Ihr Fußgelenk in einen rechten Winkel, öffnen Sie den hinteren Einstieg des Produkts und schieben Sie Ihren Fuß...
- Seite 21 Befestigen Sie den Bügelriemen. Ziehen Sie den Bügelriemen mit den Füßen auf dem Boden so weit nach oben, dass er nicht durchhängt, befestigen Sie den Riemen am Produkt und üben Sie festen Druck auf den Bügelriemen Klettverschluss aus. * Ziehen Sie den Gurt nicht mit übermäßiger Kraft nach oben, da dies zu Haut- und/oder Kreislaufproblemen führen kann.