Candy PCV 64 C Bedienungsanleitung

Verwandte Anleitungen für Candy PCV 64 C


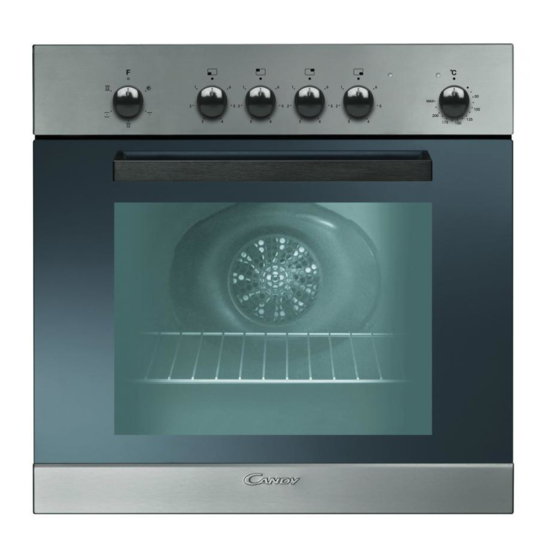
Inhaltszusammenfassung für Candy PCV 64 C
-
Seite 14: Sicherheitsvorschriften
SICHERHEITSVORSCHRIFTEN WARNUNG: Das Gerät und die zugänglichen Teile des Gerätes werden während des Betriebs heiß. Das Berühren der heißen Geräteteile sollte vermieden werden. • Kinder unter 8 Jahren sollten ohne Aufsicht nicht in die Nähe des Gerätes gelassen werden. • Dieses Gerät ist nicht bestimmt zum Gebrauch durch Personen (einschließlich Kindern) mit beeinträchtigten körperlichen, sensorischen oder geistigen Fähigkeiten oder durch Personen, die keine entsprechenden Erfahrungen oder Kenntnisse besitzen, es sei denn, sie werden beaufsichtigt oder angewiesen durch eine Person, die für ihre Sicherheit verantwortlich ist. -
Seite 15: Ihr Neues Haushaltsgerät
5. Unteres Heizelement 6. Oberes Heizelement √ √ √ √ PCE 64 X 7. Rost 8. Einschube GLASKERAMISCHES KOCHFELD: PCV 64 C 4 HP KOCHFELD: PCE 64 X 1500 W 1500 W 1200 W 2100 W 2000 W 1700 W 1000 W... -
Seite 16: Konformitätserklärung
2.1 KONFORMITÄTSERKLÄRUNG 2.6 ELEKTRISCHER ANSCHLUß Dieses Gerät entspricht der EU-Vorschrift 89/109 für die Bereiche, die mit Lebensmitteln in Berührung kommen. Mit der Anbringung des -Zeichens am Gerät zeigen wir an, dass wir sämtliche für dieses Produkt geltenden und notwendigen europäischen Sicherheits-, Gesundheits- und Umweltstandards einhalten und hierfür haftbar sind. -
Seite 17: Einige Nützliche Hinweise
4. EINIGE NÜTZLICHE HINWEISE 5. VORBEREITUNGEN FÜR INSTALLATION UND GEBRAUCH Dieser moderne, funktionale und praktische Ofen wurde mit Teilen 4.1 KIPPGESICHERTE GITTERROSTE und Materialien höchster Güte hergestellt und wird Ihre Ansprüche in jeder Hinsicht erfüllen. Vergessen Sie nicht, diese Anleitung aufmerksam durchzulesen, damit Sie gleich zu Anfang richtig und sicher mit dem Gerät arbeiten können und es auch in Zukunft nicht zu Problemen kommt. -
Seite 18: Ofen - Und Kochfeldinstallation
5.2 OFEN - UND KOCHFELDINSTALLATION 5.2.2. Kochplatten-Kochfeld fixieren Damit keine Flüssigkeiten eindringen können, wird ein spezielles Abbildung 11 - Bündige Ofeninstallation Dichtungsmittel mit Ihrem Gerät geliefert. Bringen Sie das Dichtungsmittel am Rand des Arbeitsplattenausschnittes auf. Verlängern Sie das Dichtungsmittel durch Ziehen und platzieren Sie es um den Ausschnitt herum. -
Seite 19: Warnung
5.2.5. Warnung 5.3 VERKABELUNG UND SICHERHEIT EINBAUOFEN Installation eines Einbauofens ohne Kühlungslüfter. Vor dem Einsetzen des Ofens muss die Rückwand des •Bevor Sie die Verbindung herstellen, stellen Sie sicher, dass das Küchenmöbels im Bereich des Ofens entfernt werden. Gerät durch eine angemessene Sicherung geschützt-siehe hierzu Gleichermaßen muss am Vorderteil des Möbels eine Öffnung von die umseitige Tabelle-und mit Kabeln mit zu einer normalen mindestens 10 mm vorhanden sein. -
Seite 20: Ceranfelder Ohne Bedienelemente "Pvs
5.4 CERANFELDER OHNE BEDIENELEMENTE INSTALLATION MIT EINBAU-BACKOFEN CERANFELD Der Anschluß ans Stromnetz des Backofens und des Ceranfeldes erfolgt über den Backofen. Die Glaskeramikkochfelder ohne Bedienelemente haben eine sehr spezifische Ausstattung. Die Kochfelder können ausschließlich über einen geeigneten Herd oder eine geeignete Bedienblende betrieben werden. Die BACKOFEN Verbindung der beiden Geräte ist auf einer detaillierten Übersicht beschrieben, die entweder mit dem Herd oder der Bedienblende... -
Seite 21: Kochplatten Verwenden
6.2 KOCHPLATTEN VERWENDEN 6.3 OFEN VERWENDEN Das Kochfeld wird uber die 7-stufigen Einstellknopfe am Zuerst wählen Sie die gewünschte Ofenfunktion (Abbildung 27 Bedienfeld (Abbildung 25) gesteuert. und 28),anschließend stellen Sie die gewünschte Ofentemperatur Stufe „0“ bedeutet: Ausgeschaltet. Die restlichen 6 Stufen ein (Abbildung 29). -
Seite 22: Funktionen
6.4 FUNKTIONEN Grill-Funktion Je nach Modell sind eventuell nicht alle der nachstehend erklärten Diese Funktion nutzen Sie für Grillgerichte, Funktionen verfügbar. Brathähnchen und Spieße. Grillgerichte geben Sie auf das Grillrost, das Sie auf der höchsten Stufe einschieben. Nachdem Sie das Backblech in der 3. Position von unten eingeschoben Auftauen-Funktion haben, beginnen Sie mit dem Grillen. -
Seite 23: Reinigung Und Wartung
7. REINIGUNG UND WARTUNG 7.1 ALLGEMEIN Verschmutzungen von der Glaskeramik entfernen. Auch Bevor Sie Ihren Ofen reinigen, vergewissern Sie sich zunächst, schwierig zu entfernende Verunreinigungen wie geschmolzene dass sämtliche Bedienelemente abgeschaltet sind und der Ofen Kunststoffe, Öl und Fette sowie zuckerhaltige Substanzen abgekühlt ist. - Seite 24 This appliance is marked according to the European directive 2012/19/EU on Waste Electrical and Electronic Equipment (WEEE). WEEE contains both polluting substances (which can cause negative consequences for the environment) and basic components (which can be re- used). It is important to have WEEE subjected to specific treatments, in order to remove and dispose properly all pollutants, and recover and recycle all materials.