Smartwares 10.037.08 Bedienungsanleitung
Quicklinks
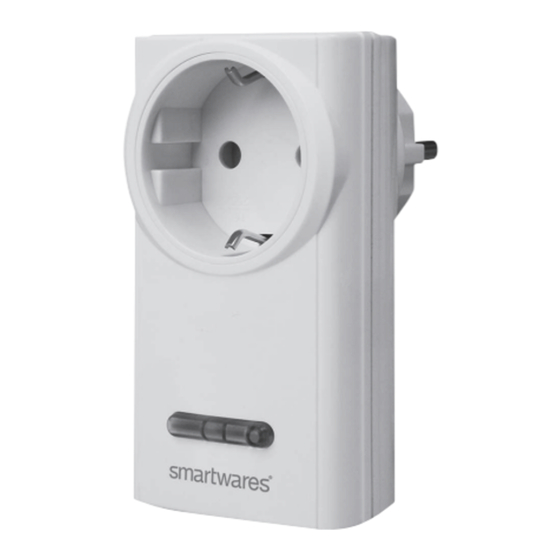
10.037.08
EN Wireless plug-in power switch
NL Plug-in schakelaar
DE Steckerschalter
FR Interrupteur enfichable
ES Interruptor enfuchable
IT Interruttore plug-in
SV Plug-in Switch
PL Przełącznik wtykowy
3 sec
Flash
10 sec
Instruction manual
EN
INSTALLING THE RECEIVER
•
Insert the receiver into the wall outlet (4).
Pairing the receiver with a sender
A. Press and hold the button on the receiver for 3 seconds, then
release it (5). The LED starts to blink. Your receiver is now
switched to pairing mode.
Attention: the LED should only blink after releasing the button. If
the LED starts to blink while holding the button, there will be no
pairing.
B. Press the "PAIR" button on the sender for 2 seconds to pair it with
a receiver (6). The LED on the receiver will light up and the LED
on the sender will start blinking rapidly.
ð Your receiver and sender are now paired.
Preparing the receiver
•
Connect a desired device to the receiver and make sure the
desired device is switched on (7). Now, the receiver is ready for
use.
DISCONNETING ALL LINKS
Disconnecting all links
A. Press and hold the button on the receiver for 10 seconds until the
LED starts to blink (8).
B. When the LED on the receiver turns off, all links will be
disconnected.
Manuel d'instructions
FR
INSTALLATION DU RÉCEPTEUR
•
Insérer le récepteur dans la prise murale (4).
Couplage du récepteur à un émetteur
A. Appuyez sur le bouton du récepteur et maintenez-le enfoncé
pendant 3 secondes, puis relâchez-le (5). La LED commence à
clignoter. Votre récepteur est maintenant commuté en mode
d'appairage.
Attention: la LED ne doit clignoter qu'une fois le bouton relâché.
Si la LED commence à clignoter lorsque vous maintenez le bouton
enfoncé, le mode appariement n'est pas activé.
B. Appuyez sur le bouton « PAIR » de l'émetteur pendant 2 secondes
pour le coupler avec un récepteur (6). La LED sur le récepteur
s'allume et la LED sur l'émetteur commence à clignoter
rapidement.
ð Votre récepteur et votre émetteur sont maintenant appariés.
Préparation du récepteur
•
Connectez un appareil de votre choix au récepteur et assurez-
vous que celui-ci est allumé (7). Le récepteur est maintenant prêt
à être utilisé.
DÉCONNEXION DE TOUTES LES LIAISONS
Dissociation de tous les liens
A. Appuyez sur le bouton du récepteur et maintenez-le enfoncé
pendant 10 secondes jusqu'à ce que la LED commence à
clignoter (8).
B. Lorsque la LED sur le récepteur s'éteint, toutes les liaisons sont
déconnectées.
Specifications:
Max. wattage: 3600W
Frequency: 433.92MHz
Input AC Voltage: 220V ~ 240V, 50/60Hz
Gebruiksaanwijzing
NL
DE ONTVANGER INSTALLEREN
•
Doe de ontvanger in het stopcontact (4).
De ontvanger koppelen aan een zender
A. Houd de knop op de ontvanger 3 seconden ingedrukt en laat deze
los (5). Het ledlampje gaat knipperen. De koppelingsmodus van de
ontvanger is nu actief.
Let op: Het ledlampje mag pas gaan knipperen nadat u de knop
hebt losgelaten. Als het ledlampje al gaat knipperen terwijl u de
knop ingedrukt houdt, wordt de koppelingsmodus niet geactiveerd.
B. Houd de PAIR-knop op de zender 2 seconden ingedrukt om deze
met een ontvanger te koppelen (6). Het ledlampje op de ontvanger
gaat branden en het ledlampje op de zender gaat snel knipperen.
ð De ontvanger en zender zijn nu gekoppeld.
De ontvanger gereed maken
•
Verbind het gewenste apparaat met de ontvanger en controleer of
het gewenste apparaat is ingeschakeld (7). De ontvanger is nu
klaar voor gebruik.
ALLE KOPPELINGEN VERBREKEN
Alle koppelingen ongedaan maken
A. Houd de knop op de ontvanger 10 seconden ingedrukt tot het
ledlampje gaat knipperen (8).
B. Als het ledlampje op de ontvanger wordt uitgeschakeld, zijn alle
koppelingen verbroken.
Bedienungsanleitung
DE
INSTALLIEREN DES EMPFÄNGERS
•
Schließen Sie den Empfänger an der Wandsteckdose an (4).
Empfänger mit einem Sender synchronisieren
A. Halten Sie die Taste am Empfänger 3 Sekunden lang gedrückt
und lassen Sie sie dann wieder los (5). Die LED beginnt zu
blinken. Ihr Empfänger befindet sich jetzt im
Synchronisierungsmodus.
Achtung: die LED sollte nur blinken, nachdem die Taste
losgelassen wurde. Falls die LED zu blinken anfängt, während Sie
die Taste gedrückt gehalten, findet keine Synchronisierung statt.
B. Halten Sie die Verbindungstaste am Sender 2 Sekunden lang
gedrückt, um ihn mit einem Empfänger zu synchronisieren (6). Die
LED am Empfänger leuchtet auf, und die LED am Sender fängt an
schnell zu blinken.
ð Empfänger und Sender sind nun miteinander verbunden.
Empfänger vorbereiten
•
Schließen Sie das gewünschte Gerät am Empfänger an und
achten Sie darauf, dass es eingeschaltet ist (7). Der Empfänger
ist nun einsatzbereit.
ALLE VERBINDUNGEN TRENNEN
Pairing löschen (alle)
A. Drücken und halten Sie die Taste am Empfänger 10 Sekunden
lang, bis die LED zu blinken beginnt (8).
B. Wenn die LED am Empfänger erlischt, sind alle Verbindungen
getrennt.

Verwandte Anleitungen für Smartwares 10.037.08


Inhaltszusammenfassung für Smartwares 10.037.08
- Seite 1 Specifications: Max. wattage: 3600W Frequency: 433.92MHz 10.037.08 Input AC Voltage: 220V ~ 240V, 50/60Hz EN Wireless plug-in power switch NL Plug-in schakelaar DE Steckerschalter FR Interrupteur enfichable ES Interruptor enfuchable IT Interruttore plug-in SV Plug-in Switch PL Przełącznik wtykowy Instruction manual...
- Seite 2 Instrukcje użytkowania Manual de instrucciones INSTALACJA ODBIORNIKA INSTALACIÓN DEL RECEPTOR • Włóż odbiornik do gniazdka elektrycznego (4). • Inserte el receptor en la toma de pared (4). Parowanie odbiornika z nadajnikiem Emparejamiento del receptor con un emisor A. Naciśnij przycisk na odbiorniku i przytrzymaj go przez 3 sekundy, A.