Promate Solix-1 Bedienungsanleitung
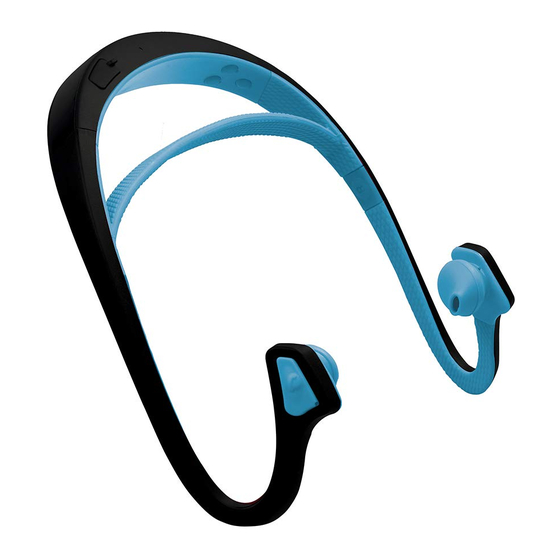
Ultra-durable water resistant wireless sporty headset

Verwandte Anleitungen für Promate Solix-1


Inhaltszusammenfassung für Promate Solix-1
- Seite 10 LED zu blinken beginnt. 2. Solix-1 verbinden • Bevor Sie den Solix-1 mit Ihrem Gerät verbinden, überprüfen Sie ob der Solix-1 sich in Verbindungsmodus be ndet. Um in den Verbindungsmodus zu gehen, drücken und halten Sie die Multifunktionstaste für 8 Sekunden, bis die rote und blaue LED abwechselnd zu blinken beginnen.
- Seite 11 Titel zu springen. 6. Solix-1 au aden • Stecken Sie ein Ende des Ladekabels in den Solix-1 Ladeanschluss und das andere Ende an den USB Ladeadapter oder einen Laptop/Desktop. • Aus Sicherheitsgründen wird empfohlen das Headset während des Ladens nicht zu benutzen.
- Seite 22 دﺳﺘﻮراﻟﻌﻤﻞ ھﺎی ﻋﻤﻠﯿﺎت Solix-1 1. روﺷﻦ/ﺧﺎﻣﻮش ﮐﺮدن LED ، دﮐﻤﻪ ﭼﻨﺪﮐﺎره را ﺣﺪود 3 ﺛﺎﻧﯿﻪ ﻓﺸﺎر دھﯿﺪ و ﻧﮕﻪ دارﯾﺪ ﺗﺎSolix-1 • ﺑﺮای روﺷﻦ ﮐﺮدن .ﺷﺮوع ﺑﻪ ﭼﺸﻤﮏ زدن ﮐﻨﺪ ، دوﺑﺎره، دﮐﻤﻪ ﭼﻨﺪﮐﺎره را ﺣﺪود 3 ﺛﺎﻧﯿﻪ ﻓﺸﺎر دھﯿﺪ و ﻧﮕﻪ دارﯾﺪSolix-1 • ﺑﺮای ﺧﺎﻣﻮش ﮐﺮدن...
- Seite 23 .ﺗﺎ ﺑﻪ آھﻨﮓ ﻗﺒﻠﯽ ﺑﺮوﯾﺪ. دﮐﻤﻪ اﻓﺰاﯾﺶ ﺻﺪا را ﯾﮏ ﺑﺎر ﻓﺸﺎر دھﯿﺪ و ﻧﮕﻪ دارﯾﺪ ﺗﺎ ﺑﻪ آھﻨﮓ ﺑﻌﺪی ﺑﺮوﯾﺪ Solix-1 6. ﺷﺎرژ ﮐﺮدن ﯾﺎUSB و ﺳﺮ دﯾﮕﺮ را ﺑﻪ آداﭘﺘﻮر ﺑﺮقSolix-1 • ﯾﮏ ﺳﺮ ﮐﺎﺑﻞ ﺷﺎرژ را ﺑﻪ درﮔﺎه ﺷﺎرژ .ﻟﭙﺘﺎپ/ﮐﺎﻣﭙﯿﻮﺗﺮ روﻣﯿﺰی ﺑﺰﻧﯿﺪ...
- Seite 24 Solix-1 1. ﺗﺸﻐﯿﻞ/ اطﻔﺎء .، اﺿﻐﻂ ﻗﻠﯿﻼ ﻋﻠﻰ زر ﻣﺘﻌﺪد اﻟﻮظﺎﺋﻒ ﻟﻤﺪة 3 ﺛﻮان ﺣﺘﻰ ﺗﻮﻣﺾ اﻟﻠﯿﺪSolix-1 • ﻟﺘﺸﻐﯿﻞ . ، اﺿﻐﻂ ﻗﻠﯿﻼ ﻋﻠﻰ زر ﻣﺘﻌﺪد اﻟﻮظﺎﺋﻒ ﻟﻤﺪة 3 ﺛﻮان ﺣﺘﻰ ﺗﻮﻣﺾ اﻟﻠﯿﺪSolix-1 • ﻹطﻔﺎء Solix-1 2. إزدواج ﻓﻲ ﺣﺎﻟﺔ اﻹزدواج. ﻟﻠﺪﺧﻮل ﻓﻲ ﺣﺎﻟﺔSolix-1 ﺑﺠﮭﺎزك، ﺗﺄﻛﺪ ﻣﻦ أنSolix-1 ﻗﺒﻞ رﺑﻂ...
- Seite 25 • وظﯿﻔﺔ إﻋﺎدة اﻹﺗﺼﺎل: ﻋﻨﺪ ﺣﺎﻟﺔ اﻹﺳﺘﻌﺪاد، اﺿﻐﻂ ﻣﺮﺗﯿﻦ ﻋﻠﻰ زر ﻣﺘﻌﺪد اﻟﻮظﺎﺋﻒ ﻹﻋﺎدة .اﻹﺗﺼﺎل ﺑﺂﺧﺮ رﻗﻢ ﺗﻢ اﻹﺗﺼﺎل ﺑﻪ ، اﺿﻐﻂ ﻋﻠﻰ زر اﻟﺼﻮت"-" ﻣﺮة ﻟﺘﻌﯿﺪSolix-1 ﺗﺤﻮﻳﻞ ﻣﻜﺎﻟﻤﺔ: ﻋﻨﺪ اﻟﺘﺤﺪث ﻣﻦ ﺧﻼل • ﻣﻜﺎﻟﻤﺘﻚ اﻟﻰ ﺟﮭﺎزك. ﻣﺮة أﺧﺮى إﺿﻐﻂ ﻋﻠﻰ زر اﻟﺼﻮت"-" ﻣﺮة ﻟﺘﺤﻮﻳﻞ ﻣﻜﺎﻟﻤﺘﻚ ﻣﺮة أﺧﺮى اﻟﻰ...