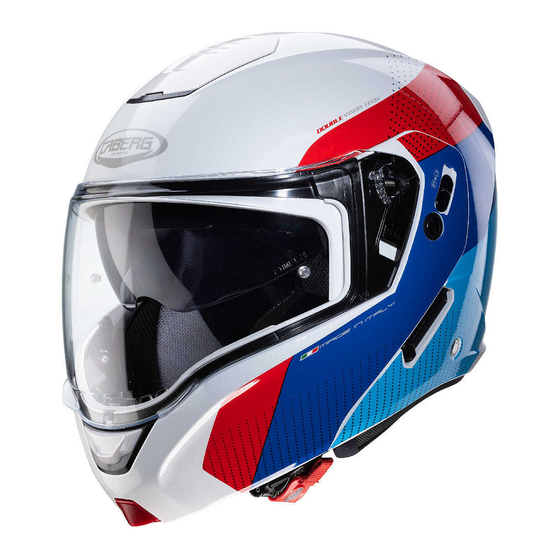
Herunterladen Diese Seite drucken

Werbung

Verfügbare Sprachen
  • DE

Verfügbare Sprachen

  • DEUTSCH, seite 8

Werbung

loading

Inhaltszusammenfassung für Caberg Horus

  • Seite 2 This helmet can be equipped with CABERG JUST SPEAK EVO Blueto- oth kit code: A8596. For more information, please visit our web site at www.caberg-helm.com or contact the Caberg dealer nearest you. This helmet can be equipped also with Communicators in after market.
  • Seite 3 Italiano pag. 4-5 ................................English pag. 6-7 ................................Deutsch pag. 8-9 ..............................Français pag. 10-11 ..............................Español pag. 12-13 ...............................
  • Seite 4 HORUS Il casco HORUS, grazie alla doppia omologazione P/J può essere utilizzato in 2 configurazioni (mento- niera chiusa “P” e mentoniera aperta “J”) Leva P/J Quando la leva P/J viene posizionata in “J” è possibile bloccare la mentoniera in posizione sollevata (fig.1) ATTENZIONE! In questa configurazione non è...
  • Seite 5 4. ISTRUZIONI SMONTAGGIO/MONTAGGIO MENTONE APRIBILE Il mentone di questo casco può essere smontato per facilitare le operazioni di pulizia dei meccanismi. Ripetere l’operazione 1.1 Svitare la vite B in entrambi i lati (Fig.8) Sganciare il mentone apribile Per rimontare il mentone apribile eseguire le suddette operazioni in senso contrario. ATTENZIONE! Non utilizzare il casco privo del mentone.
  • Seite 6 HORUS Your helmet HORUS thanks to the double homologation P/J can be used in 2 configurations (chinguard closed “P” and chinguard open “J”) Lever P/J When the P/J lever is positioned on “J” it is possible to block the chinguard in the open position ( Pic.1).
  • Seite 7 4. REMOVING AND MOUNTING THE CHIN GUARD The chin guard of this helmet can be removed to ease the cleaning of the various mechanisms. Repeat steps 1.1. Loosen the screw B (Pic. 8). Remove the chin guard. Repeat the above steps in the reverse order to mount the chinguard back to its original position. CAUTION! Never use the helmet without the chinguard.
  • Seite 8 HORUS Ihr Helm HORUS kann durch die doppelte Homologation P / J in 2 Einstellungen verwendet werden (Kinnschutz geschlossen „P“ und Kinnschutz offen „J“) Hebel P / J Wenn der P / J - Hebel auf „J“ steht, ist es möglich, den Kinnschutz in der offenen Position zu blockieren (Abb.
  • Seite 9 4. ENTFERNEN UND MONTIEREN DES KINNSCHUTZES Der Kinnschutz dieses Helms kann entfernt werden, um die Reinigung der verschiedenen Mechanismen zu erleichtern. Wiederholen Sie die Schritte 1.1. Schraube B lösen (Abb. 8). Kinnschutz entfernen. Wiederholen Sie die obigen Schritte in umgekehrter Reihenfolge, um den Kinnschutz wieder in seine ursprüngliche Position zu bringen.
  • Seite 10 HORUS Le casque HORUS grace à sa double homologation P/J peut être utilisé en 2 configurations (mento- nière fermé ‘P’ et mentonière ouverte ‘J’ ) Levier P/J Quand le levier P/J vient positionné sur ‘J’ est possible bloquer la mentonnière en position soulevée (fig.1).
  • Seite 11 4. INSTRUCTIONS POUR LE MONTAGE/DEMONTAGE DE LA MENTONNIERE OUVRABLE La mentonnière de ce casque peut être démontée pour faciliter le nettoyage des mécanismes. Répéter l’opération 1.1 et. Dévisser les vis latérales B (Fig. 8). Détacher la mentonnière ouvrable. Pour remonter le menton ouvrable, faites ces opérations dans le sens contraire. ATTENTION! Ne pas utiliser le casque sans sa mentonnière.
  • Seite 12 HORUS El casco HORUS, gracias a la doble homologación P/J puede ser utilizado en dos configuraciones (mentón cerrado P y mentón abierto J) PESTAÑA P/J Cuando la pestaña P/J se posiciona en J es posible boquear el mentón enla posición indicada (Fig. 1).
  • Seite 13 4. INSTRUCCIONES PARA MONTAR Y DESMONTAR LA MENTONERA El mentón de este casco, puede desmontarse para facilitar la operación de limpieza del mecanismo. Repetir la operación 1.1. Roscar el tornillo B (Fig. 8). Quitar la mentonera. ATENCIÓN. No utilizar el casco sin la mentonera. 5.
  • Seite 14 fig. 1 fig. 2 fig. 3 fig. 4 fig. 5 fig. 6...
  • Seite 15 fig. 7 fig. 8 fig. 9 fig. 10 fig. 11 fig. 12 fig. 13...