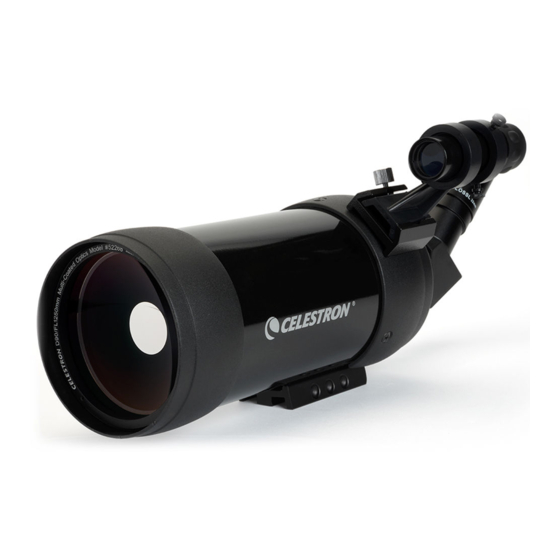
Celestron 52268 Bedienungsanleitung
C90 mm spotting-scope
Inhaltsverzeichnis
Verfügbare Sprachen
Verfügbare Sprachen
Quicklinks
Congratulations on your purchase of a Celestron spotting scope! Whether your interest is in sports, bird watching, nature, wildlife, casual astronomy,
or other activities, this spotting scope offers very high optical quality to allow you years of viewing pleasure.
Optical Tube
Lens Cap
Assembly
To attach the Erect Image Diagonal and an Eyepiece:
1.
Remove any caps from the rear of the optical tube, the erect image diagonal, and the eyepiece.
2.
Loosen all thumbscrews on the rear part of the optical tube and the erect image diagonal so that the threads do not protrude into the barrels.
3.
Slide the chrome portion of the erect image diagonal into the rear of the optical tube as shown in the left image below. Then, tighten the
thumbscrews to hold the erect image diagonal in place.
4.
Slide the chrome portion of the eyepiece (use the 32mm) into the erect image diagonal (see right image below). Then, tighten the
thumbscrew to hold the eyepiece in place.
5.
To use other eyepieces of varying powers, reverse the installation of the eyepiece above and install other eyepieces. Any 1.25" eyepiece will
work with this spotting scope. Celestron offers a wide selection of optional eyepieces.
To attach the 8x21 Erect Image Finderscope:
The finderscope is an aid to locating objects to view as it is an 8 power instrument with a much wider field of view than the spotting scope itself. The
finderscope itself comes pre-assembled and is mounted inside the bracket of the finderscope.
1.
Loosen the thumbscrew on the mounting bracket on the optical tube (left image below).
2.
Slide the finder bracket (with finderscope attached) into the mounting bracket on the optical tube (center image below).
3.
The finderscope bracket will slide in from the back. The finderscope should be oriented so that the objective lens (larger piece of glass) is
toward the front end of the spotting scope.
4.
Tighten the thumbscrew on the mounting bracket to hold the finderscope firmly in place. The finderscope is correctly attached as shown in
the right image below.
C90mm Maksutov Spotting Scope - #52268
Finderscope
Eyepiece
Erect Image
Diagonal
Tripod Adapter
Inhaltsverzeichnis

Verwandte Anleitungen für Celestron 52268


Inhaltszusammenfassung für Celestron 52268
- Seite 4 C90 mm Maksutov Spotting-Scope - 52268 Herzlichen Glückwunsch zum Kauf eines Spotting-Scopes von Celestron! Gleichgültig, ob Sie sich für Sport, Vogelbeobachtung, die Natur, wild lebende Tiere, gelegentliche Astronomie oder andere Aktivitäten interessieren, dieses Spotting-Scope bietet Ihnen äußerst hohe optische Qualität, die Ihnen beeindruckende Beobachtungserlebnisse über viele Jahre hinweg garantieren wird.
- Seite 5 Vergrößerung des Spotting-Scopes erfordern ein robustes Stativ für scharfe und verwacklungsfreie Bilder. Unten am Spotting-Scope befindet sich ein Stativadapter (siehe Bild auf Seite 1) mit 1/4x20-Gewindelöchern. Sie ermöglichen die Installation Ihres Stativs am Spotting-Scope. Celestron bietet optionale Foto-/Videostative an. Verwendung des Spotting-Scopes Nehmen Sie vor der Verwendung des Spotting-Scopes die vordere Objektivkappe ab.
-
Seite 6: Technische Daten
Hinweis: Die technischen Daten können ohne Mitteilung oder Verpflichtung geändert werden. Garantie US- und kanadischen Kunden wird für Spotting-Scopes von Celestron die eingeschränkte „No Fault“-Garantie auf Lebenszeit von Celestron gewährt. Umfassende Einzelheiten zur Qualifikation und Garantieinformationen für Kunden in anderen Ländern finden Sie auf der Celestron-Website.