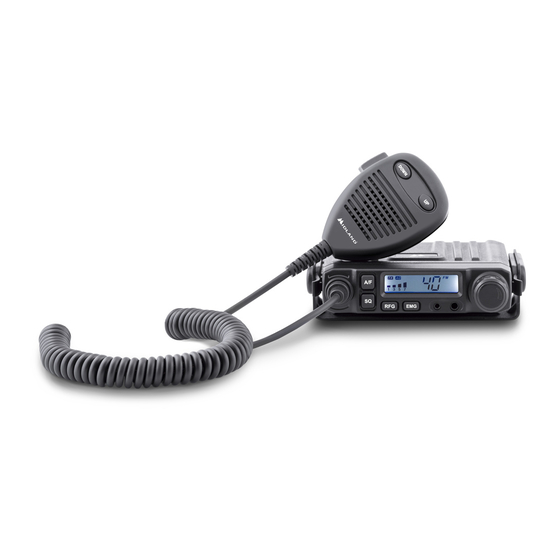
Midland M-Mini Handbuch
Am/fm cb mobilfunkgerät
Inhaltsverzeichnis

Verwandte Anleitungen für Midland M-Mini


Inhaltszusammenfassung für Midland M-Mini
- Seite 2 ITALIANO ENGLISH DEUTSCH ESPAÑOL FRANÇAIS POLSKI ROMANA...
-
Seite 3: M-Mini Manuale D'uso
Sommario DESCRIZIONE E COMANDI INSTALLAZIONE FUNZIONAMENTO SPECIFICHE TECNICHE M-Mini Manuale d’uso... - Seite 23 BEDIENUNGSELEMENTE INSTALLATION BEDIENUNG TECHNISCHE DATEN M-Mini Bedienungsanleitung...
- Seite 24 Das M-MINI kann als Mobilstation im Auto oder mit einer geeigneten DC-Strom- versorgung als Basisstation betrieben werden. Dieses Gerät entspricht den neue- sten europäischen CB-Normen. Durch seine auswählbaren CB-Standards kann er europaweit eingesetzt werden. Bitte wählen Sie nur CB-Standards aus, die im Einsatzland auch erlaubt sind.
-
Seite 25: Bedienungselemente
K9, K19 und dem Arbeitskanal FM AM 8. RF Gain RF Gain an/aus und 1 3 5 7 9 +30 SC R Einstellung der Stufe 9. Rauschsperre SQ und Anzeige und Einstellung Anzeige und Einstellung der manuellen der automatischen Rauschsperre Rauschsperre M-Mini Bedienungsanleitung... -
Seite 26: Rückseite
16. R: RFGAIN aktiviert FM AM 1 3 5 7 9 +30 SC R RÜCKSEITE EXT SP 12V DC Anschlusskabel 18. Buchse für externen Lautsprecher DOWN 19. Antennen-Buchse FM AM M-Mini Bedienungsanleitung SC R 1 3 5 7 9 +30... -
Seite 27: Stromversorgung
Sie zuerst den Fehler und ersetzen Sie dann die durchgebrannte Sicherung. Verwenden Sie den Typ F3A 250V. Die Parameter und das Symbol der Sicherung sind wie folgend. F3A 250V + Sollte die Sicherung mehrmals durchbrennen, senden Sie bitte das Gerät an un- seren Service. M-Mini Bedienungsanleitung... -
Seite 28: Betrieb Mit Netzteil
Anschluss des Netzteils. ANSCHLUSS DER ANTENNE Schließen Sie die CB-Antenne an die ANT-Buchse auf der Rückseite des M-MINI an. Die Antenne muss auf das CB-Band abgestimmt sein. Verwenden Sie hierzu ein SWR-Messgerät. Für eine gute Reichweite sollte das SWR den Wert 2 nicht überschreiten. -
Seite 29: Bedienung
Einstellung (9 Stufen) Die SQ-Taste gedrückt halten, bis das Display „AQ“ anzeigt. Die ASQ-Funktion ist eingeschaltet und das Display zeigt den ASQ-Pegel. Niedrigster ASQ-Pegel Höchster ASQ-Pegel Die UP- oder DOWN-Taste am Mikrofon drücken, um den ASQ-Pegel zu ändern. M-Mini Bedienungsanleitung... -
Seite 30: Rf Gain Einstellung
Um den Suchlauf zu starten, die A/F-Taste gedrückt halten. „SC“ blinkt im Display. Am Mikrofon die UP- oder DOWN-Taste drücken, um die Richtung während des Suchlaufs zu ändern. Zur Beendigung des Suchlaufs die A/F- oder PTT-Taste drü- cken. M-Mini Bedienungsanleitung... -
Seite 31: Externer Lautsprecher
Rückseite des Funkgeräts angeschlossen werden. Der eingebaute Lautsprecher wird ausgeschaltet, wenn ein Stecker in diese Buchse gesteckt wird. Werkseinstellungen wiederherstellen Gerät ausschalten und bei gedrückter SQ-Taste wieder einschalten, bis das Display „RT“ anzeigt. Alle Kanal- und Funktionseinstellungen werden hierdurch wieder auf die Werksein- stellung zurückgesetzt. M-Mini Bedienungsanleitung... -
Seite 32: Technische Daten
Audio Ausgangsleistung ..............1 Watt an 8 Ohm Frequenzgang ..................300-3000Hz * Alle in Europa zulässigen CB-Frequenzbänder. Technische Änderungen ohne Vorankündigung vorbehalten. Eine leicht zugängliche Trennvorrichtung muss in die Versorgungsleitung eingebaut werden. Die Trennvorrichtung muss beide Pole gleichzeitig trennen. 10 | M-Mini Bedienungsanleitung... - Seite 33 • INFORMAZIONE AGLI UTENTI: Ai sensi dell’art. 13 del decreto legislativo 25 luglio 2005, n.151 “Attuazione delle Direttive 2002/95/CE, 2002/96/CE e 2003/108/ CE, relative alla riduzione dell’uso di sostanze pericolose nelle apparecchiature elettri- che ed elettroniche, nonché allo smaltimento dei rifiuti”. Il simbolo del cassonetto bar- rato riportato sull’apparecchiatura indica che il prodotto alla fine della propria vita utile deve essere raccolto separatamente dagli altri rifiuti.