Herunterladen Inhalt Inhalt Diese Seite drucken
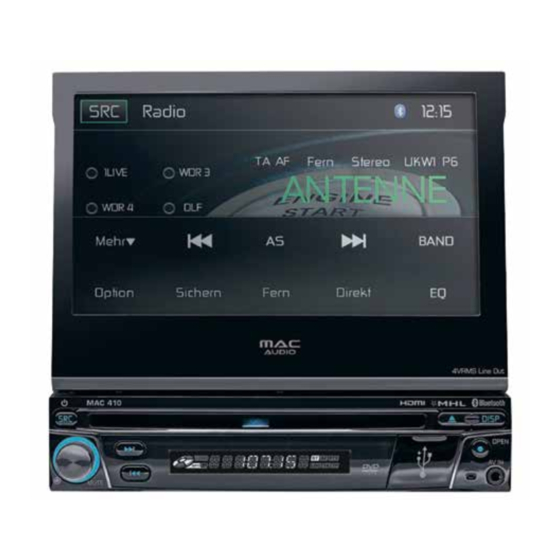
MAC Audio MAC 410 Installationsanleitung
Vorschau ausblenden Andere Handbücher für MAC 410:

Werbung

Verfügbare Sprachen

Verfügbare Sprachen

MAC 410
Installationsanleitung
Installation Guide

Werbung

Inhaltsverzeichnis
loading

Inhaltszusammenfassung für MAC Audio MAC 410

  • Seite 1 MAC 410 Installationsanleitung Installation Guide...
  • Seite 2 Anschlussdiagramm/ Wiring Diagram...
  • Seite 3: Benötigte Werkzeuge Und Materialien

    Lieferumfang Benötigte Werkzeuge und Materialien: • MAC 410 Receiver • Torx-, Schlitz- und Kreuz-Schraubendreher • Externes Mikrofon • Seitenschneider und Abisolierzange • ISO-Adapterkabel für Stromversorgung/ • Werkzeug zum Herausnehmen des eingebauten Lautsprecher Radios (Schraubendreher, Steckschlüsselsatz oder • Beutel mit Zubehör andere Werkzeuge) • 1-DIN-Montagerahmen • Isolierband • Zierblende • Crimpzange • Bedienungsanleitung • Spannungsmesser/Stromprüfer • Installationsanleitung • Crimpverbindungen • HDMI Kabel • 18-adriges Anschlusskabel • Fernbedienung • 16- bis 18-adriges Lautsprecherkabel...
  • Seite 4: Abschließen Der Montage

    Verkabelung ACHTUNG! Schließen Sie das Gerät nur an eine Stromquelle mit 12 Volt an und stellen Sie dabei eine ordnungsgemäße Erdung sicher. Nehmen Sie die Verkabelung wie im Anschlussdiagramm dargestellt vor. Schließen Sie dann das gelöste Batteriekabel wieder an. Ist kein ACC-Anschluss (Zündleitung) verfügbar, schließen Sie das ACC-Kabel mit einem Schalter an die Stromversorgung an. HINWEIS: Achten Sie beim Austauschen von Sicherungen darauf, dass Sie die richtige Sicherung mit der erforderlichen Amperezahl verwenden, um eine Beschädigung des Radios zu vermeiden. Für den MAC 410-Receiver muss eine 15-Ampere-Sicherung verwendet werden. Diese befndet sich im schwarzen Filterkasten und ist mit dem Haupt-Kabelbaum in Reihe geschaltet. Abschließen der Montage Nachdem Sie alle Kabel angeschlossen haben, schalten Sie das Gerät ein, um sicherzustellen, dass es betriebsbereit ist. Beachten Sie dabei, dass dieZündung eingeschaltet sein muss. Kann das Gerät nicht eingeschaltet werden, überprüfen Sie die Verkabelung, bis Sie den Fehler gefunden haben. Sobald das Gerät betriebsbereit ist, schalten Sie die Zündung aus und montieren das Chassis.
  • Seite 5: What's In The Box

    What’s in the Box Tools and Supplies • MAC 410 Head Unit You will need these tools and supplies for installation: • External Microphone • Torx type, fat-head and Philips screwdrivers • Power / Speaker Harness • Wire cutters and strippers • Hardware Bag • Tools to remove existing radio (screw driver, socket • Single DIN Sleeve wrench set or other tools) • Trim Ring • Electrical tape • Owner’s Manual • Crimping tool • Installation Guide • Volt meter/test light • HDMI cable • Crimp connections • Remote Control • 18 gauge wire for power connections • 16 – 18 gauge speaker wire...
  • Seite 6: Final Installation

    Wiring WARNING! Only connect the unit to a 12-volt power supply with proper grounding. Complete wiring as illustrated in the wiring diagram. Once the wiring is complete, reconnect the battery negative terminal. If there is no ACC available, connect the ACC lead to the power supply with a switch. NOTE: When replacing a fuse, be sure to use correct type and amperage to avoid damaging the radio. The MAC 410 uses one 15 amp fuse, located in the black flter box in-line with the main wire harness. Final Installation After completing the wiring connections, turn the unit on to confrm operation (ignition switch must be on). If unit does not operate, recheck all wiring until the problem is corrected. Once proper operation is achieved, turn off the ignition switch and proceed with fnal mounting of the chassis. 1. Connect the wiring adapter to the existing wiring harness. 2. Connect the antenna lead. 3. Carefully slide the radio into the mounting slee- ve, making sure it is right-side-up. 4. Attach one end of the perforated support strap CAUTION! The rear of the radio must be supported (supplied) to the screw stud, which is screwed with the strap to prevent damage to the dashboard into the threaded insert on the back of the unit,...
  • Seite 7: Anschlussdiagramm/ Wiring Diagram Mac Audio Mac 410

    Anschlussdiagramm/ Wiring Diagram Mac Audio MAC 410 CAUTION! IMPORTANT! Incorrect wiring connections can damage the unit. Follow the wiring instructions carefully, or have the installation handled by an experienced technician.
  • Seite 8 VOXX Electronics GmbH Lise-Meitner-Str. 9 • D-50259 Pulheim • Germany www.mac-audio.de...

Inhaltsverzeichnis