Inhaltszusammenfassung für GLP EasyOne E v2.2
- Seite 1 Easy-One Controller Bedienungsanleitung Ab Version 1.3 email: service@glp.de Internet: http://www.glp.de...
-
Seite 2: Inhaltsverzeichnis
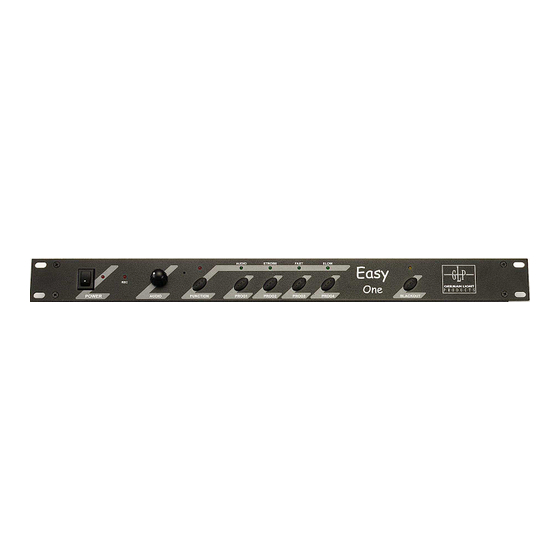
Chasern (je 4 langsame und 4 schnelle Chaser). Er verfügt über 256 DMX Kanäle und jedes der 8 Chaser- Programmen kann bis zu 60 Steps (Schritten) enthalten. Vorprogrammierte Chaser- Programme bestehen derzeit für die GLP Produkte: Weitere Funktionen sind eine Strob- Funktion, eine Audio- Steuerung sowie eine Blackout Taste. -
Seite 3: Anschluß Und Dmx Einstellungen
PROG 2: Aufrufen des Programms Nr. 2 PROG 3: Aufrufen des Programms Nr. 3 PROG 4: Aufrufen des Programms Nr. 4 Bei nochmaligem Drücken der Progr Taste wird der Programmablauf gestoppt und durch eine blinkende LED angezeigt. GLP • German Light Products (V2.2) -
Seite 4: Bedienung (Eigene Programme Aufladen)
5 Record- Mode einstellen Function-Taste kurz gedrückt halten und Controller einschalten Power-LED blinkt 5 mal. 5.1 Strobo und Blackout überspielen 1. Szene mit Shutter = „offen“ erstellen und über DMX anlegen 2. Function drücken bis LED leuchtet GLP • German Light Products (V2.2) -
Seite 5: E O E O E Übertragen
6. Der Vorgang ist abgeschlossen wenn am Sende-Controller keine LED mehr blinkt (max. 5min). Sind die Daten richtig angekommen, so müssen an allen Controllern die gleichen Programm-LED`s leuchten. Ist dies nicht der Fall so ist ein Übertragungsfehler aufgetreten. Dann bitte den Vorgang noch einmal wiederholen. GLP • German Light Products (V2.2) -
Seite 6: Dmx- Adressierung / Aufhängung
1,2,3 und 4, usw. Eine DMX Verkabelung in dieser Reihenfolge ist allerdings nicht notwendig. Hierbei achten Sie bitte nur auf möglichst kurze Kabelwege. Die Aufhängreihenfolge betrifft also lediglich die Dip-Schalter- Einstellungen (DMX- Adressierung). Controller DMX: DMX: DMX: DMX: DMX: DMX: DMX: DMX: GLP • German Light Products (V2.2) -
Seite 7: Glp Max 250
Eine DMX Verkabelung in dieser Reihenfolge ist allerdings nicht notwendig. Hierbei achten Sie bitte nur auf möglichst kurze Kabelwege. Die Aufhängreihenfolge betrifft also lediglich die Dip-Schalter- Einstellungen (DMX- Adressierung). Controller DMX: DMX: DMX: DMX: DMX: DMX: DMX: DMX: GLP • German Light Products (V2.2) -
Seite 8: Glp Pocket Scan
„100ter“, „10er“ oder „1ner“ Taste unter dem Display. Jedes Drücken der jeweiligen Taste erhöht die Anzeige um eine Stelle. wird wieder auf die übergesprungen. 100 10 Controller DMX: DMX: DMX: DMX: DMX: DMX: DMX: DMX: GLP • German Light Products (V2.2) - Seite 9 Easy-One Easy-One Controller Instruction Manual From Version: 1.3 email: service@glp.de Internet: http://www.glp.de GLP • German Light Products (V2.2)
-
Seite 10: Description And Function
......... 13 5.3 Exchange data from 6 Mounting / Hanging up ..............14 6.1 GLP Mighty Scan ..................14 6.2 GLP Max 250 ..................... 15 6.3 GLP Pocket Scan ..................16 7 Description and Function e is a Plug and Play DMX Controller with 8 preprogrammed Chaser (each with 4 slow and 4 fast Chasers). -
Seite 11: Connection And Dmx Setup
Leave the first 4 DMX- Channels (001 – 004) free and start with the first DMX Unit at the DMX- Address 005. Attention: If you use Scans which starts at the DMX- Address 000 as the two GLP products do, please start at the DMX- Address 004. -
Seite 12: Operation (Upload Own Programs)
7. Activate the Strob- Function in the same scene. (Attention: change only the DMX- Channels with are responsible for the Strob). e Controller 8. Press the Strob- Key at the wait until the Rec- LED goes on (3 sec). GLP • German Light Products (V2.2) -
Seite 13: Upload Scenes To The E
Controller (max. 5min). Was the upload successful the same program LED’s are on at all controllers. In case that this is not the situation there was an upload error. Please repeat than this procedure once again. GLP • German Light Products (V2.2) -
Seite 14: Mounting / Hanging Up
No. 1-4. The DMX- Cables can have to shortest way an need not go from No.1 to No.2 etc. The order to hung up the Scans concern only with the DMX- Addresses. from Controller DMX: DMX: DMX: DMX: DMX: DMX: DMX: DMX: GLP • German Light Products (V2.2) -
Seite 15: Glp Max 250
Also a collaboration of different types of scans is possible. The preprogrammed programs are special voted for this. So you can use the and the at the same time. from Controller DMX: DMX: DMX: DMX: DMX: DMX: DMX: DMX: GLP • German Light Products (V2.2) -
Seite 16: Glp Pocket Scan
“10 key” and the “1 key” under the display. Push the keys once will increase the value by one. If you’ll run over the display will jump over to again. 100 10 from Controller DMX: DMX: DMX: DMX: DMX: DMX: DMX: DMX: GLP • German Light Products (V2.2)


