Ceag EURO X LED AT Betriebsanleitung

Verwandte Anleitungen für Ceag EURO X LED AT


Inhaltszusammenfassung für Ceag EURO X LED AT
- Seite 1 Montage- und Betriebsanleitung Mounting and Operating Instructions EURO X LED AT Zielgruppe: Elektrofachkraft Target group: Skilled electricians...
-
Seite 2: Inhaltsverzeichnis
Montage und Betriebsanleitung EURO X LED Inhaltsverzeichnis / Index Generelle Hinweise ..................3 1.1 Kurzbeschreibung ...................... 3 Sicherheitshinweise ..................3 Normenkonformität ................3 Technische Daten .................. 3 Montage ....................4 Batterie ....................4 6.1 Inbetriebnahme ......................4 6.2 Batteriewechsel ......................4 Testfunktionen .................. -
Seite 3: Generelle Hinweise
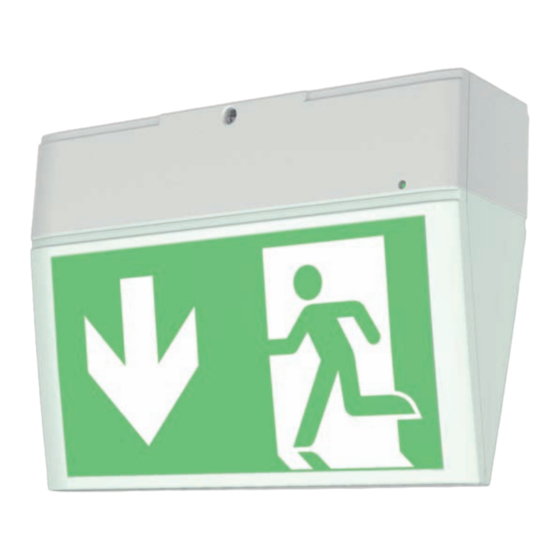
Fluchtwegkennzeichnung Sicherheits- und Unfallverhü- • Als Ersatz dürfen nur Origi- Einzelbatterietechnik (mit ein- tungsvorschriften sowie die nalteile von CEAG verwendet nachfolgenden Sicherheitshin- gebauter Li-Ionen-Batterie). werden! weise in der Betriebsanleitung, Sie ist mit einer automatischen • Bei Arbeiten an der Notleuchte Testfunktion ausgestattet, d.h. -
Seite 4: Montage
Montage und Betriebsanleitung EURO X LED 5. Montage 6. Batterie • Empfehlung: erst Pikto- 6.1 Inbetriebnahme grammfolie montieren. Die Inbetriebnahme sollte nur • Montageposition der Leuchte bei Temperaturen innerhalb der beachten. Anschraubpunkte angegebenen Bereiche erfol- der Leuchte siehe Zeichnung gen. Insbesondere das Laden Seite 6. -
Seite 5: Testfunktionen
Montage und Betriebsanleitung EURO X LED 7. Testfunktionen Die Unterseite der Platine, die Betriebsdauertest dabei berührt werden kann, führt Der Zeitpunkt des Betriebsdau- 7.1 Manueller Test keine Netzspannung (SELV <= ertests sollte immer so gewählt 6 V DC). Test nur mit korrekt im Ge- werden, dass die darauffolgende häuse montierter Platine durch- Phase der Batterieaufladung... -
Seite 6: Maßbilder / Dimensional Drawings
Montage und Betriebsanleitung EURO X LED 8. Maßbilder / Dimensional Drawings 8.1 Wandmontage / Wall mounting 60,2 Bohrabstände Wandmontage Position Netzleitung Position of power cable 108,5 81,5 8.2 Deckenmontage / Ceiling mounting Bohrabstände Deckenmontage Position Netzleitung Position of power cable 22,5 81,5 108,5...