Jet JWP-201 Gebrauchsanleitung
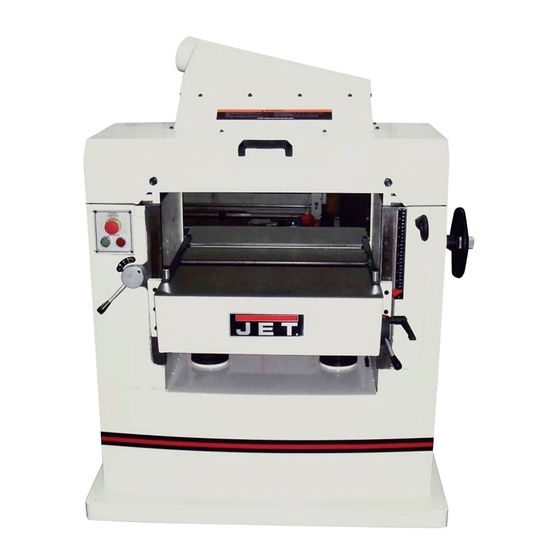
Dickenhobelmaschine
Inhaltsverzeichnis
Verfügbare Sprachen
Verfügbare Sprachen
Quicklinks
GB - ENGLISH
Operating Instructions
Dear Customer,
Many thanks for the confidence you have shown in us with the purchase of your new JET-machine. This manual has been
prepared for the owner and operators of a JET JWP-201 thickness planer to promote safety during installation, operation and
maintenance procedures. Please read and understand the information contained in these operating instructions and the
accompanying documents. To obtain maximum life and efficiency from your machine, and to use it safely, read this manual
thoroughly and follow instructions carefully.
...Table of Contents
1. Declaration of conformity
2. Warranty
3. Safety
Authorized use
General safety notes
Remaining hazards
4. Machine specifications
Technical data
Noise emission
Dust emission
Contents of delivery
5. Transport and start up
Transport and installation
Assembly
Mains connection
Dust connection
Starting operation
6. Machine operation
7. Setup and adjustments
Adjusting depth of cut
Adjusting feed speed
Adjusting table rollers
Changing cutter knives
The planers feed system
8. Maintenance and adjustment
9. Troubleshooting
10. Environmental protection
11. Available accessories
1. Declaration of conformity
On our own responsibility we hereby
declare that this product complies with
the regulations* listed on page 2.
Designed in consideration with the
standards**. CE type examination***
performed by****
2. Warranty
The Seller guarantees that the
supplied product is free from material
defects and manufacturing faults. This
warranty does not cover any defects
which are caused, either directly or
indirectly, by incorrect use,
carelessness, accidental damage,
repair, inadequate maintenance or
cleaning and normal wear and tear.
Guarantee and/or warranty claims
must be made within twelve months
from the date of purchase (date of
invoice). Any further claims shall be
excluded.
This warranty includes all guarantee
obligations of the Seller and replaces
all previous declarations and
agreements concerning warranties.
The warranty period is valid for eight
hours of daily use. If this is exceeded,
the warranty period shall be reduced
in proportion to the excess use, but to
no less than three months.
Returning rejected goods requires the
prior express consent of the Seller and
is at the Buyer's risk and expense.
Further warranty details can be found
in the General Terms and Conditions
(GTC). The GTC can be viewed at
www.jettools.com or can be sent by
post upon request.
The Seller reserves the right to make
changes to the product and
accessories at any time.
3
3. Safety
3.1 Authorized use
This machine is designed for
thickness planing wood and wood
derived materials.
Machining of other materials is not
permitted and may be carried out in
specific cases only after consulting
with the manufacturer.
No metal workpieces may be
machined.
The workpiece must allow to safely be
loaded, supported and guided.
The proper use also includes
compliance with the operating and
maintenance instructions given in this
manual.
The machine must be operated only
by persons familiar with its operation,
maintenance and repair and who are
familiar with its hazards.
The required minimum age must be
observed
The machine must only be used in a
technically perfect condition
When working on the machine, all
safety mechanisms and covers must
be mounted.
In addition to the safety requirements
contained in this operating instruction
and your country's applicable
regulations, you should observe the
generally recognized technical rules
concerning the operation of
woodworking machines.
Any other use exceeds authorization.
In the event of unauthorized use of the
machine, the manufacturer renounces
all liability and the responsibility is
transferred exclusively to the operator.
Kapitel
Inhaltsverzeichnis

Verwandte Anleitungen für Jet JWP-201


Inhaltszusammenfassung für Jet JWP-201
-
Seite 9: Inhaltsverzeichnis
DE - DEUTSCH Gebrauchsanleitung Sehr geehrter Kunde, vielen Dank für das Vertrauen, welches Sie uns beim Kauf Ihrer neuen JET-Maschine entgegengebracht haben. Diese Anleitung ist für den Inhaber und die Bediener zum Zweck einer sicheren Inbetriebnahme, Bedienung und Wartung der Dickenhobelmaschine JWP-201 erstellt worden. -
Seite 10: Allgemeine Sicherheitshinweise
Die Maschine ist für den Betrieb in Alle Greifer der Rückschlagsicherung 3.2 Allgemeine Sicherheitshinweise geschlossenen Räumen und muss müssen von selbst in die Holzbearbeitungsmaschinen können standsicher auf festem und ebenem Ausgangsstellung (nach unten) bei unsachgemäßem Gebrauch Grund stehen. zurückkehren. gefährlich sein. Deshalb ist zum Beachten Sie dass die elektrische Fassen Sie beim Führen und sicheren Betreiben die Beachtung der... -
Seite 11: Maschinenspezifikation
Hobelmesser Dicke Lasten. Vorschubgeschwindigkeit 4.3 Staubemission Nach der Aufstellung können die 6 oder 10 m/min Ringschrauben entfernt werden. Die Dickenhobelmaschine JWP-201 Absauganschluß Ø 125mm (150mm) wurde staubemmissionsbewertet. Maschinenabmessung (LxBxH) Bei 20 m/s Luftgeschwindigkeit am Aufstellung: 1060 x 1250 x 1500mm... -
Seite 12: Montage
Absaugschläuche müssen der Maschine ausschalten, wenn nicht 5.2 Montage Qualität „schwer entflammbar“ unmittelbar weitergearbeitet werden Wenn Sie beim Auspacken einen entsprechen und in die Erdung der soll. Transportschaden feststellen Maschine mit einbezogen werden. benachrichtigen Sie umgehend Ihren Werkstücke die kürzer als 250mm sind, dürfen nicht bearbeitet werden. -
Seite 13: Tischwalzen Einstellung
7.4 Hobelmesser Wechsel Breite von 15 mm nachgeschliffen Hobelmesser sind scharf. Zum werden. Wechseln der Hobelmesser immer geeignete Arbeitshandschuhe tragen. Verwenden Sie nur original JET Austauschteile. Hinweis: Hobelmesser Ausbau Falls ein Fremdkörper (z.B. Stein) Die Vierkantschrauben (A, Fig 9) der eine Scharte an allen 4 Messer-Andrückleiste (B) ganz... -
Seite 14: Vorschubsystem
Verwenden sie die Messerlehre auf beiden Seiten zur Einstellung. Die Hobelmesser sollten in einer Genauigkeit von 0,03mm zueinander eingestellt sein. Zum Festsetzen des Hobelmessers, die 8 Vierkantschrauben der Messer- Andruckleiste ganz herausdrehen. Zuerst die beiden äußeren Schrauben festziehen. Alle 32 Vierkantschrauben zuerst nur halbfest festziehen. -
Seite 15: Wartung Und Inspektion
Die Feinjustage kann auch Dickentisch Führung: entsprechend der Zerspanungs- bzw. Der Dickentisch ist auf bearbeiteten Vorschubsituation erfolgen. Flächen geführt. Um Schaukeln des Tisches zu vermeiden sind die Führungsleisten Auszugswalze: (R, Fig 18) ab Werk eingestellt. Die Auszugswalze (L, Fig 11) ist ab Werk auf 0,8mm unterhalb vom Messerflugkreis eingestellt. -
Seite 16: Störungsabhilfe
*Harzreiches oder nasses Holz- Starke Maschinenvibrationen Verwenden Sie die Tischwalzen *Maschine steht uneben- Ausgleich schaffen. *Hobelmesser unterschiedlich- 10. Umweltschutz Messerbreite muss gleich sein. Schützen Sie die Umwelt! *Beschädigtes Hobelmesser- Messersatz sofort austauschen. Ihr Gerät enthält mehrere unterschiedliche , wiederverwertbare Bearbeitete Oberfläche ist Werkstoffe.