afx light MASTBAR-BAT Bedienungsanleitung
Neigbarer akkubetriebener lichtmast
Inhaltsverzeichnis
Verfügbare Sprachen
Verfügbare Sprachen
Quicklinks
BATTERY POWERED TILTABLE LIGHT MAST
MAT A LED INCLINABLE SUR BATTERIE
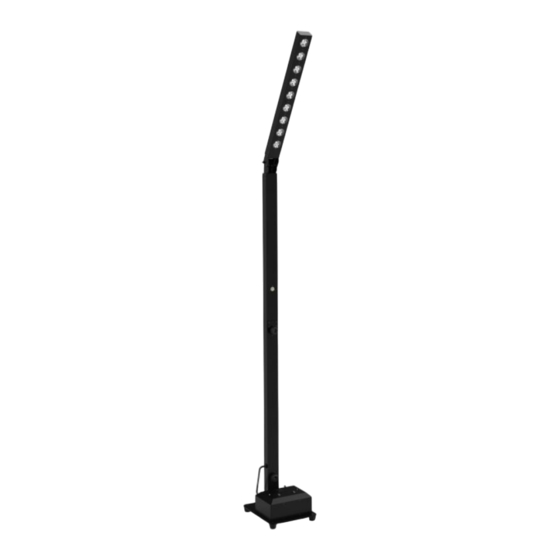
NEIGBARER AKKUBETRIEBENER LICHTMAST
KANTELBARE LED MAST OP BATTERIJ
MÁSTIL LED INCLINABLE ALIMENTADO POR BATERÍA
MASTBAR-BAT
CODE: 16-2127
9 X 10W RGBWA-UV 6-IN-1 LEDS
9 LED RGBWA-UV 6-EN-1 DE 10W
9 X 10 W RGBWA-UV 6-IN-1-LEDS
9 X 10W RGBWA-UV 6-IN-1 LED'S
9 LEDS RGBWA-UV 6 EN 1 DE 10 W
GB - User Manual - p. 3
F - Manuel d'Utilisation - p. 9
D - Bedienungsanleitung - S. 16
NL - Handleiding - p. 22
E - Manual de Instrucciones - p. 29
Inhaltsverzeichnis

Verwandte Anleitungen für afx light MASTBAR-BAT


Inhaltszusammenfassung für afx light MASTBAR-BAT
- Seite 1 MASTBAR-BAT CODE: 16-2127 BATTERY POWERED TILTABLE LIGHT MAST 9 X 10W RGBWA-UV 6-IN-1 LEDS MAT A LED INCLINABLE SUR BATTERIE 9 LED RGBWA-UV 6-EN-1 DE 10W NEIGBARER AKKUBETRIEBENER LICHTMAST 9 X 10 W RGBWA-UV 6-IN-1-LEDS KANTELBARE LED MAST OP BATTERIJ 9 X 10W RGBWA-UV 6-IN-1 LED'S MÁSTIL LED INCLINABLE ALIMENTADO POR BATERÍA...
-
Seite 16: Zeichenerklärung
BEDIENUNGSANLEITUNG ZEICHENERKLÄRUNG Der Blitz im Dreieck weist auf Gesundheitsrisiken hin (z.B. Stromschlag) Das Ausrufezeichen im Dreieck weist auf besondere Gefahren im Umgang oder Betrieb des Geräts hin. Schutzklasse I: Nur an eine geerdete Netzsteckdose mit Schutzkontakt anschließen Das Gerät entspricht der CE Norm Nur für Innengebrauch Mindestabstand zwischen dem Gerät und andere Gegenständen 0.5m... - Seite 17 Das Gerät ist nicht für den Hausgebrauch bestimmt. • Wenn das Stromkabel beschädigt ist, muss es sofort durch ein Neues ersetzt werden. • Beschädigte Linse, Gehäuse oder UV-Filter sofort ersetzen. NETZTRENNUNGSVORRICHTUNGEN a) Wenn das Gerät über den Netzstecker ausgeschaltet wird, muss die Steckdose jederzeit leicht zugänglich bleiben b) Wenn das Gerät über einen Schalter ausgeschaltet wird, muss dieser klar gekennzeichnet und leicht zugänglich sein.
-
Seite 18: Bedienfeld
vermeiden. Ein Endwiderstand von 120 Ohm 1/4W wird zwischen Pin 2 (DMX-) und Pin 3 (DMX+) am letzten Gerät gelötet. VORSICHT Achten Sie darauf, dass die Masse nicht mit der Gehäusemasse in Berührung kommt. Dies kann zu einer Masseschleife führen, und das Gerät kann nicht mehr richtig funktionieren. Prüfen Sie die Ka- bel mit einem Ohmmeter auf korrekte Polarität und stellen Sie sicher, dass die Stifte nicht geerdet oder mit der Abschirmung oder untereinander kurzgeschlossen sind. - Seite 19 "SNAP" 0-20 "R-STRO" 0-20 "G-STRO" 0-20 "B-STRO" 0-20 "A-STRO" 0-20 (Sensitivity) "Sound" "SOUND1" 0-100 "SOUND2" 0-100 "SOUND3" 0-100 (Options) "User Settings" " Channel" 006/010 (Addressed) " DMX512" 001-512 (Mode) " Slave" " WiFi" WiFi Icon "System Settings" "1.white Balance" (Color) (Brightness) 127-255 GREEN...
- Seite 20 BEDIENUNG EINSCHALTEN Wenn das Gerät ausgeschaltet ist, halten Sie die Taste MENU gedrückt. Nach 3 Sekunden leuchtet das Display auf und das Gerät ist eingeschaltet. Wenn das Gerät eingeschaltet ist, halten Sie die Taste MENU 3 Sekunden lang gedrückt. Das Dis- play schaltet sich aus und das Gerät ist ausgeschaltet.
-
Seite 21: Empfehlungen Für Batterien
WIFI BETRIEBSMODUS Laden Sie die Anwendung "LED LAMP" aus dem PlayStore oder AppleStore herunter und installieren Sie sie. Drücken Sie im Bildschirm "Benutzereins- tellungen" die ENTER-Taste. Verwenden Sie die UP/DOWN-Tasten, um "WiFi Mode" aus- zuwählen. Drücken Sie die ENTER-Taste. Das WiFi-Symbol erscheint und zeigt an, dass das WiFi-Modul eingeschaltet ist.