Opticum AX Odin Kurzanleitung
Satellite tv receiver
hd

Verwandte Anleitungen für Opticum AX Odin


Inhaltszusammenfassung für Opticum AX Odin
- Seite 15 Schnell Start Anleitung Vor Inbetriebnahme lesen Sie das Manuel bitte ganz durch und bewahren Sie es gut auf um zukünftig nachzuschlagen. opticum_axodin_manual_rev08.indd 15 2013-11-13 08:43:40...
- Seite 16 QUICK GUIDE MANUAL Erstinstallation 1. Verwendung des Assistenden 1.1. Bitte drücken Sie OK, wenn Sie diesen Bildschirm auf Ihrem TV sehen können (wenn nicht - wählen Sie einen anderen Eingang). 1.2. Auswahl Videomodus. 1.3. Sprachauswahl. 1.4. Einrichten Basis Installation. 1.5. Tunereinstellungen – Wählen sie Automatisch. opticum_axodin_manual_rev08.indd 16 2013-11-13 08:43:41...
- Seite 17 QUICK GUIDE MANUAL Der Tuner findet automatisch die Satelliten. Zum Beispiel – gefunden wurde HB 13E und Astra 19,2E Ein anderer Weg ist die manuelle Einstellung – Hier sollten sie den Namen des Satelliten wissen. 1.6. Satellitensuchlauf sollte nach ein paar Minuten abgeschlossen sein, abhängig von den gescannten Satelliten. 1.7 Einstellung Kindersicherung.
-
Seite 18: Grundlegende Bedienung
QUICK GUIDE MANUAL 1.8. Letzter Schritt – Netzwerk Assistent. Wählen sie DHCP. In einigen Netzwerken muss dies manuell eingestellt werden, abhängig vom Netzwerk. Jetzt können sie den Assistenten beenden und ihr TV Programm ansehen. 2. Grundlegende Bedienung 2.1. Kanäle umschalten. Kanal +/- Taste drücken um zum nächsten Kanal zu schalten. - Seite 19 QUICK GUIDE MANUAL 2.3. Ändern der Audiosprache. Hier können sie festlegen, welche Audio Tonspur für sie passend ist. Durch Drücken der UP/Down Taste können sie verschiedene Sprachen oder Stereoton auswählen. Wichtig: Der Inhalt dieses Menüs ist abhängig vom gewählten Kanal. 2.
- Seite 20 QUICK GUIDE MANUAL 2. 6. Programm Information (Infobar) Die Infobar erscheint beim Programmwechsel und zeigt Ihnen die folgenden Informationen an. Durch Drücken der OK - Taste lässt sie sich jederzeit anzeigen. 2. 7. Kanal-Liste Hier können sie vier Typen der Listen auswählen, die ihnen Drücken sie UP/DOWN oder CH+/CH- Taste, beim Managen der Liste hilft.
- Seite 21 QUICK GUIDE MANUAL 1. Rufen Sie die Kanal Auswahlliste durch Drücken der Up - oder Down –Taste auf. 2. Gehen sie zu Alle mit der roten Taste. 3. Wählen sie den Kanal aus, den sie in die Favoritenliste hinzufügen wollen. 4.
-
Seite 22: (A) Sicherheitshinweise
QUICK GUIDE MANUAL (A) Sicherheitshinweise Dieses Gerät soll nach Gebrauchsende nicht mit dem Hausmüll entsorgt werden. Bitte trennen Sie dieses entsprechend von anderen Abfällen, um eine Belastung der Umwelt zu vermeiden, eine Wiederverwendung von wertvollen Materialien sicherzustellen. ● Dieses Produkt funktioniert nur in den Bereichen AC100V-250V und 50Hz/60Hz. ●... -
Seite 23: (C) Produktbeschreibung
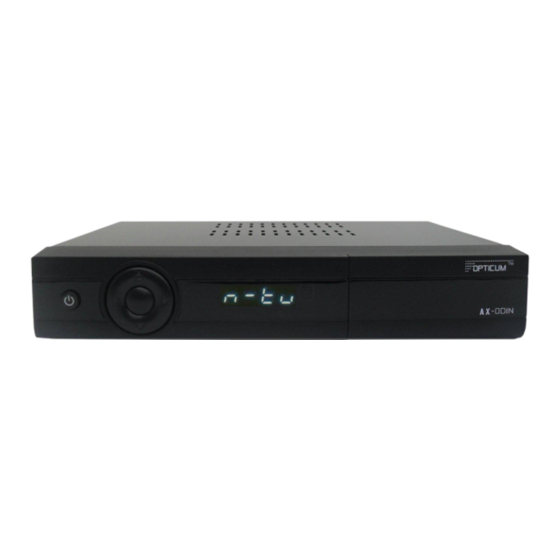
QUICK GUIDE MANUAL (B) Packing Contents Bitte überprüfen Sie die Vollständigkeit des Lieferumfanges: ● Receiver ● Fernbedienung ● Batterien ● HDMI Kabel (Optional) ● A/C Adapter ● Schnell Start Anleitung (C) Produktbeschreibung Vorderseite Taste: Power AN/Aus Tasten: Zum Navigieren Hoch/Runter und links/rechts USB: Verbindet USB Stick oder externe Festplatten Smartcard Einschub: Ein Smartcard Slot ist vorhanden opticum_axodin_manual_rev08.indd 23... - Seite 24 COAXIAL : Anschluss eines Dolby Digital Verstärkers über ein S/PDIF Kabel HDMI : Verbindet TV mit einem HDMI Kabel für Audio und Video Signal Ethernet : Verbindet PC oder andere STB mit AX ODIN USB : Verbindet USB Stick oder externe Festplatte (D) Fernbedienung opticum_axodin_manual_rev08.indd 24...
- Seite 25 QUICK GUIDE MANUAL Power : Ein/Aus – Standy Modus Mute : Stummschaltung TV/RADIO : Schalten zwischen TV und Radio HD. Taste :Einstellen des HDMI Bildmodus V SIZE : Formatumschaltung. PORTAL : Zeigt den Inhalt vom TV Portal Service an– optional. AUDIO : Zeigt die auswählbare Audio Option an (z.B.
- Seite 26 ● Schnelle und einfache Installation und benutzerfreundliche Bedienungsanleitung ● Wenig Stromverbrauch (F) Installation des AX ODIN Dieses Kapitel wird Sie durch den gesamten Installationsprozess des Receivers führen. Bitte lesen Sie jedes Kapitel sorgfältig, damit das System dann auch einwandfrei funktioniert.
- Seite 27 QUICK GUIDE MANUAL 2. Anschluss TV Der Receiver bietet unterschiedliche Anschlussmöglichkeiten für Audio/Video A. Anschluss TV über HDMI Kabel Um beste Bildqualität zu erreichen, besonders für Digital TV, wird ein HDMI Anschluss empfohlen. Die gängigen HDTVs haben HDMI Anschlüsse für hohe Bildansprüche. An der Rückseite des Receivers ist ein solcher Anschluss verfügbar. Verbinden Sie TV und Receiver mit einem HDMI Kabel wie folgt.
- Seite 28 3. Power ON/OFF [ : Drücken ‘Standby/Reset’] Dies ist der einfachste Weg, den AX Odin Ein oder Aus zu schalten ● Komplette Abschaltung Wenn der Netzschalter an der Rückseite eingeschaltet ist,, brauchen sie nicht den Schalter betätigen um das gerät ein oder aus zu schalten.
- Seite 29 QUICK GUIDE MANUAL opticum_axodin_manual_rev08.indd 29 2013-11-13 08:44:08...
- Seite 30 opticum_axodin_manual_rev08.indd 30 2013-11-13 08:44:08...