Werbung
Verfügbare Sprachen
Verfügbare Sprachen
Quicklinks
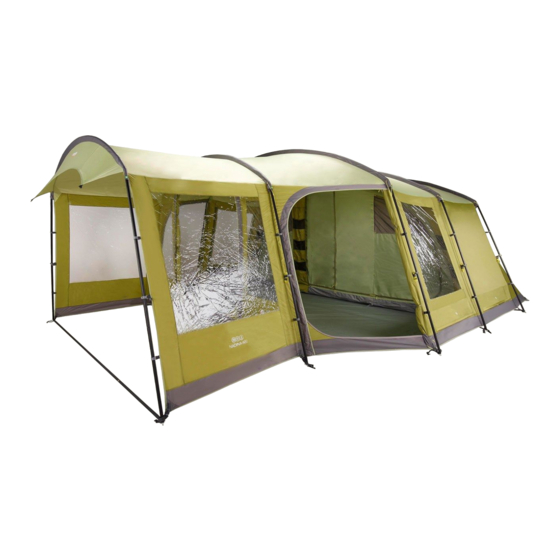
TENT PITCHING INSTRUCTIONS – NADINA 600 (UK)
FLYSHEET FIRST PITCHING:
• Open out flysheet and position in required direction
• Securely peg out the rear corners of the tent
• Insert the roof pole section into the rear pole sleeve and attach leg sections
• Locate one end of each pole at one side of the tent into the metal pin system
attached to the groundsheet
• Make sure poles locate into correct pin system, all poles follow corresponding
flysheet seams to pin system
• Tighten all the tensions straps at the base of the poles.
• Stand the completed rear pole uprightso that it can stand unaided using the
tension from the rear panel. (Stand pole completely vertical then move the ends of
the pole back approx. 30cm)
• Repeat this process for the remaining poles
• Work toward the front of the tent, inserting poles and propping them upright
• "Walk" flysheet forward, away from pegged points, until tent takes shape
• Pull the tent until the groundsheet is taut and peg out the main corners at the
other end of the tent
• Ensure the tent is in a straight line
• The groundsheet should be flat and wrinkle free
• Peg out the remaining poles and pegging points using pin pegs at the base of poles
• Attach all flysheet pole clips onto poles
• Peg out ALL guy lines using pin-pegs ensuring that guy line fabric attachment points are evenly tensioned.
PRE-ATTACHED FRONT EXTENSION:-
• To erect the pre-attached canopy, insert the pole into the sleeve, connect to Ring and Pin system, tighten the tension straps and attach pole clips to pole.
• Pull canopy away from tent until roof of canopy is taut
• Pull porch taut, away from main body of tent and peg down the corners of the porch through the shock-cord pegging points using pin-pegs
• To roll away the pre-attached canopy, roll it away along the top until the guylines and webbing are rolled away neatly, flip the already rolled section to the
underside of the canopy and continue rolling
• Secure with the toggles provided
INNER ATTACHMENT:
• Open out inner tent inside flysheet and position doorways to correspond with the living area
• Suspend the inner by attaching toggles of inner tent through rings on inside of flysheet
• The inner attachments are colour coded to match the clips on the roof of the flysheet
• Do the rear first and work forward
• It is advisable to remove the inner when taking down the tent when wet.
RING & PIN SYSTEM:
• Locate one end of pole onto the corresponding metal pin (FIGURE1).
• Peg the corners of the tent through the metal rings using pin-pegs (FIGURE2).
• Pegs should be positioned at a 45 degree angle to ensure maximum grip.
....................................................................................................................................................................................................................................
Werbung

Verwandte Anleitungen für Vango NADINA 600


Inhaltszusammenfassung für Vango NADINA 600
- Seite 2 TENT PITCHING INSTRUCTIONS – NADINA 600 (DE) MIT AUßENZELTAUFBAU ZUERST: • Außenzelt auslegen und korrekt ausrichten. • Stecken Sie die hinteren Ecken des Zelts fest aus. • Setzen Sie die Dachstange in die hintere Stangenhülle ein und befestigen Sie die Fußteile •...