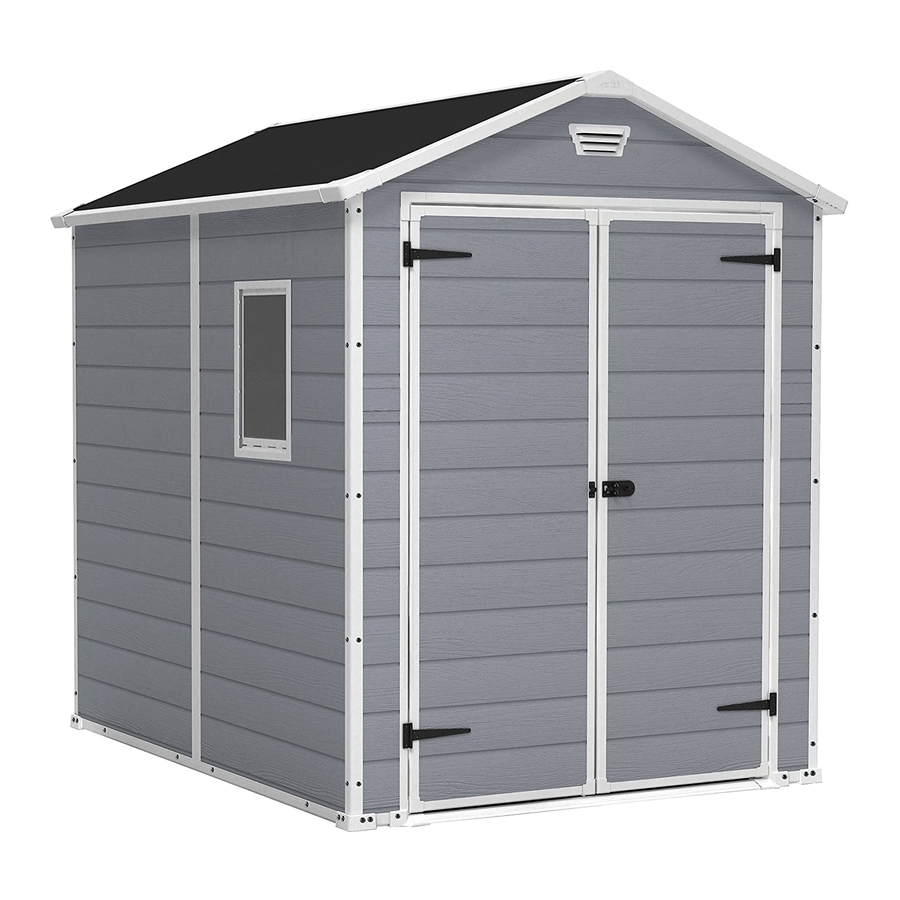
Keter MANOR 6x8DD Montageanleitung
Vorschau ausblenden
Andere Handbücher für MANOR 6x8DD:
- Gebrauchsanleitung (44 Seiten) ,
- Montageanleitung (32 Seiten) ,
- Montageanleitung (9 Seiten)
MANOR 6x8DD
ASSEMBLY INSTRUCTIONS | INSTRUCCIONES DE MONTAJE | MONTAGEANLEITUNG | CONSIGNES
DE MONTAGE | SAMLEVEJLEDNING | MONTAGE-VOORSCHRIFTEN | ISTRUZIONI D'ASSEMBLAGGIO
Thank you for your purchase of the Keter shed,
In order to activate your warranty, please enter
WARRANTY
www.keter.com, under storage buildings
ACTIVATION
category and fill in the sheds warranty
activation form.
IF THERE ARE MISSING OR BROKEN PARTS, PLEASE DO NOT RETURN THE PRODUCT TO THE STORE.
Please log onto our website, or contact Customer Service at:
S'IL Y A DES PIÈCES MANQUANTES OU CASSÉES, NE RETOURNEZ PAS LE PRODUIT AU MAGASINV.
euillez visiter notre site Internet, ou contacter notre Service Clientèle:
SI HUBIERA ALGUNA PARTE FALTANTE O DAÑADA, NO DEVUELVA EL PRODUCTO A LA TIENDA.
Inicie sesión en nuestro sitio en Internet o contáctese con nuestro servicio de atención al cliente:
BITTE BRINGEN SIE IHR PRODUKT NICHT GLEICH ZUM LADEN ZURÜCK, FALLS TEILE FEHLEN ODER DEFEKT SIND.
Bitte loggen Sie in unsere Website ein oder wenden Sie sich an unseren Kundenservice:
IN GEVAL VAN ONTBREKENDE OF GEBROKEN ONDERDELEN NIET HET PRODUCT NAAR DE WINKEL RETOURNEREN.
Ga naar onze website of neem contact op met de Klantenservice:
IN CASO DI PARTI MANCANTI O DANNEGGIATE, EVITARE DI RESTITUIRE IL PRODOTTO AL NEGOZIO.
Accedere al nostro sito o contattare il Servizio Clienti:
SE HOUVER PEÇAS EM FALTA OU PARTIDAS, NÃO DEVOLVA O PRODUTO À LOJA.
Entre na nossa página de Internet ou contacte o Serviço de Clientes:
MANOR 6x8DD
2 easy steps to use a QR-code:
1. Download a FREE QR-Code
reader from your smartphone
application site.
2. Scan the QR-Code.
SKU:
17196659 | 17197129
WWW.KETER.COM
US: # 1-888-374-4262
Canada: # 1-800-661-6721
UK: # 0121-5060008
Other European Countries:
# 31-1612-28301
Inhaltsverzeichnis

Verwandte Anleitungen für Keter MANOR 6x8DD


Inhaltszusammenfassung für Keter MANOR 6x8DD
- Seite 1 SKU: MANOR 6x8DD 17196659 | 17197129 2 easy steps to use a QR-code: Thank you for your purchase of the Keter shed, In order to activate your warranty, please enter 1. Download a FREE QR-Code WARRANTY www.keter.com, under storage buildings...
- Seite 3 VICE | SERVIZIO CLIENTI | ASSISTÊNCIA AO CLIENTE IMPORTANT: For assistance with assembly or to request missing parts, please log onto our web site at www.www.keter.com or contact Customer Service. IMPORTANT: Pour toute assistance lors du montage ou pour obtenir des pièces manquantes, veuillez visiter notre site Internet: www.keter.com ou contacter notre Service Clientèle.
- Seite 4 LEVEL THE GROUND | NIVELLEMENT DU SOL | NIVELE EL SUELO | SORGEN SIE FÜR EINE EBENE | GRUNDFLÄCHE MAAK DE GROND WATERPAS | METTERE IL TERRENO A LIVELLO | NIVELAR O SOLO Clear area of stones | Remove all plants, roots and other obstacles | Rake the ground | Make ground level using a long, flat object (e.g. wood beam) Retirez toutes les pierres | Arrachez toutes les plantes, racines et autres obstacles | Ratissez le sol | Aplanissez le sol à...
- Seite 5 LEVEL THE GROUND | NIVELLEMENT DU SOL | NIVELE EL SUELO | SORGEN SIE FÜR EINE EBENE | GRUNDFLÄCHE MAAK DE GROND WATERPAS | METTERE IL TERRENO A LIVELLO | NIVELAR O SOLO In order to properly assemble some parts of the shed, it should be kept 27 inches / 70 cm from any fence or wall until fully assembled | Pour monter correctement les parties de l’abri, vous devez garder 27 pouces / 70 cm de distances d›un obstacle ou d’un mur jusqu’à...
- Seite 6 CAUTION | AVERTISSEMENT | ADVERTENCIA | WICHTIG | WAARSCHUWING | ATTENZIONE | ATENÇÃO Some parts have steel edges | Please be careful when handling components | Always wear work gloves, eye protection and long sleeveswhen assembling or performing any maintenance on your shed | Do not attempt assembly on days with strong winds or low temperatures. Certaines pièces ont des bords en acier | Soyez prudent en les manipulant | Portez toujours des gants de travail, des lunettes de protection et des vêtements à...
- Seite 7 BEFORE STARTING ASSEMBLY | AVANT DE COMMENCER LE MONTAGE | ANTES DE EMPEZAR EL ARMADO | VOR MONTAGEBEGINN | VOORDAT U BEGINT TE MONTEREN | PRIMA DI INIZIARE IL MON- TAGGIO | ANTES DE INICIAR A MONTAGEM Retire todas as peças da embalagem e espalhe-as no solo | Recomenda-se o uso de uma superfície de trabalho limpa para distribuir as peças e para os passos de pré-montagem | Leia todas as instruções antes de iniciar e consulte-as durante a montagem.
- Seite 8 GENERAL PARTS LIST Roof Parts Construction Parts walls parts door parts floor parts window parts FLOOR PARTS LIST (stage 1) c1a (x1) d1a (x1) 164cm 138cm t (x4) dsl (x1) dsr (x1) c1g (x2) c1d (x2) 217cm 14cm sc15 (X6) s26b (X18) 16mm 26mm...
- Seite 9 WALL PARTS LIST (stage 9) fd1b (x2) 17cm x 131cm c1b (x4 ) 186cm bu1a (x1) fu1a (x1) h1a (x2) 184cm h1b (x1) rm (x1) 165cm bd1a (x1) fd1b lm (x1) 169cm x 109cm s1c (x1) fd1b 101cm x 187cm dfl (x1) 179cm w1c (x3) ds2b...
- Seite 10 FLOOR ASSEMBLY f1d (x1) Folded Black Panel Note: The Crease Line of the Floor Must be Underneath f1d(x1) 222x169 cm d1a (x1) 138 cm Black Folding-panel Fit the Panel Accordingly Within the Crevice...
- Seite 11 dsl (x1) dsr (x1) c1d (x1) 14cm...
- Seite 12 c1a (x1) c1g(x2) t (x4) 164 cm 217cm sc15 (X4) 16mm sc15 16mm...
- Seite 13 Turn Over The Floor Panel sc15 (x6) s26b (x2) 26 mm 16 mm s26b sc15 s26b sc15 sc15 Place the Panel Inside the Crevice Screw on the Marked Line...
- Seite 14 s26b (x16) 26 mm s26b Fit the Panel Inside the Profile Screw on Mark Line s26b Turn Over The Floor Panel...
-
Seite 15: Wall Assembly
WALL ASSEMBLY Choose where do you want to locate the window c1b (x1) bd1a(x1) 187cm 169cm x 109cm... - Seite 16 w1c (x1) 187x110 cm s26b (X8) 26mm Fully Fit the Panel Inside the Profile...
- Seite 17 h1b (x1) 165cm Parts are Perpendicular to One Another Outside c1b (x1) bu1a (x1) 186cm...
- Seite 18 s26b (x7) 26mm Fully Fit the Panel Inside the Profile h1a (x1) 184cm Outside...
- Seite 19 s1c (x1) c1b (x1) 187x101cm 186cm s26b (x5) sc15 (x2) 16 mm 26mm Wall Section Must Be Aligned...
- Seite 20 w1c (x1) s26b (x5) 187cm x 110 cm 26mm Fully Fit the Panel Inside the Profile h1a (x1) w1c (x1) 184cm 187cm x110 cm Wall Section Must be Aligned...
- Seite 21 c1b (x1) s26b (x5) sc15 (x2) 186cm 16 mm 26mm sc15 Wall Section Must Be Aligned FRONT WALL & DOOR FRAME ASSEMBLY fd1b (x2) s26b (x6) 17cm x 131cm 26mm fd1b fd1b...
- Seite 22 lm (x1) rm (x1) Right Left s26b (x4) fu1a 26mm fu1a...
- Seite 23 dfl (x1) 179cm dfr (x1) 179cm self drill screw ds2b (x2)12mm Self-drilling screw. Use a powerful electric screwdriver. The screw should Ensure that the drill itself to a Aluminum Profile is Fully Down metal profile This Hole Faces Out and Downwards ds2b...
- Seite 24 self drill screw s10b (x8)12mm Self-drilling screw. Use a powerful electric screwdriver. The screw should drill itself to a metal profile self drill screw dt (x2) ds2b (x8)12mm Self-drilling screw. Use a powerful electric screwdriver. The screw should drill itself to a metal profile ds2b...
- Seite 25 s26b (x18) 26mm s26b (x12) 26mm...
- Seite 26 ROOF ASSEMBLY s26b (x4) b1a (x1) 26mm 230 cm r1h(x2) e1e(x2) e1g(x4) 94x232 cm rc (x4) 211cm 84 cm Note: The Roof Fold Line And The “This Side Down” Label Must Be Facing Up As Seen Depicted In This Figure.
- Seite 27 s26b (x8) 26mm Fully Fit the Panel inside the Profile s26b Turn The Roof Panels Upside-down...
- Seite 28 s26b (x24) 26mm Fully Fit the Panel inside the Profile s26b roof assembly...
- Seite 29 spa x1 Ensure Roof Is Set Fully Down; Use Spatula Tool As Shown In The Figure. ac x2...
- Seite 30 self driling screw Roof Support Assembly s23b (x4)25mm Self-drilling screw. Use a powerful electric screwdriver. The screw should drill itself to a metal profile Rotate the Roof Support Ensure That Ac Parts are Set into the Proper Orientation as Shown in this Figure s26b (x4) 26 mm s26b...
- Seite 31 s26b (x16) 26 mm s26b Screw on the Mark Line DOOR ASSEMBLY Left Right...
- Seite 32 s13b (x16) dl1a(x1) dr1a (x1) dh (x 4) 12mm s13b s13b (x12) 12mm...
- Seite 33 dpt (x2) dp1 (x2) left door db1 (x1) s13b (x7) s13b...
- Seite 34 THRESHOLD STEP ASSEMBLY s13b (x8) pvc (x1) V (x2) Push Vent Into Position As A Helper Holds The Wall Steady From The Inside...
- Seite 35 WINDOW ASSEMBLY f - out (x1) pls (x1) f - out (x1)
- Seite 36 acw (x1) sc15 (x7) 16 mm sc15 f - in...
- Seite 37 s26b (x4) kc (x2) 26mm click OPTIONAL It is highly recommended to secure the shed to a concrete or wooden floor by drilling holes in the floor at the pre-marked locations and inserting proper screws into the ground (size: 1.9”-3”, screws are not included) Wood concrete NOT INCLUDED INSIDE...
-
Seite 38: Garantie Limitée De 2 Ans
In case a problem should occur, please address your claim to customerservice either by phone or through our web site: www.keter.com. The warranty is valid as of the date of purchase and a dated proof of purchase should bepresented on request. - Seite 39 é produzida com materiais de elevada qualidade que são sujeitos a umcontrolo e supervisão rigorosos.Se ocorrer algum problema com o produto, faça a sua reclamação ao serviço de apoio ao cliente, através do telefone ou do nosso site:www.keter.com.A Garantia é válida a partir da data de compra o produto, faça a sua reclamação ao serviço de apoio ao cliente, através do telefone ou do nosso site:www.keter.com.A Garantia é...
-
Seite 40: Manutenzione E Sicurezza
• Noch heiße Gegenstände wie Grillgeräte, Fackeln usw. dürfen nicht im Schuppen aufbewahrt werden. • Schwere Gegenstände dürfen nicht an die Wände angelehnt werden, da dies zu einer Verformung des Materials führen kann. • Halten Sie das Dach frei von Schnee und Laub. Große S chneemengen auf dem Dach können den Gartenschuppen beschädigen und sein Betreten zur Gefahr werden lassen.